- Secure order
- Easy return shipment
- Service-Hotline +41 71 511 23 70
Instructions No. 4046
Difficulty: Beginner
Working time: 2 Hours
Step 1: Paint the wooden pieces—for a cohesive fall look
Paint the wood-building kit, the wooden pegs, and the wooden ring to your liking using craft paints. Let everything dry thoroughly so nothing shifts when you glue it later.
Step 2: Label the tag – a small detail, big impact
Write on the small tag with an opaque marker. A short greeting, a name, or an autumn-themed word is plenty. If you want your writing to look very neat, draw a fine guide line with a pencil first. Then you can trace over the letters at your own pace and erase the pencil marks if needed.
Step 3: Glue the wooden kit together—sturdy and straight
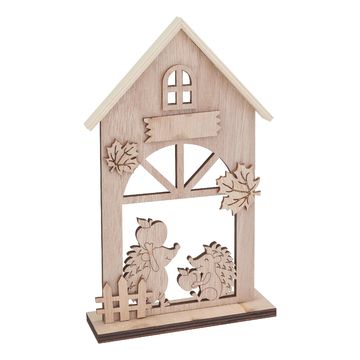
Glue the wooden kit and the wooden pegs together using “ handicraft glue .” Press the pieces together briefly and check the alignment so that the little house stands straight later.
Step 4: Add sticks to the wooden pegs and adjust the height
Glue the sticks into the wooden pegs and then trim them to the length that suits your arrangement. Always cut in small increments—this makes it easier to find the right proportions.
Step 5: Place “ chain of light ” lights inside the physalis—create a warm autumn glow
Use fine-tipped scissors to cut small holes in the physalis flowers. Insert one “ chain of light ” light into each hole. Secure the lights with a small dot of hot glue.
Step 6: Decorate the ring – a frame for your hedgehog house
Next, glue the branch to the wooden ring. Trim the “ eucalyptus ” and glue some of it to the ring as well. The ring acts as a decorative arch around the motif and draws the eye directly to the little house.
Step 7: Prepare the base – “ flower arrangement foam ” as an invisible helper
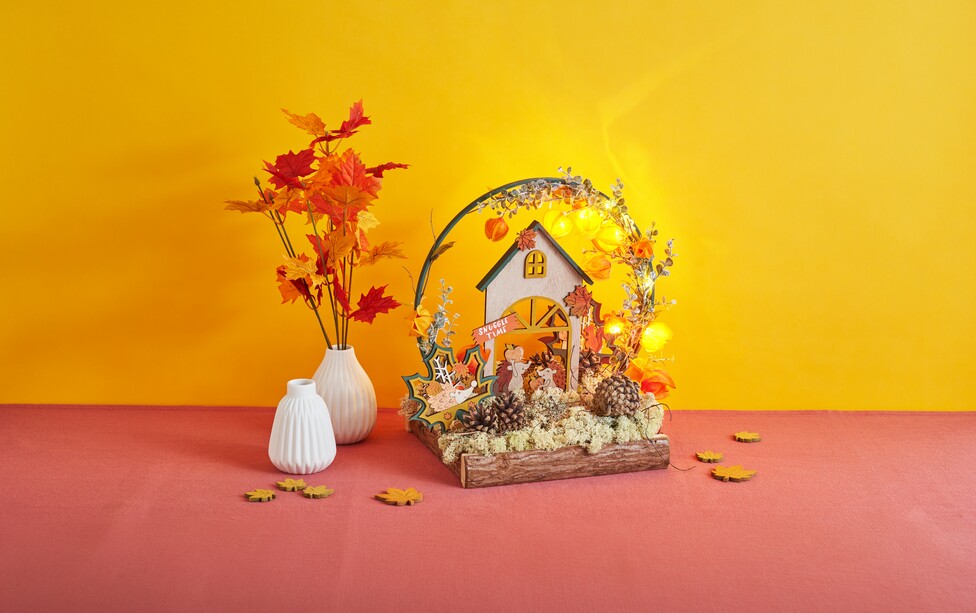
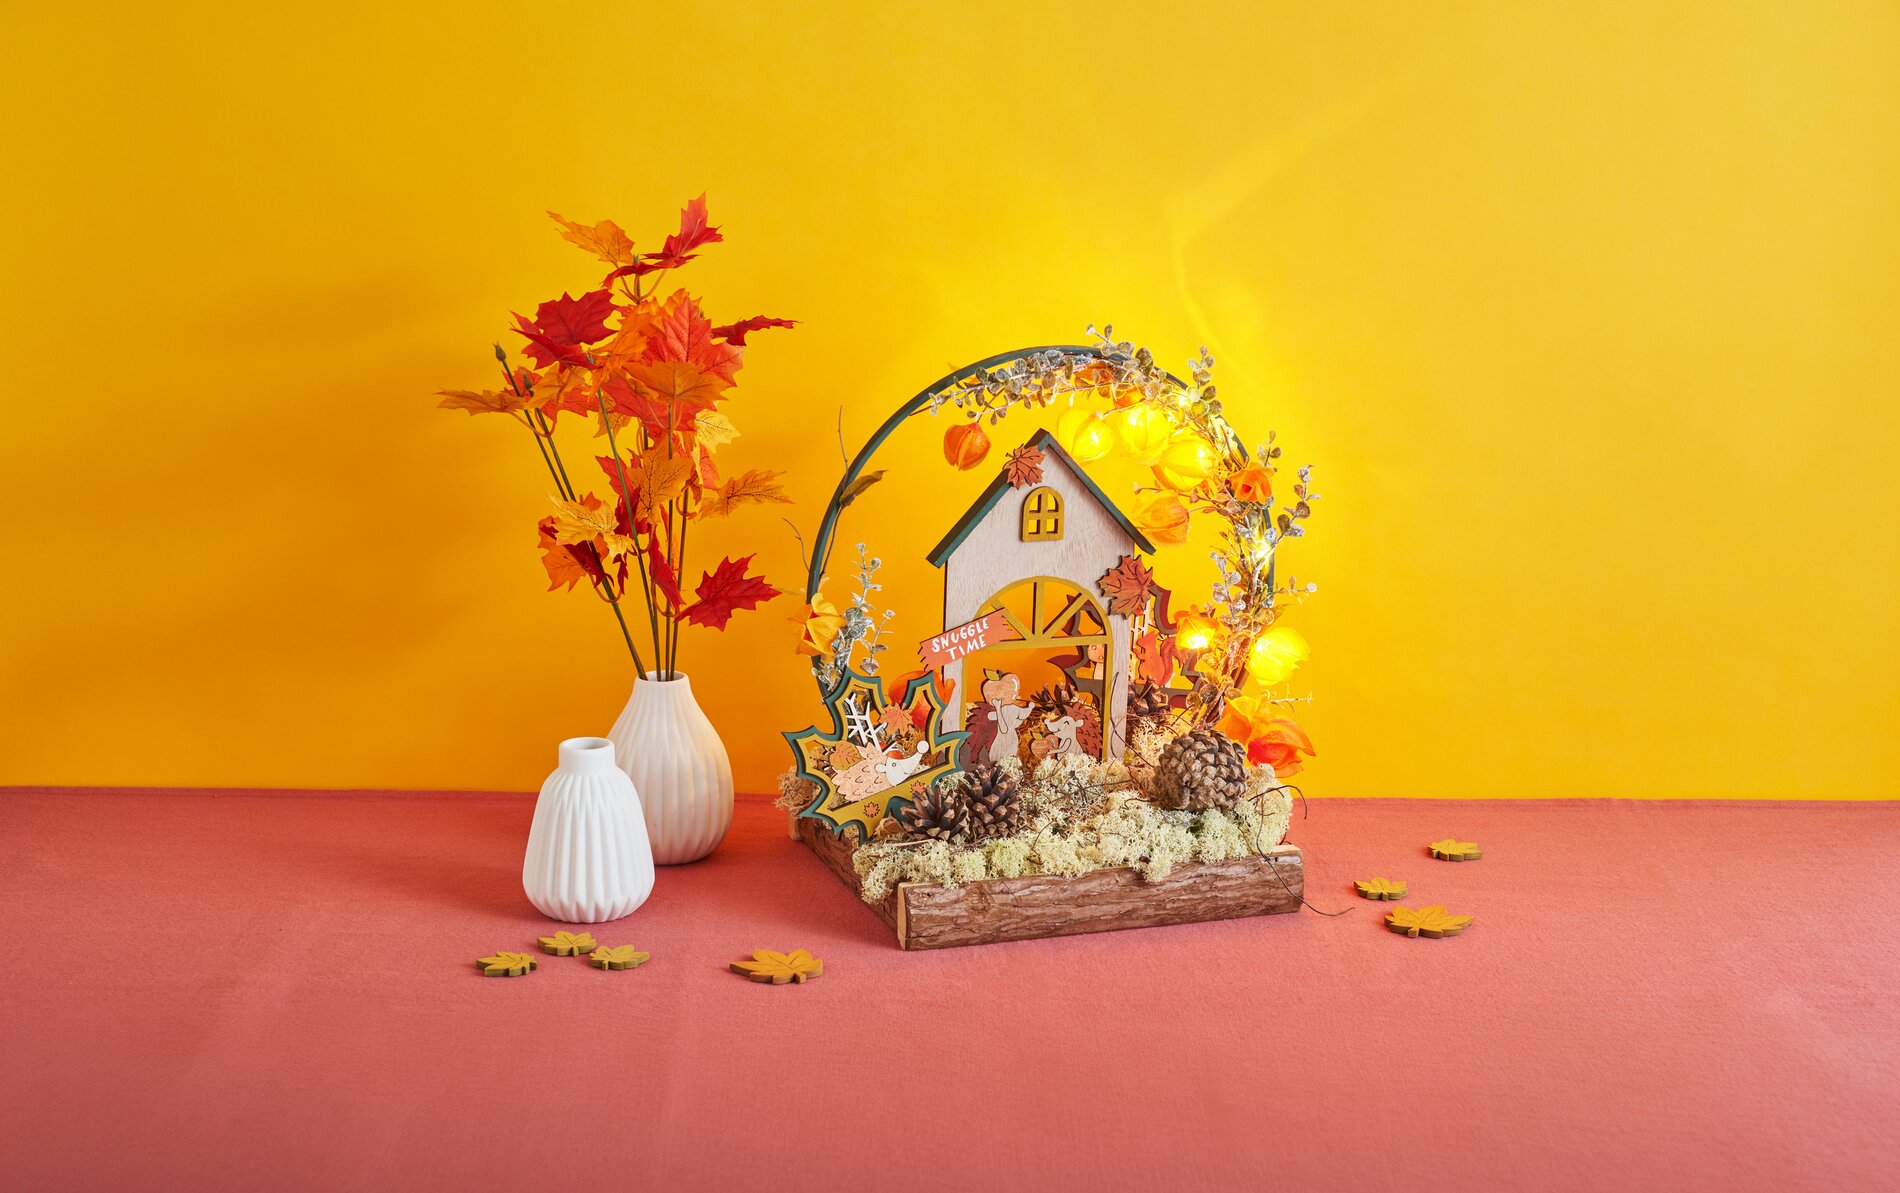
Fill the wooden tray with “ flower arrangement foam ” and press the wooden ring into it. “ flower arrangement foam ” is a firm, lightweight material into which you can easily insert decorations and “ plugs .” Secure the ring with hot glue so that it stands firmly and stably. Then glue the little house in the center of the ring. This creates a harmonious fall diorama with a clear focal point.
Step 8: Build the landscape— moss, willow , and pinecones add accents
Now cover the “ flower arrangement foam ” with Iceland moss, decorative-willow , and pinecones. The moss covers the base, looks like forest floor, and instantly makes the arrangement more natural. Use pinecones strategically as focal points instead of spreading them out evenly. Finally, insert the wooden sticks into the flower arrangement foam and vary their heights to give the overall arrangement a lively look.
If you’re now inspired to explore more fall decor ideas featuring wooden stick motifs— chains of lights and natural materials —you’ll find the perfect craft supplies in our online shop to get started on your next project right away.