- Secure order
- Easy return shipment
- Service-Hotline +41 71 511 23 70
Instructions No. 3600
Difficulty: Beginner
Working time: 30 Minutes

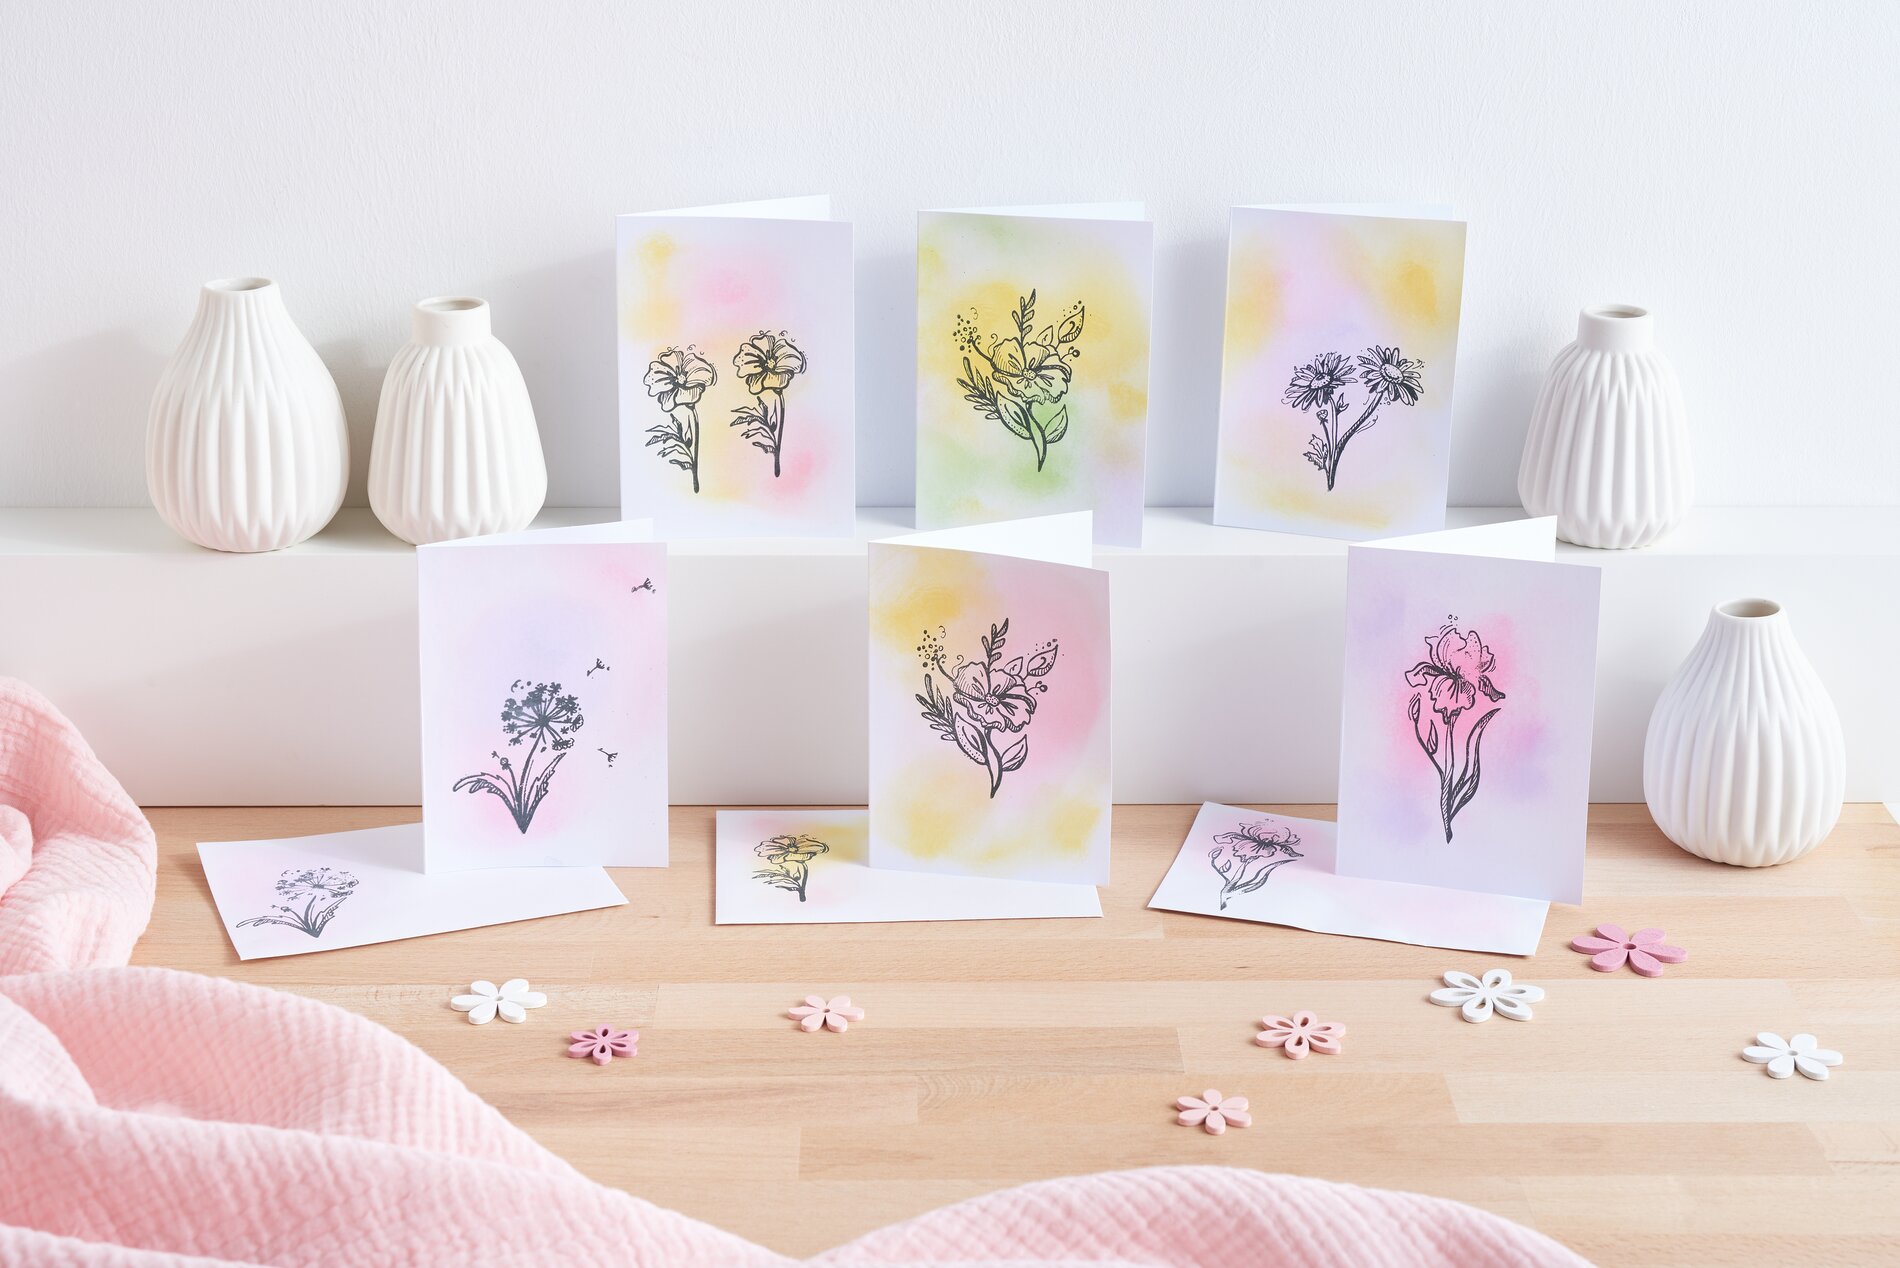
Step 1: Create a colorful base
Start by spreading the stamp ink over the card and the corresponding envelope using a so-called blending brush (a special brush for gently applying color). This technique ensures smooth transitions and a harmonious color surface. Make sure to use smooth movements to achieve an even color pattern. Allow the paint to dry well before continuing to avoid smudging.
Step 2: Prepare the stamp motif
Now choose a silicone stamp with a flower motif. Place the stamp firmly on an acrylic block. An acrylic block serves as a handy handle for the stamp and enables precise placement of the motif on the card. Moisten the motif side of the stamp with stamping ink. Make sure that the stamp is inked evenly to achieve a clear imprint.
Step 3: Stamp the motif
Now you are ready to print your chosen design on the card. Carefully place the stamp on the card and press it on evenly with gentle pressure. Carefully remove the stamp to prevent the ink from smudging. Repeat this process for the envelope so that the card and envelope match perfectly.
Creative finish
If you like, you can add more details or small accents, such as glitter, hand-painted details or colorful ribbons. Allow the stamped flowers and any embellishments to dry completely before using or sending the card.
Your personalized greeting card awaits!
Now that you know how easy it is to make unique cards with silicone stamps and a blending brush, it's time to get your materials together and get started. Visit our online store and discover the wide range of stamps, inks and other creative supplies you need to let your imagination run wild. Start your craft project today and take your greeting cards to a professional level!