- Secure order
- Easy return shipment
- Service-Hotline +41 71 511 23 70
Instructions No. 3418
Difficulty: Beginner
Working time: 3 Hours
From us to you: Your creative guide to bottle tags
Put an end to the hassle of wrapping bottles in wrapping paper! Discover an elegant and personal way to present your bottles in style for any occasion. With our instructions, you'll learn how to create multifunctional bottle tags that are not only only decorative, but also offer space for small gifts. Immerse yourself in the world of DIY and give your bottles a personal touch!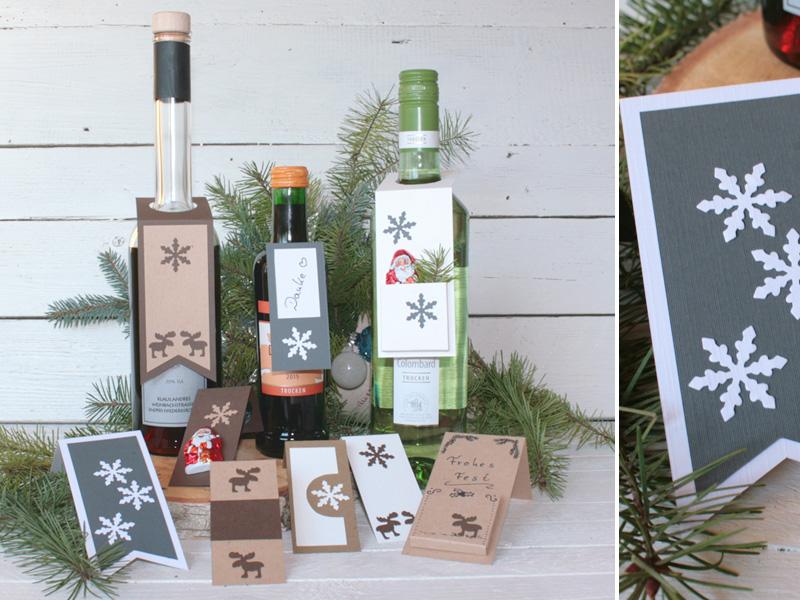
1.Print out or create a template
Before you start, print out the template and cut it out. Alternatively, you can also create your own template - make sure the size matches the bottle neck and the thickness of your bottle. Our template will serve as a helpful guide.
2.Transfer the templates
Once the templates are ready, transfer the selected shapes onto the linen paper using a pencil. For textured Paper , we recommend working with the reverse side. Then cut everything out. You can use a cutter knife for straight edges. The circle is best cut out with a hole punch.

3.Folding bottle tags
Folds must be made to attach the tags to the bottle. Place the cut tags on the template and fold at the markings using a ruler. Then bend the folds with your fingers without a ruler.

4.Glue everything together and finish
Now you can glue the prepared elements together as you wish. Use paper glue for flat pieces of paper and, if necessary, double-sided adhesive tape. for the pockets Once all the pieces are connected, it's time to decorate. Punch out snowflakes or similar motifs and attach them with paper glue. There are no limits to your creative freedom when decorating! Design your tags with bows, sprinkles and other accessories. Add a personal touch with handwritten decorations.

Get all the materials you need in our online store and get started with your craft project right away. Our creative products are already waiting for you!