- Secure order
- Easy return shipment
- Service-Hotline +41 71 511 23 70
Instructions No. 3490
Difficulty: Beginner

Step 1: Prepare the motifs
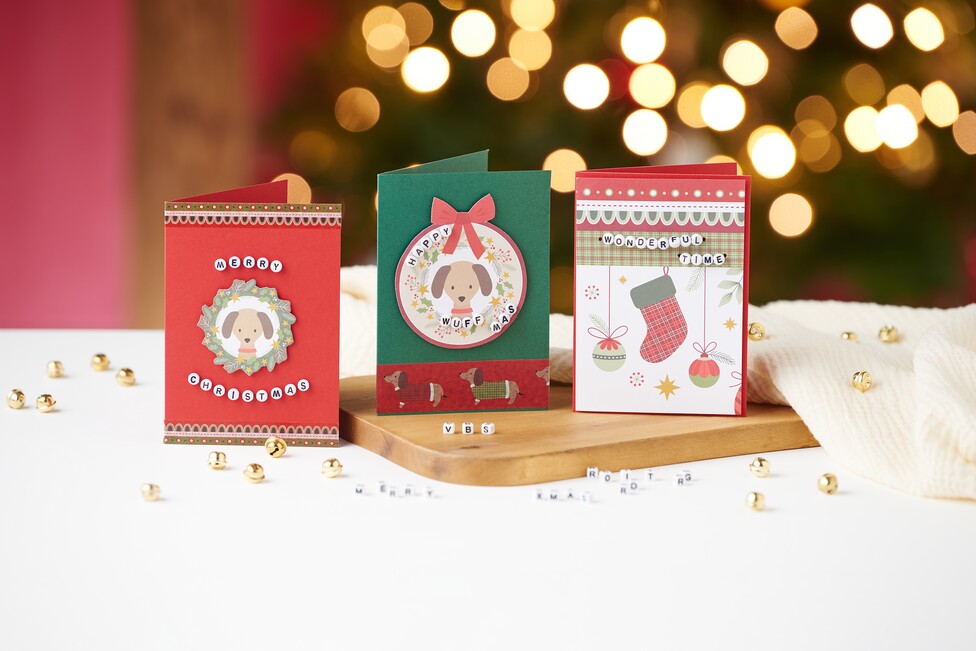
Start with beautiful motif paper, such as the Paper-set "Woofy Christmas", which offers you a variety of festive motifs. Use either the tweezers scissors for delicate cutting or the contour cutter to cut out the desired designs. Make sure to cut clean and even edges to maximize the visual effect.
Step 2: Design the lettering
Now comes the creative part. Decide on a lettering from letter beads - whether it's a cheerful "Merry Christmas" or the name of a loved one. Put the beads together to create the perfect greeting.
Step 3: Attach the beads
You have two options for attaching the letter beads :
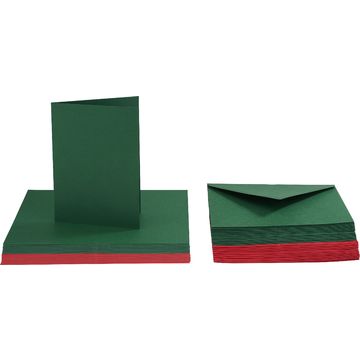
Option 1 - With enameled copper wire: Thread the beads onto the enameled copper wire. Make sure you leave a little space so that the beads line up nicely. Now punch two holes in the selected Paper . Feed the ends of the wire through these holes and twist the wire ends at the back. This will keep your lettering securely in place.Step 4: Design the cards
Take your prepared papers and stick them onto the double cards using 3-D glue pads . These pads give your cards a great three-dimensional effect and make the motifs stand out.
Step 5: Decorate with washi tape
The finishing touch for your christmas cards: embellish them with colorful washi tape. This decorative adhesive tape brings additional color accents and creative designs into play. Experiment with different patterns and colors to give your cards a unique touch.
Try it out!
With these simple steps, you can create your very own christmas cards . Let your creativity run wild and surprise friends and family with a handmade one-off.
Ready to get creative christmas cards ? Visit our online store to order all the materials you need quickly and easily. Conjure up wonderful festive greetings with your unique handwriting!