Color Scheme in the “Houses / House Silhouettes” Trend
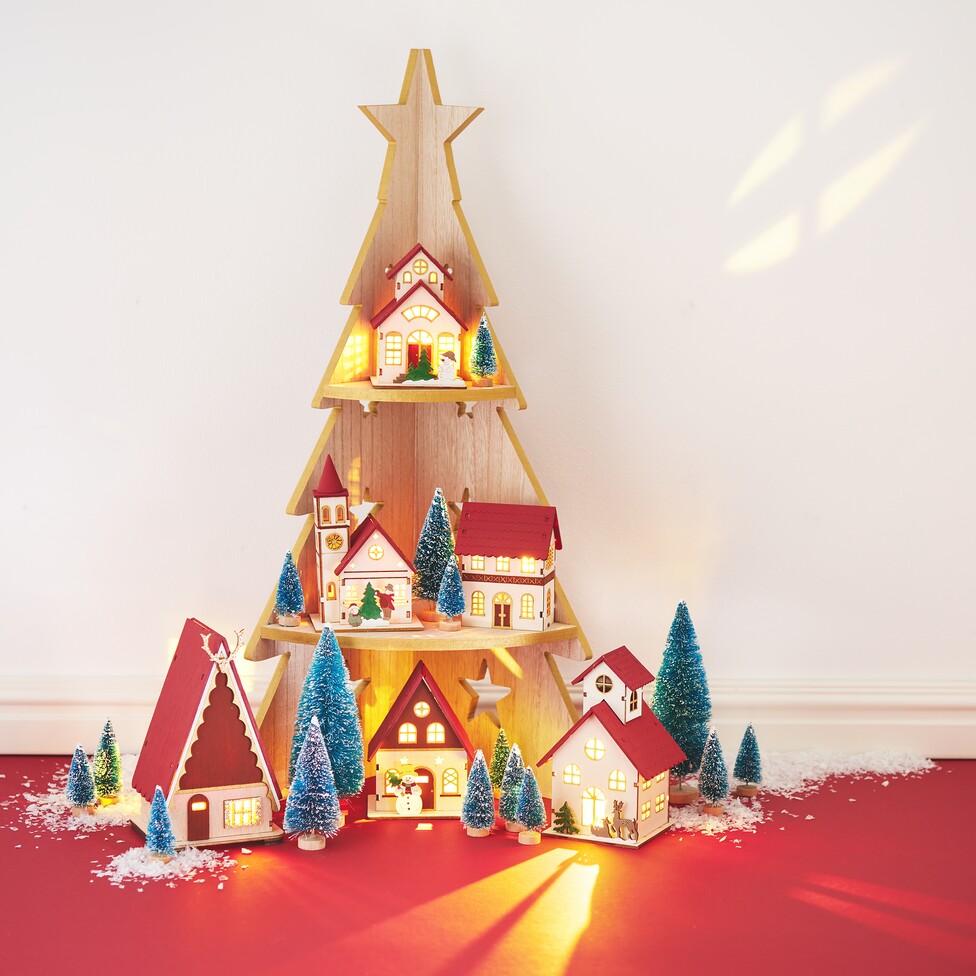
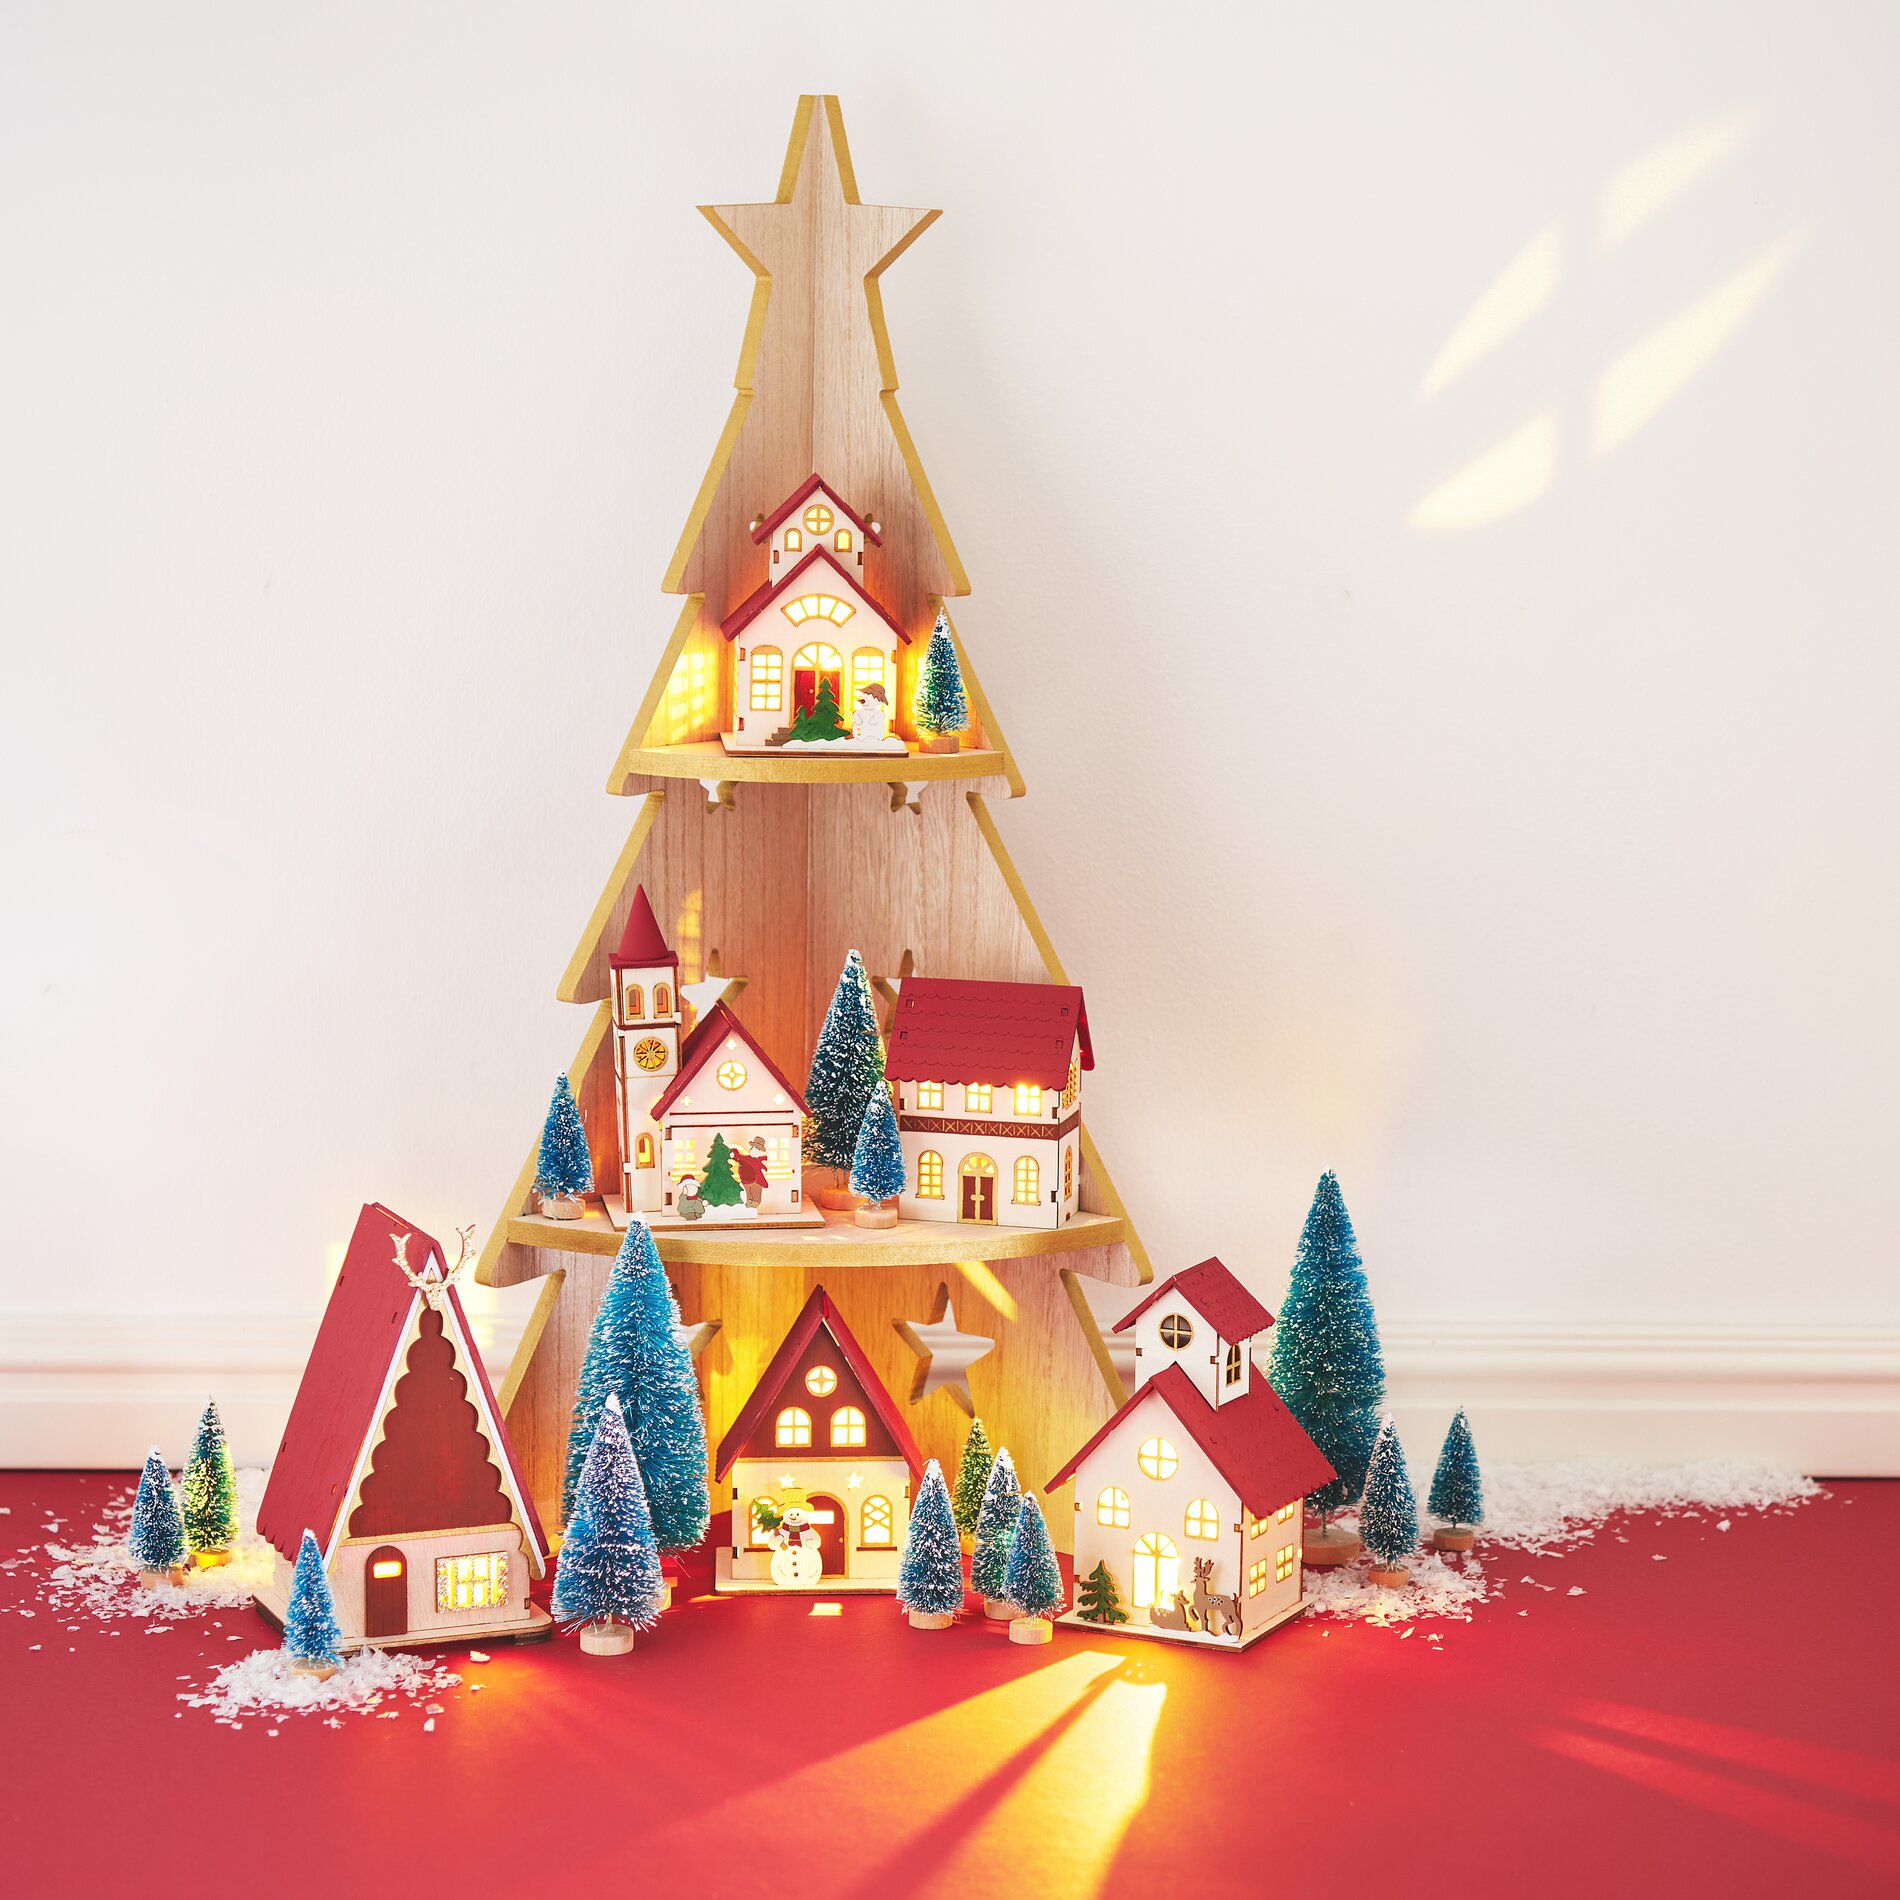
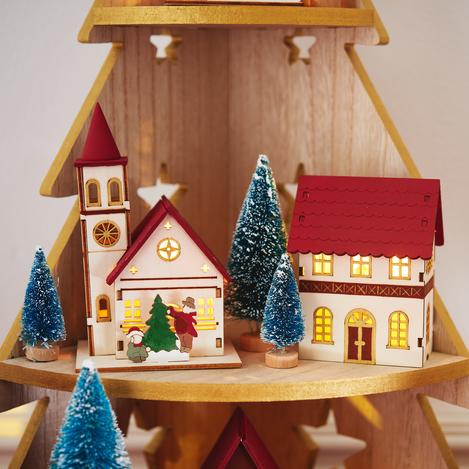
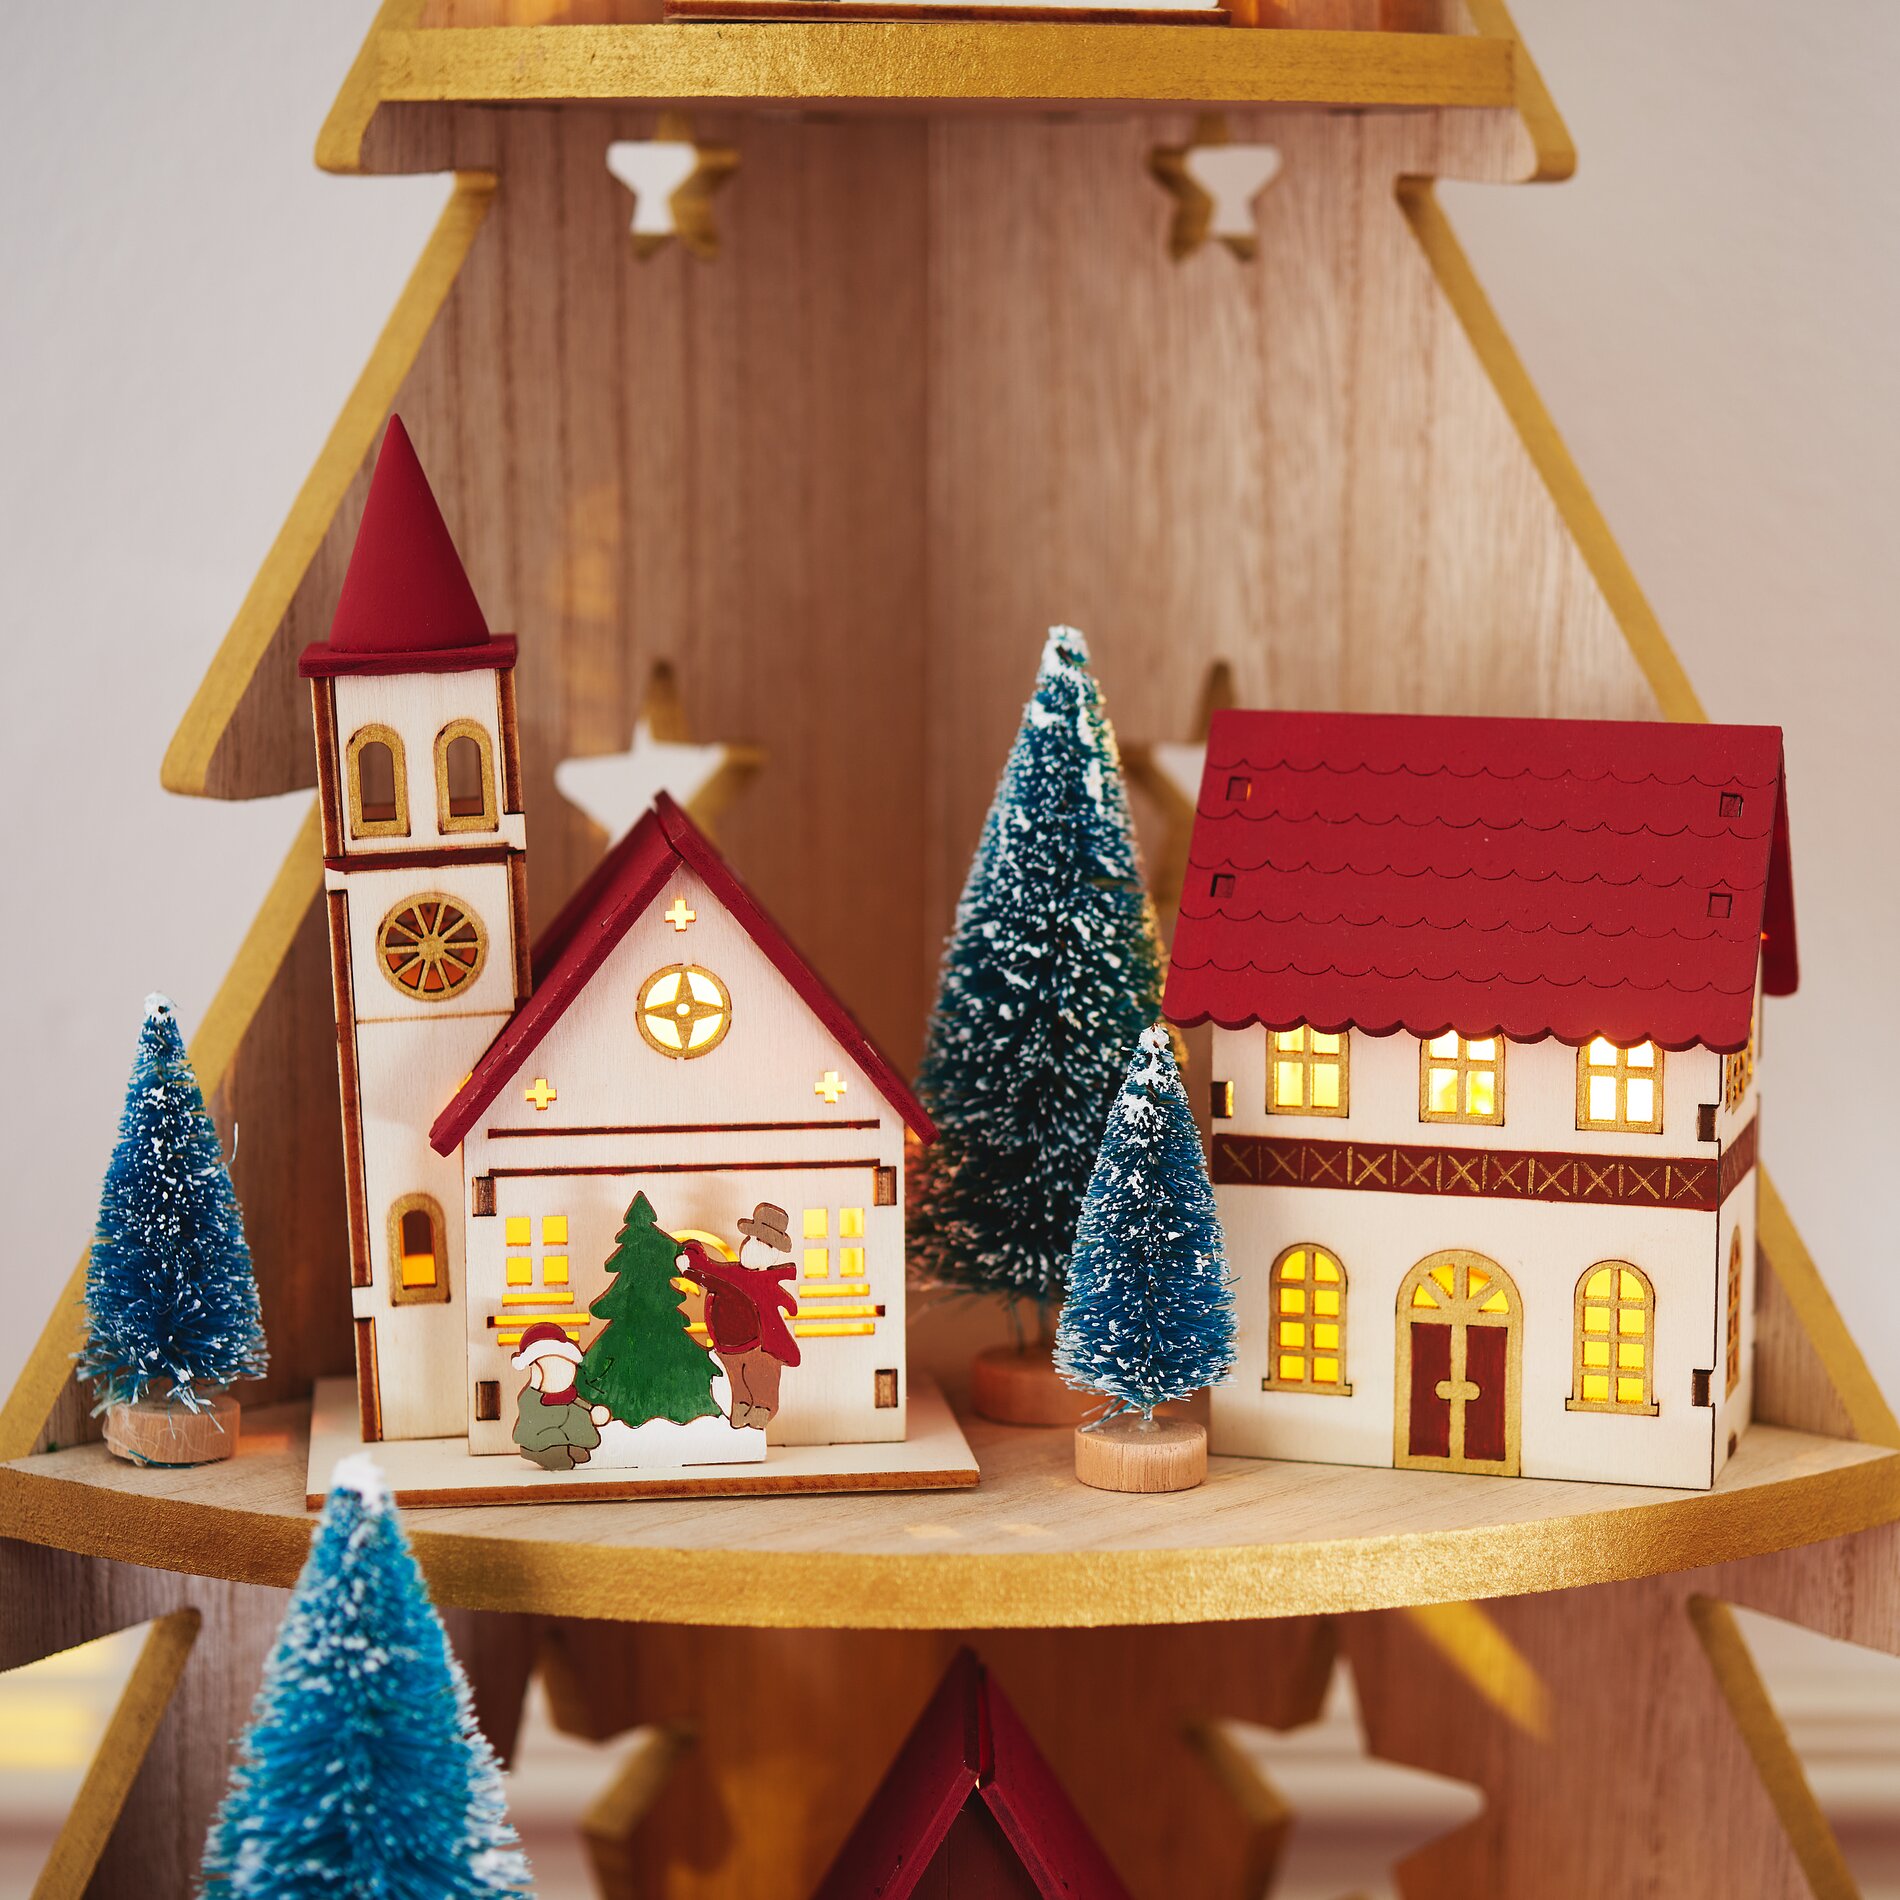
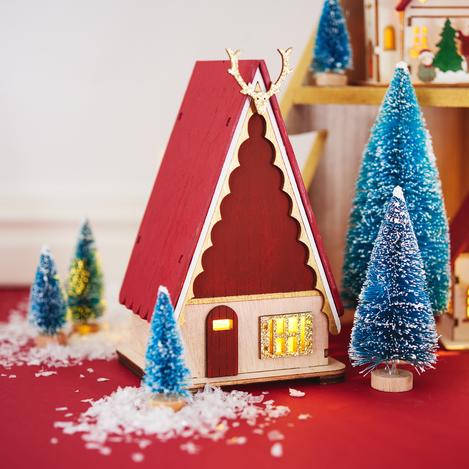
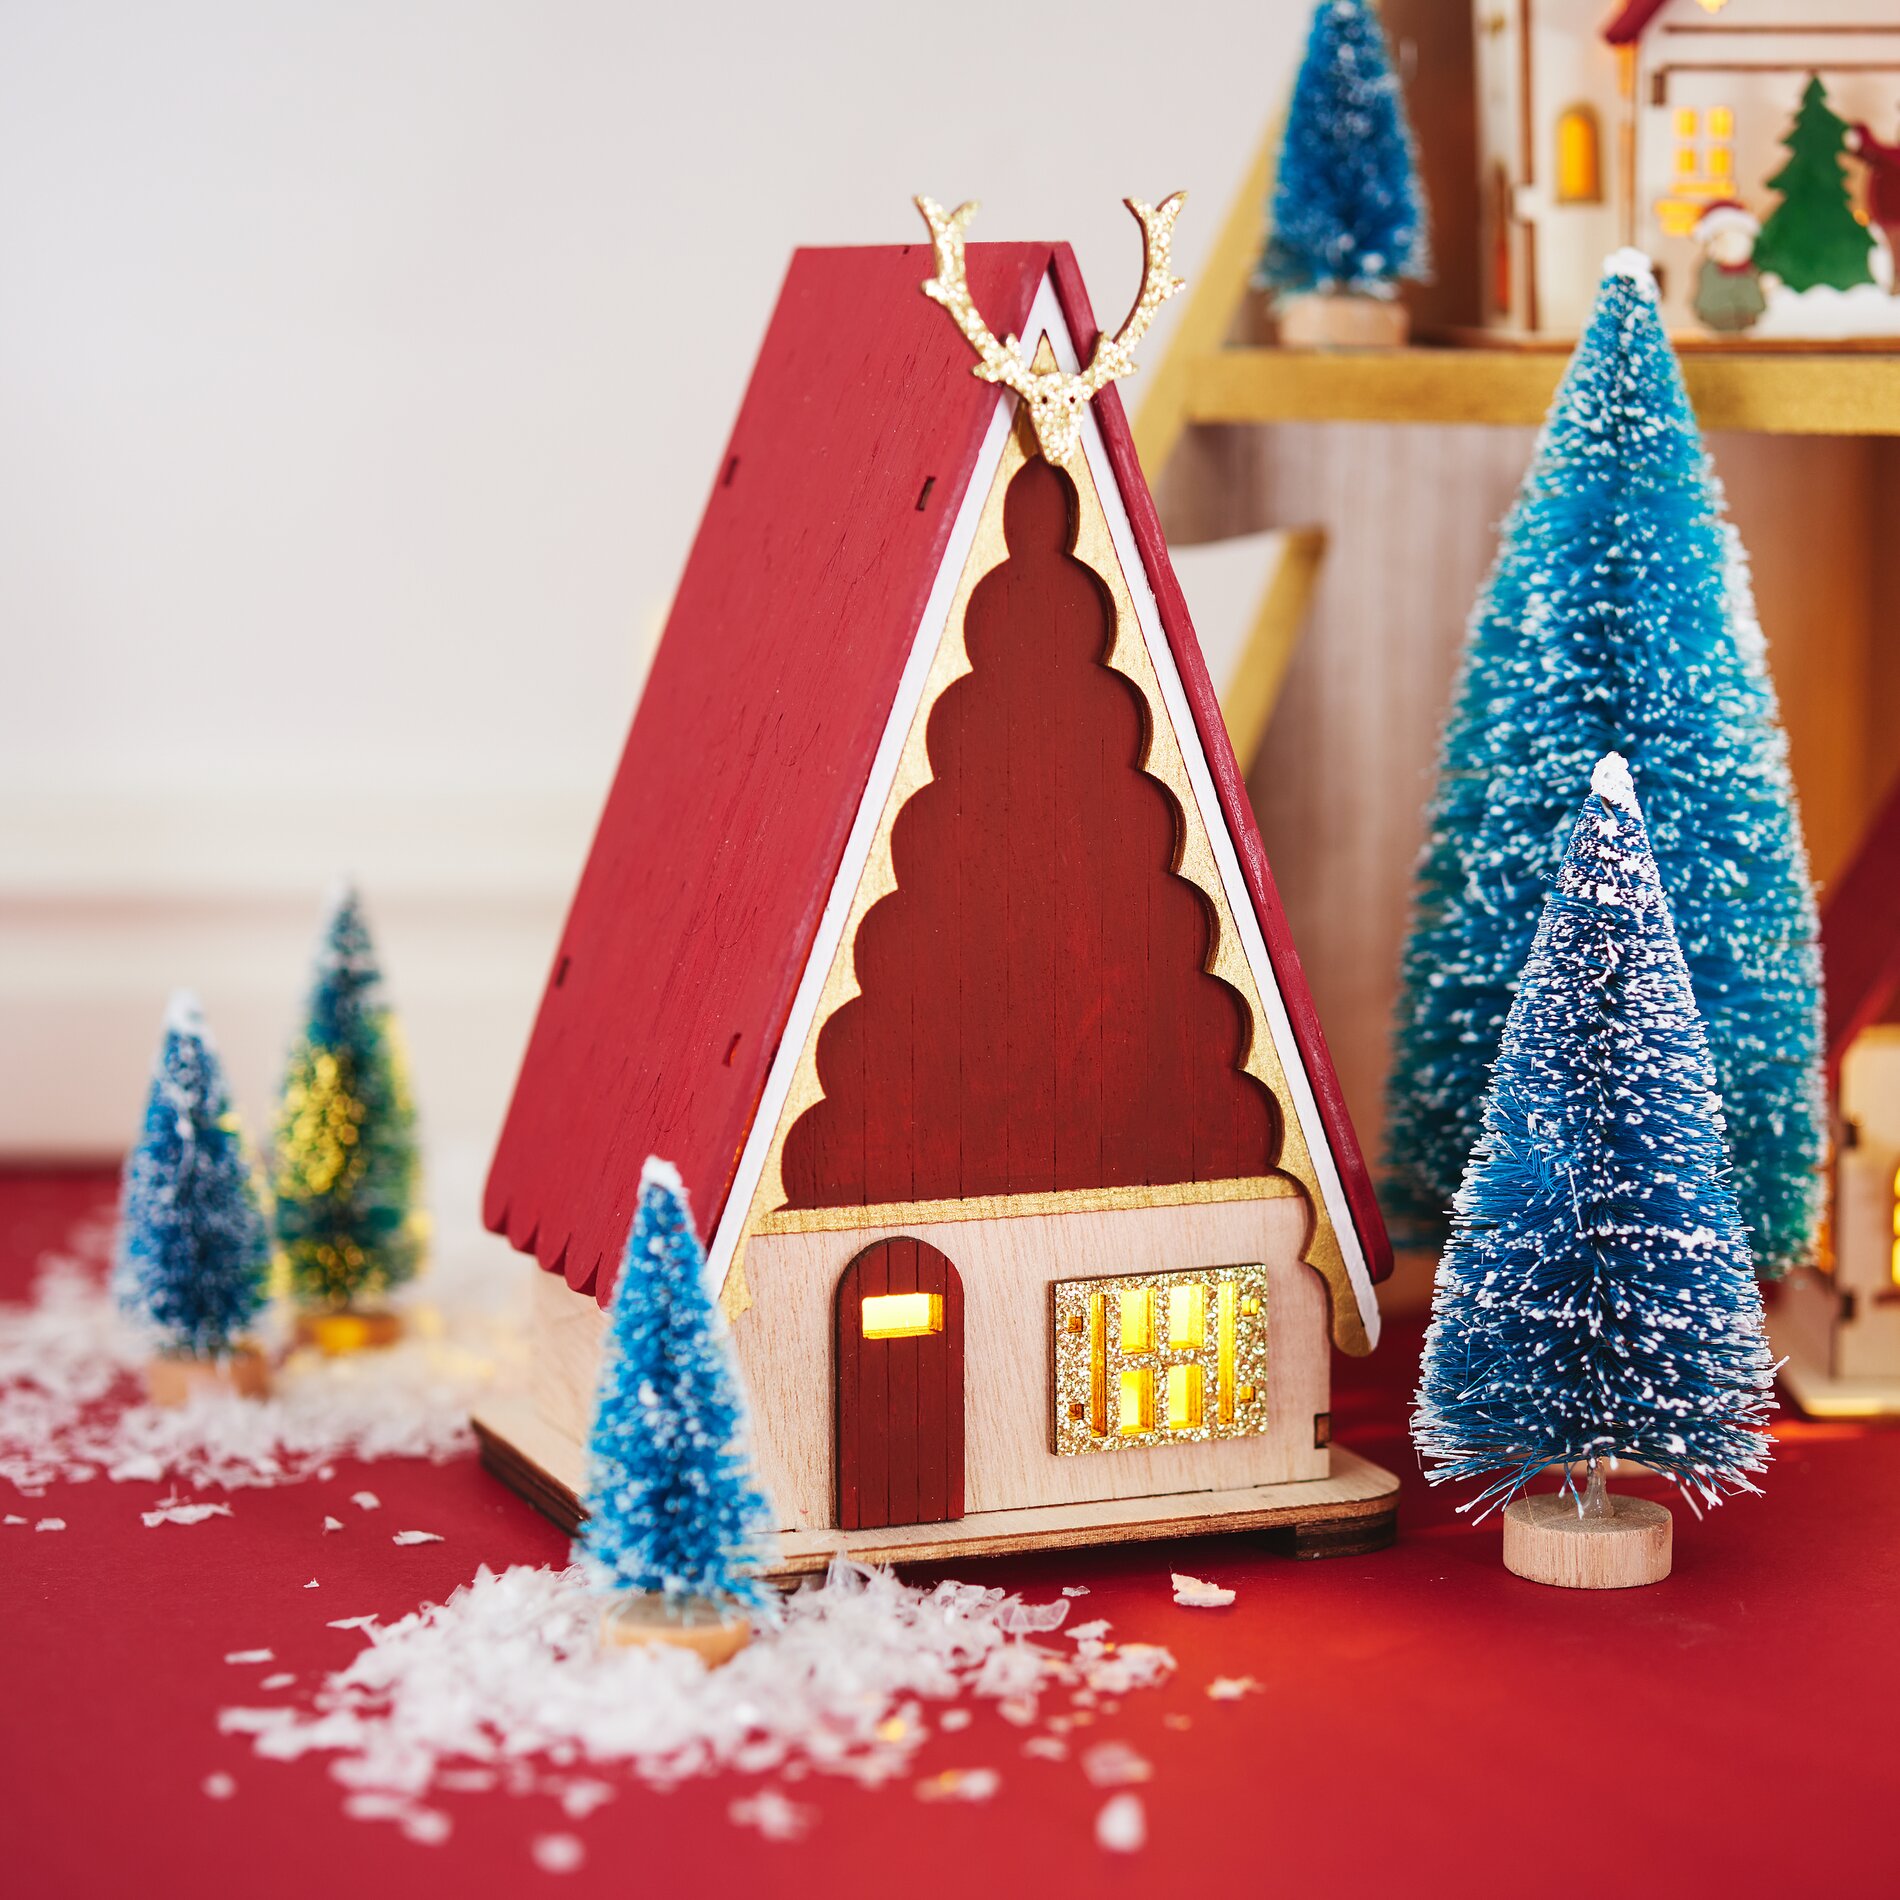
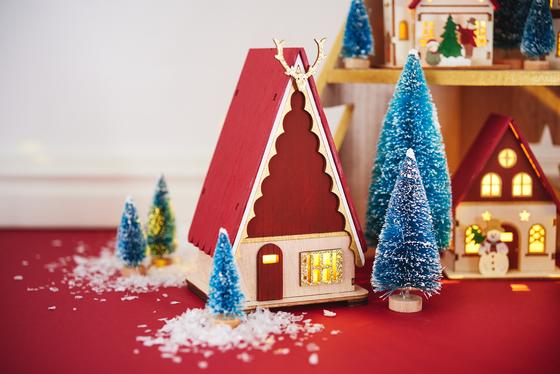
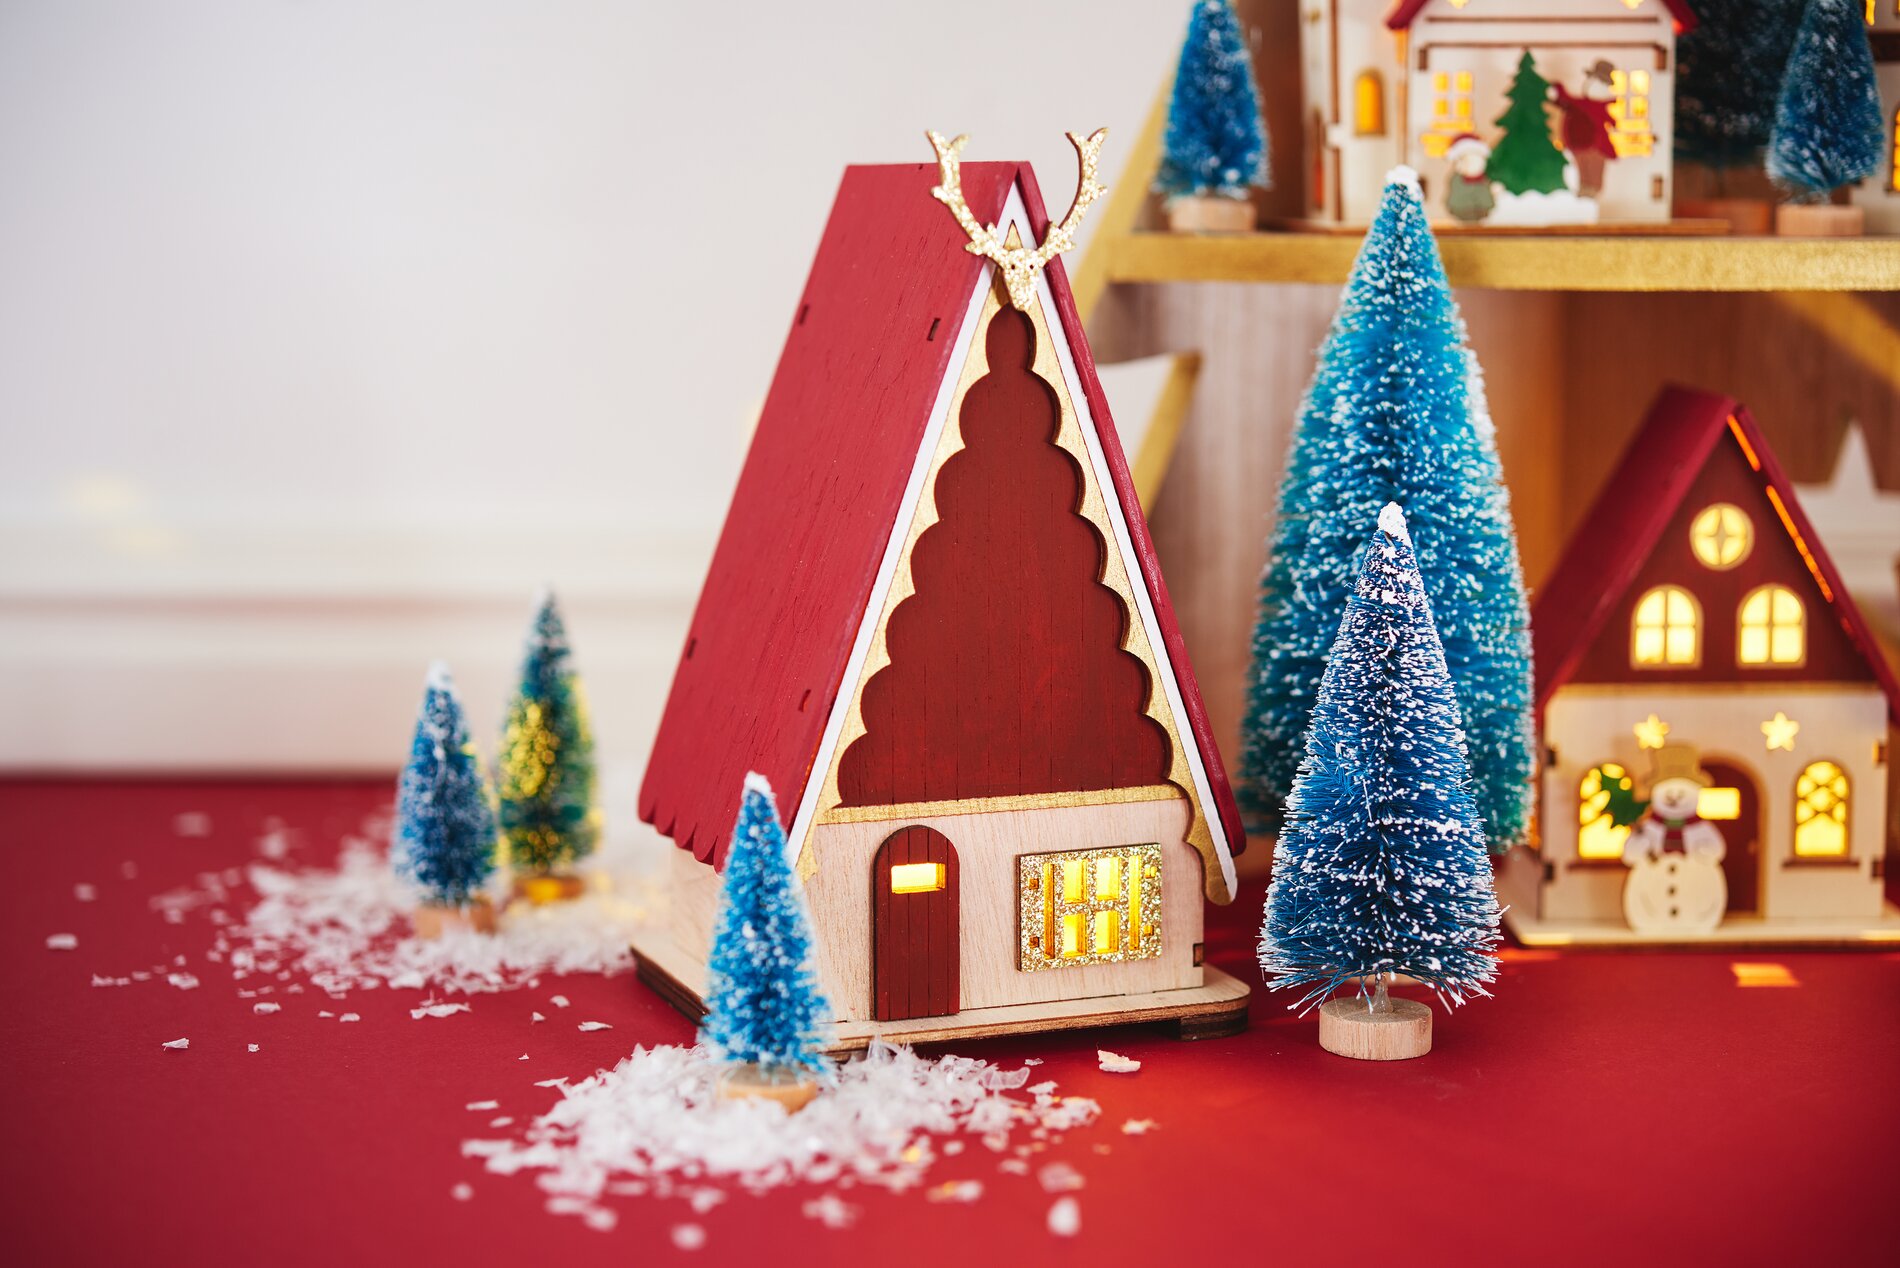
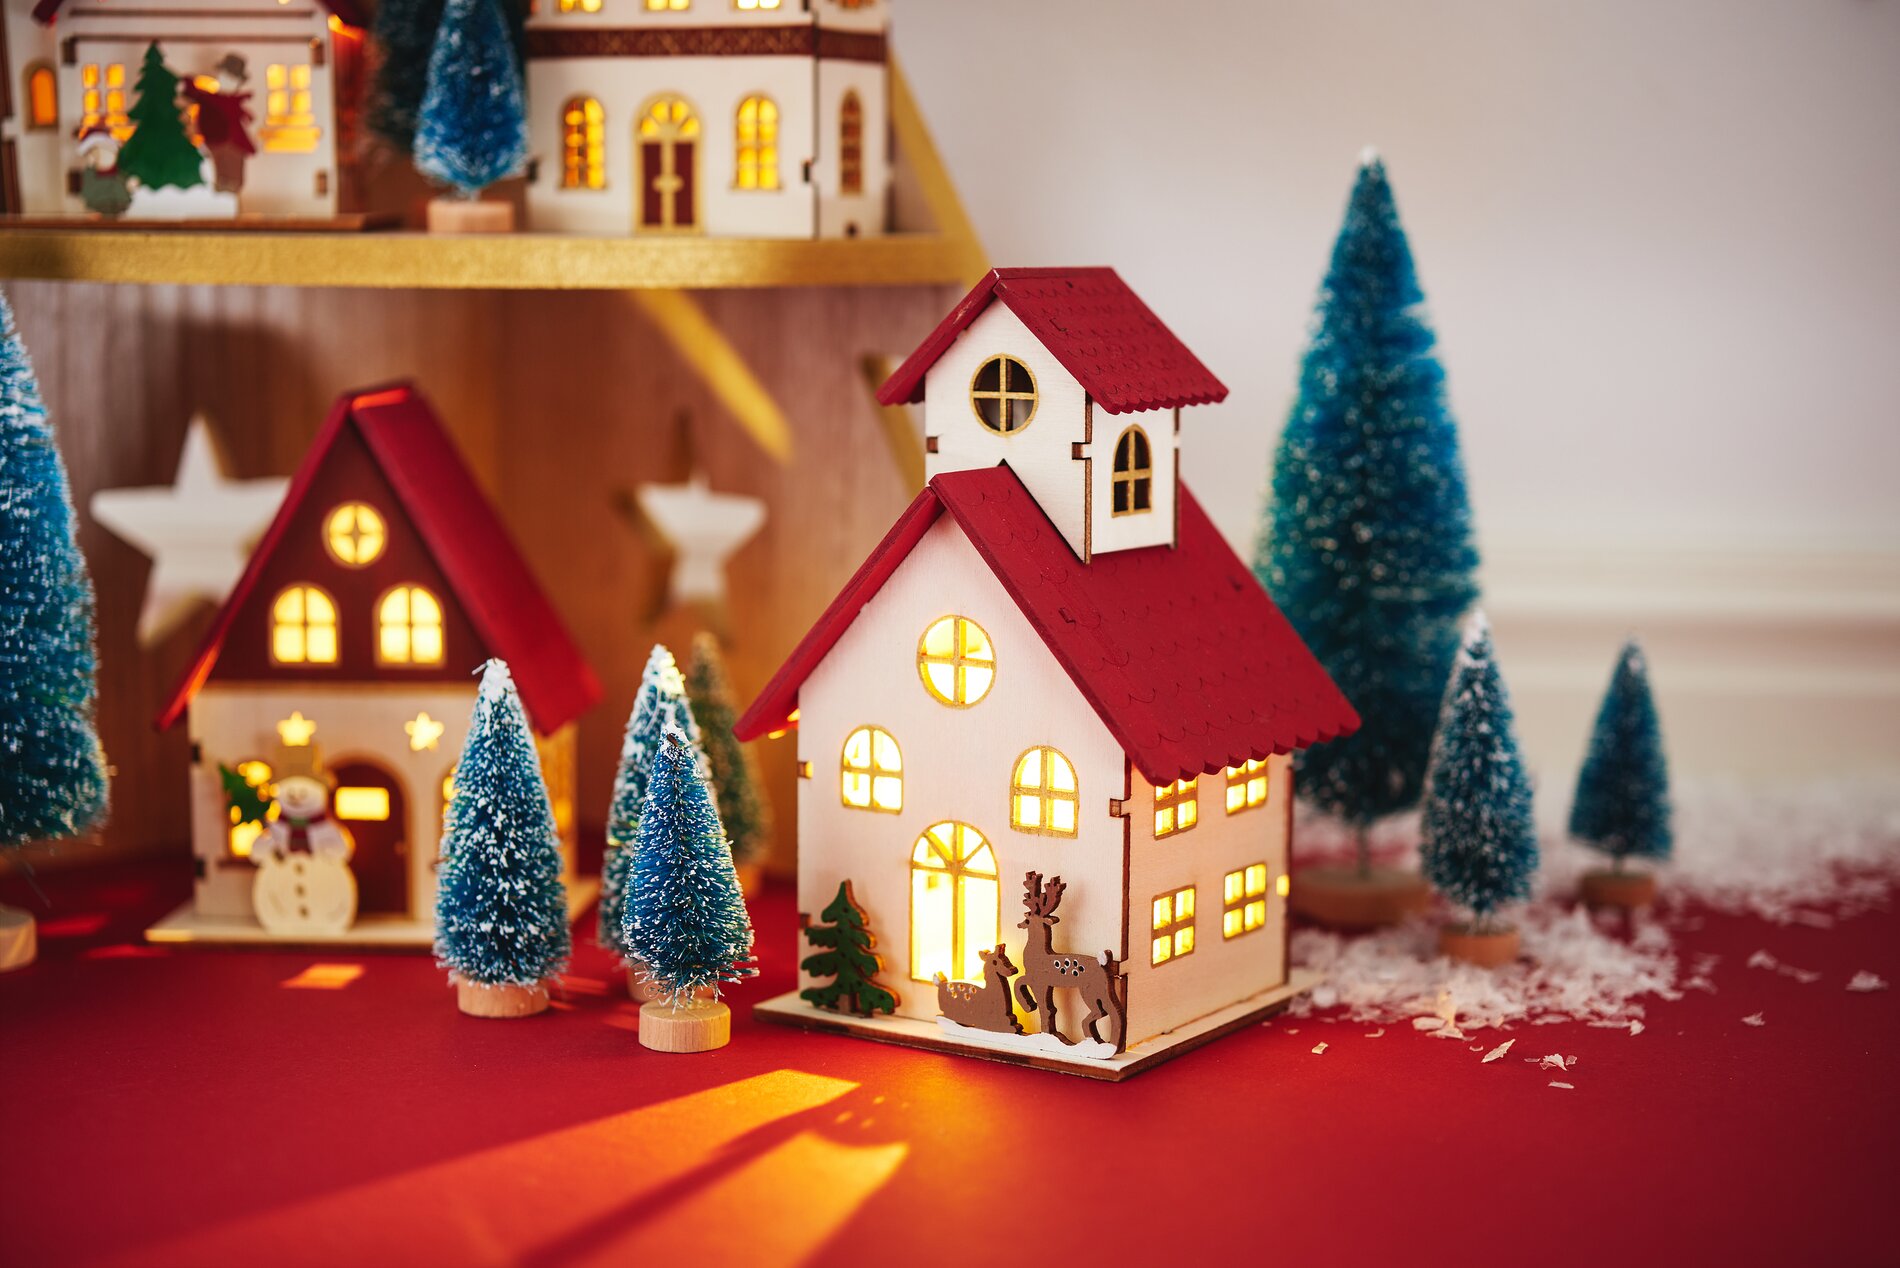
Choose a harmonious winter color scheme: warm red- and creame-tones have a classic feel, and natural wood surfaces provide a calming contrast. Plan contrasts thoughtfully: light-colored house walls can later be beautifully accentuated with darker roofs or fine lines, while the Christmas tree pyramid can remain a calm backdrop.
Painting houses: surfaces first, then details
Start by painting the large surfaces of the houses, such as the walls and roofs. It’s best to apply the paint in two thin coats. This prevents brush strokes and ensures an even finish. Let each coat dry completely before continuing—this prevents smudging and ensures crisp edges.
Accentuate windows, doors, and house silhouettes
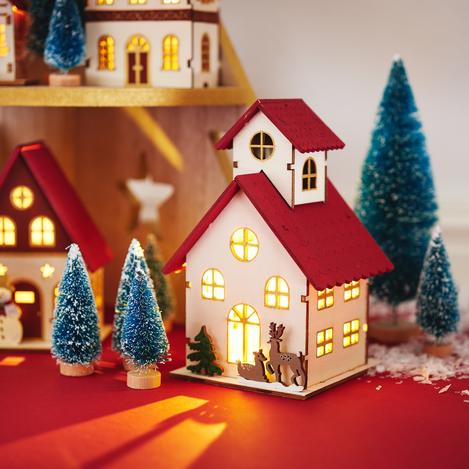
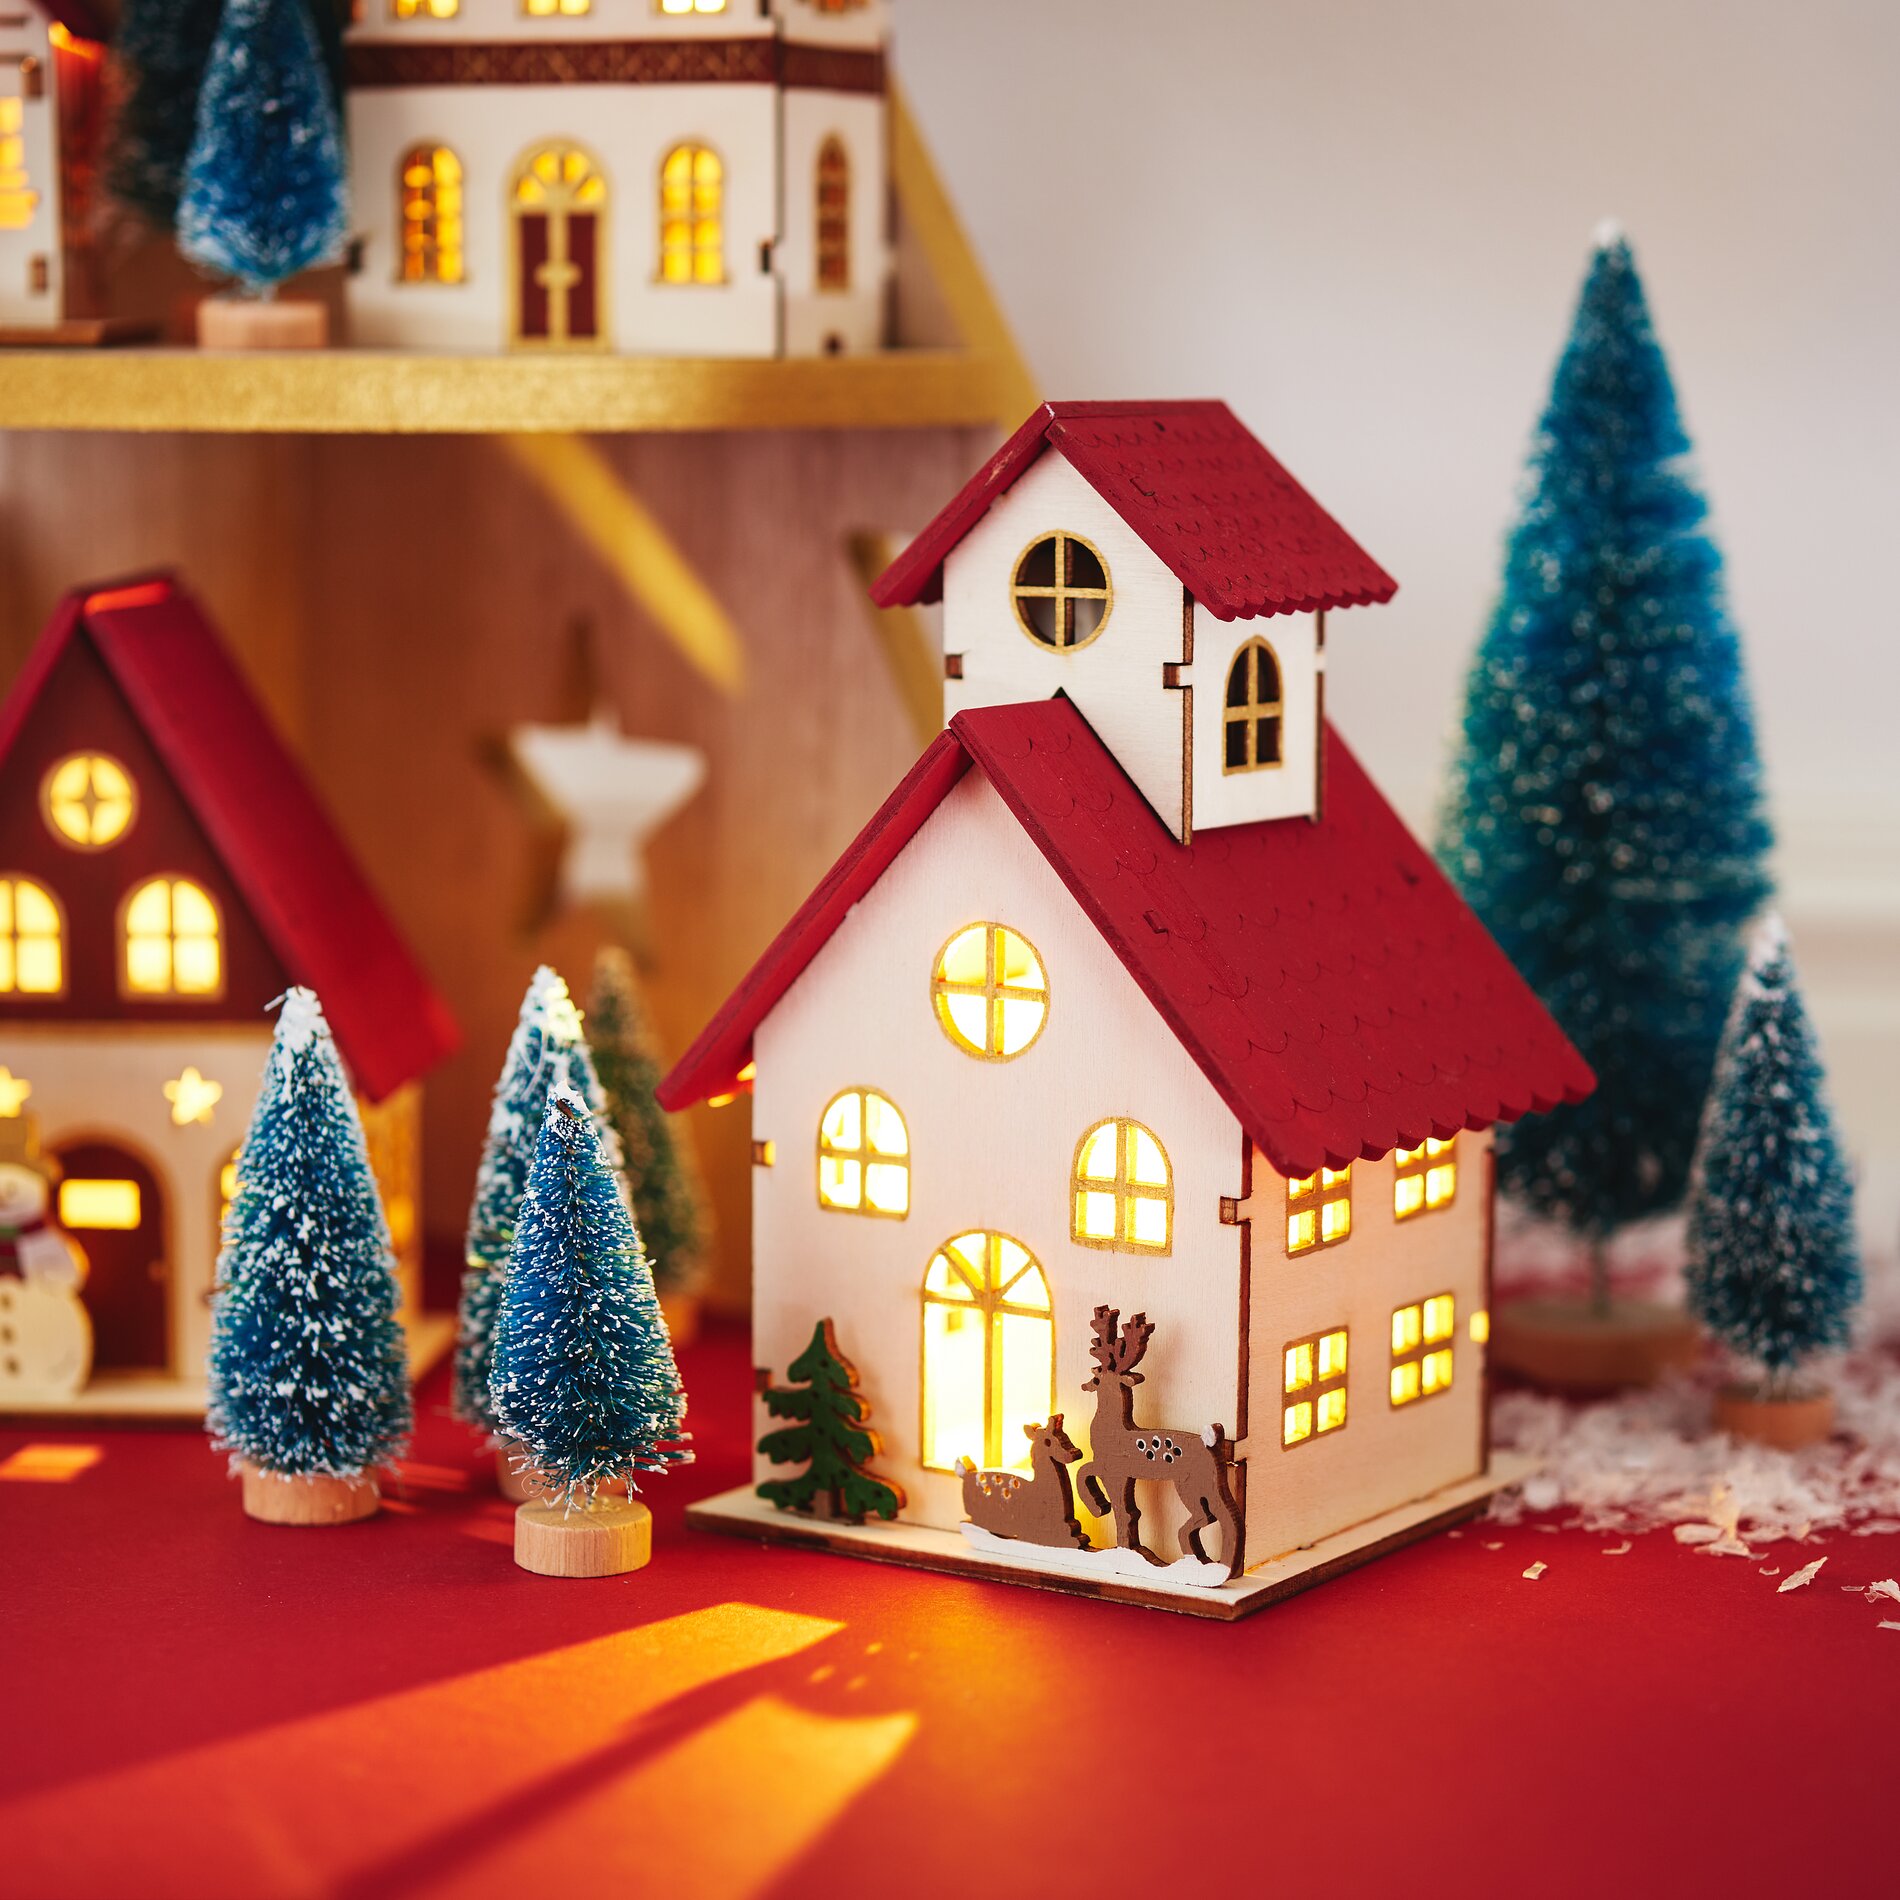
Once the basic colours are dry, it’s time for the details: window frames, doors, and small decorative elements. Use just a little paint on your brush here to keep the lines clean. “Accentuating” means deliberately creating contrasts to make shapes more distinct. This looks especially beautiful with house silhouettes because it gives the miniature architecture more depth.
Painting the Christmas Tree Pyramid
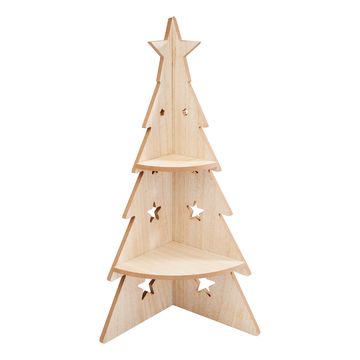
Now paint the Christmas tree pyramid so that it visually supports the houses. Natural wood, soft creame-tones, or a subtle color gradient work well because they keep the focus on the houses. Let the paint dry completely afterward so nothing sticks together during assembly.
Time to dry: Plan Ahead
Give all painted parts enough time to dry. Completely dry paint is the foundation for strong bonds and clean edges. If you glue them together too soon, the paint may get indentations or peel off. Be sure to plan in breaks here—it’ll save you from having to redo the work later.
Gluing Together
Glue the individual parts of the corner shelf together step by step. Briefly align each joint before securing it so that the levels are straight later on. Remove any excess glue immediately while it’s still soft. Afterward, the glue must also dry thoroughly so that the Christmas tree pyramid remains stable and doesn’t shift while you’re decorating.
Arrange the winter village and create a visual flow
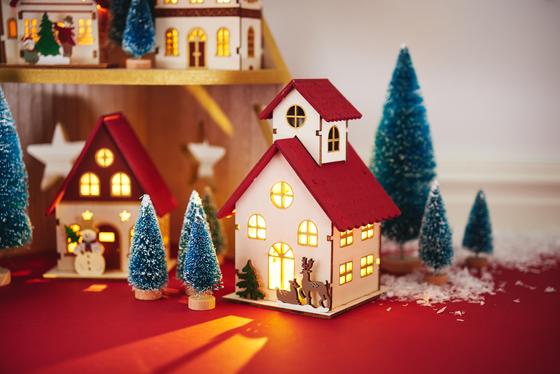
Place the finished pyramid in the desired spot and arrange the houses to create a small winter landscape. Larger houses look particularly serene in the foreground or on the lower levels, while smaller elements add movement toward the top. Complement the scene with small trees. They fill in gaps, make the village appear denser, and give your winter arrangement more depth.
diamond-Sprinkle snow for a wintry effect
To finish, scatter some “ diamond-” snow around the houses, between the trees, or on the ground. Apply it sparingly rather than in large patches: this keeps the scene light and detailed, and ensures the houses remain clearly visible. The fine sparkle of the diamond-snow creates that classic winter look and makes your Christmas decoration project especially festive.
Final Check: Touch Up Details and Ensure Long-Lasting Enjoyment
Step back a bit from your mini landscape and take another look at it. Does everything look the way you want it to? If individual edges look too harsh, you can soften them with a thin layer of paint or add small accents. Also, check to make sure all parts are secure. This will ensure your painted Christmas tree pyramid stays stable throughout the winter. Finally, add some cozy lighting with the LED lights on the houses.
Now it’s your turn: If you’re looking for more painting ideas, matching decorative elements, or accessories for your next winter village, browse our online shop and create your own personal Christmas world.