- Secure order
- Easy return shipment
- Service-Hotline +41 71 511 23 70
Instructions No. 3198
Difficulty: Beginner
Working time: 2 Hours
Easter is just around the corner and with it comes the perfect time for creative craft projects. What could be better for your Easter table than chickens made from simple eggs and a few creative extras?
These cute eye-catchers are not only only a fantastic crafting experience, but also bring a lot of joy and individuality to your Easter arrangements.


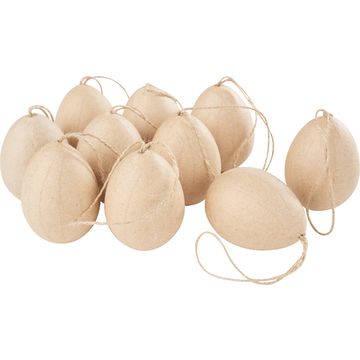
To start, carefully remove the existing egg hangers. Be careful not to damage the eggs, especially if they are made of a fragile material.
Now turn your attention to the color scheme. Use pastel colors to paint the eggs. These colors give the eggs a soft, spring-like look. You can opt for a uniform color scheme or choose different pastel shades for a colorful mix. Allow the paint to dry thoroughly before moving on to the next step.
Now bend the comb for the egg from the decorative aluminum wire. Once you have bent the desired shape, twist the ends of the wire to reinforce them. Use hot glue to fix the wire comb in the hole in the egg. The hot glue ensures that the wire stays securely in place without slipping.
Using a awl, a useful hand tool, carefully poke two small holes in the egg, which will later serve as holders for the feet. Now attach the feet to the pre-punched holes using a little hot glue. Make sure that everything is well fixed so that the egg is stable later on.
The final creative step is to draw the faces on the eggs. First sketch out the facial features with a pencil, which will help you to check the proportions and make any corrections. Once you are happy with your design, paint the faces carefully.
Bring a touch of spring into your home with these pastel-colored Easter eggs!