Knit Arm Warmers Using the " knitting machine " Technique
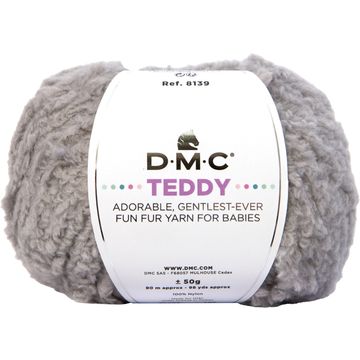
Gather all your supplies and take a moment to adjust the fit: wrist warmers should be snug enough to keep you warm, but not too tight. For this beginner project, you’ll knit a straight piece using a knitting machine and fluffy baby yarn. The result is soft, warm, and perfect for winter—ideal if you like quick knitting projects but still want a neat finish.
1) Make a straight piece on the addi-Express
Knit a straight piece following the video or instructions for the knitting machine . “Straight knitting” here means: You’re creating a flat piece (not a tube) that will later be sewn together to form a cuff. Adjust the width so that it fits loosely around your wrist and closes easily. You can choose the length as you like: short to just past the wrist, or longer down toward the forearm for extra warmth. This step is key to getting the right fit—so check your progress periodically by wrapping the knitted piece around your wrist.
2) Align the edges and place the right side facing in
Once your knitted piece is finished, lay it flat in front of you and decide which side should be on the outside. Then place the right sides together so that the seam will be hidden on the inside. This ensures the wrist warmer looks even and high-quality from the outside, even if you don’t have much knitting experience yet.
3) Close the long side and leave room for the thumb opening
Sew the long side together using the included plastic needle and the same yarn. Work evenly so the seam remains elastic—arm warmers need to be able to stretch slightly when you put them on. Important: Leave an opening for the thumb. Position the thumb opening so that it sits comfortably when you’re wearing the cuff. It’s helpful to wrap the knitted piece around your hand once and roughly mark the spot for the thumb. This prevents the opening from being too high or too low and getting in the way later when you’re gripping things.
4) Turn it inside out and check the fit
Turn the cuff inside out so the right side is facing out. Put it on and check the fit and comfort: Your thumb should be able to move freely, and the cuff should fit comfortably around your wrist. If you like, you can secure the edges with a few small stitches to prevent the cuff from warping while you wear it—this ensures a long-lasting result, especially with fluffy “ yarn .”
5) Make the second cuff the same way
Repeat the steps for the second wrist warmer. Be sure to keep the width, length, and Position the thumb opening as consistent as possible so that both cuffs look harmonious as a pair. A little tip: Place the finished first cuff next to it as a “stencil ” while you sew the second one.
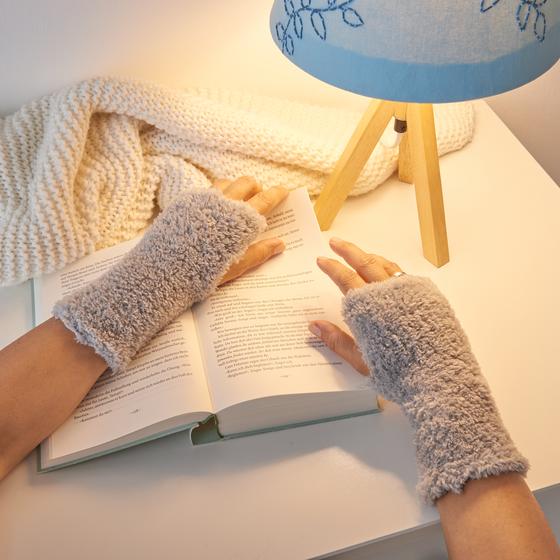
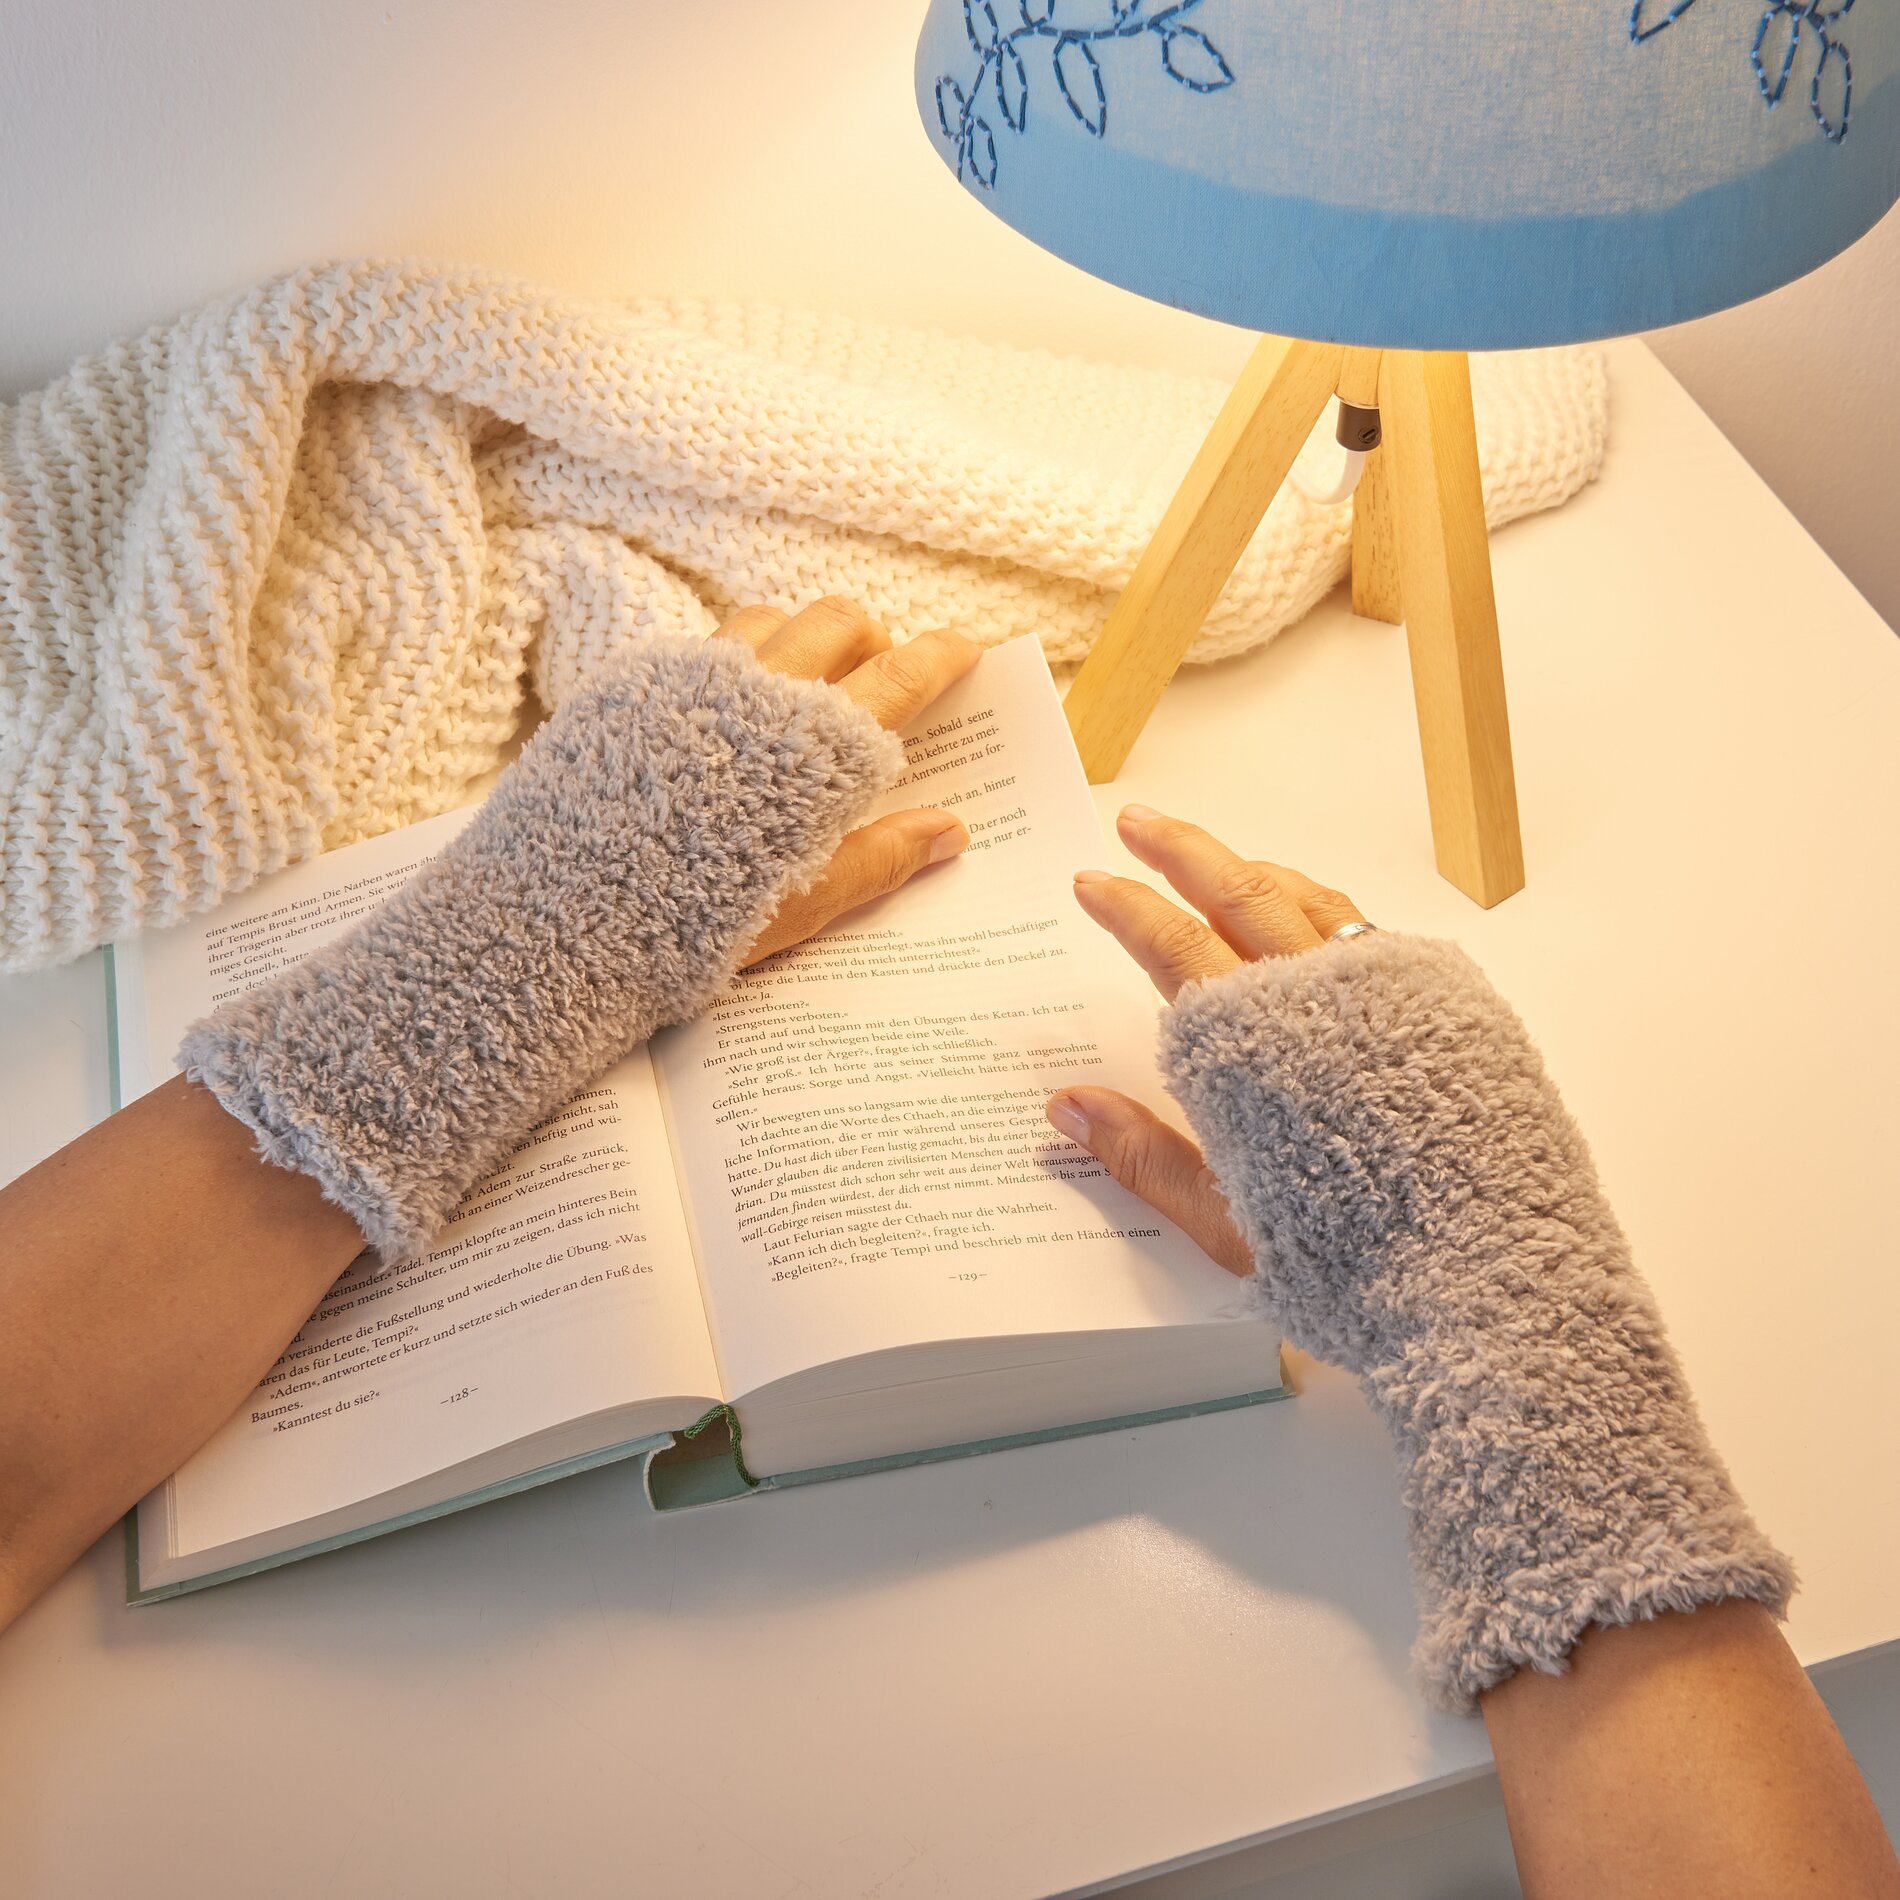
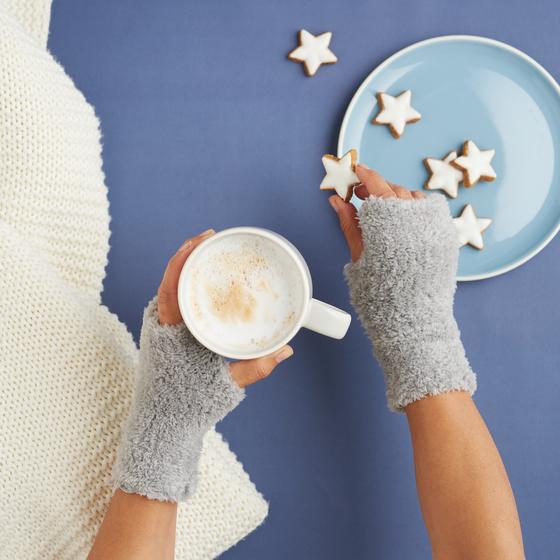
Done: Cozy Knitted Wrist Warmers for Winter Your wrist warmers are now ready for cozy winter days—whether at your desk, on a walk, or while enjoying a cup of coffee. If you’re looking for more quick knitting ideas, soft yarns, and accessories for the “ knitting machine ,” check out our online shop and get started on your next craft project right away.