- Secure order
- Easy return shipment
- Service-Hotline +41 71 511 23 70
Instructions No. 4014
Difficulty: Beginner
Working time: 1 hour 30 Minutes
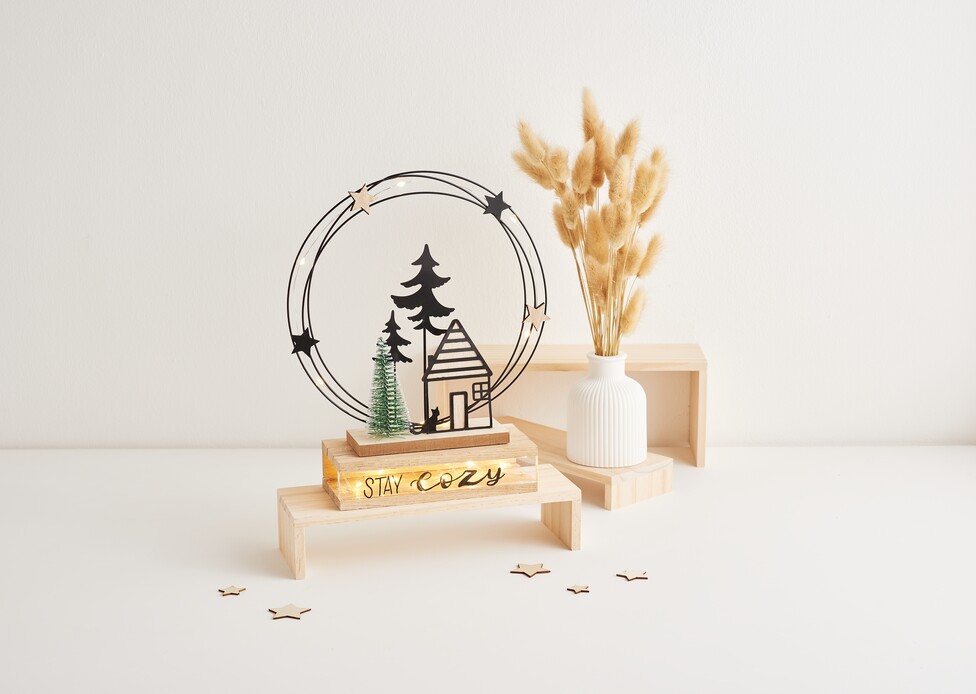
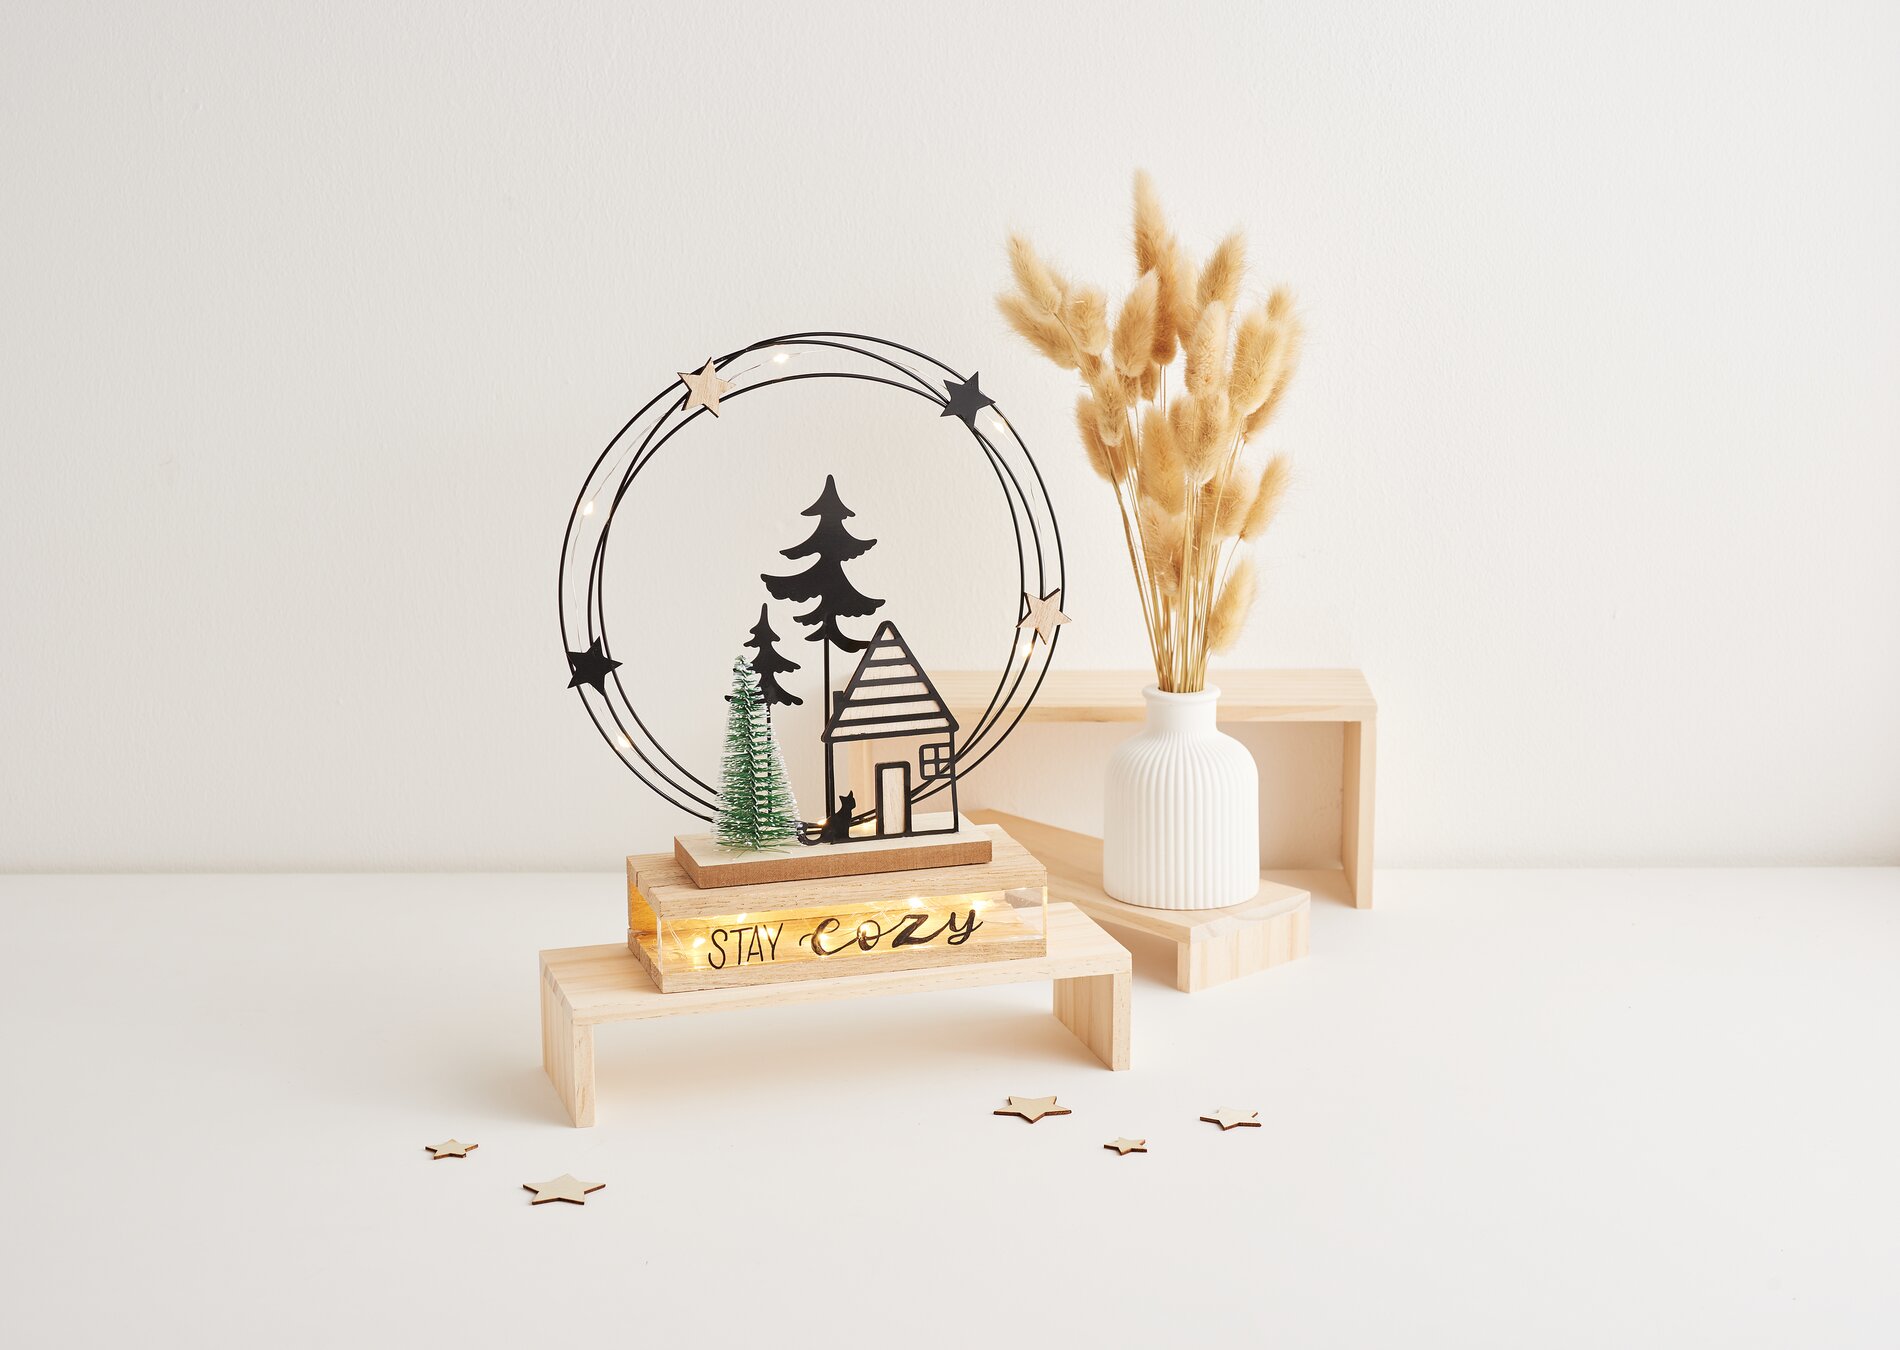
Build a "Winter Forest" Craft Block Light Decoration with a Metal Ring
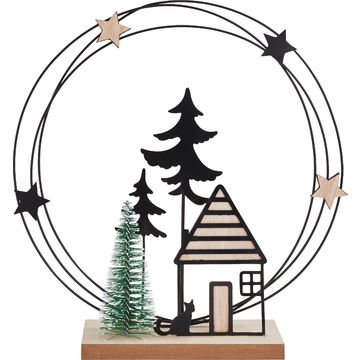
For this christmas decoration , combine wooden blocks with a delicate decorative metal ring in a winter forest design and a chain of light. The result is a small, glowing decorative piece that looks especially cozy on a shelf, windowsill, or sideboard.
Step 1: Glue the blocks together to form two sets of three
Gather 6 wooden blocks and arrange 3 blocks at a time so that their narrow, long sides are touching. Apply glue to the contact surfaces and press the three blocks together to form a “board.” Repeat this with another set of 3 wooden blocks. These two “boards” will later serve as the bottom and lid of your little box. Let the glue dry thoroughly so that nothing shifts during the next step.
Step 2: Transfer the lettering neatly onto the acrylic block
Print out the free template. Place the clear acrylic block directly over the lettering. Then trace the letters with a Posca marker . The acrylic acts like a small “sign”: its transparency allows you to work precisely, and the lettering will look crisp and decorative later on. Let the paint dry briefly so it doesn’t smudge.
Step 3: Assemble the box (bottom, sides, lid)
Place one of the 3-block boards in front of you to serve as the bottom. Glue the acrylic block upright to one edge of the board—this creates a transparent front with lettering. On the opposite side, glue the seventh wooden block as a “counterpiece.” This gives the box stability and a clear shape. Now take the second set of three blocks and glue it on top as the lid. Let everything dry completely so that the box remains sturdy and can safely support the weight of the metal ring later.
Step 4: Attach the “ chain of light ” to the metal ring
Take the “ chain of light ” lights. Then apply a small dot of hot glue to the back of each star on the metal ring and attach the individual lights to it. Hot glue is ideal here because it sets quickly and holds the lights in place. Make sure the cables are routed loosely so the ring looks light and nothing is under tension.
Step 5: Mount the metal ring and hide the lights elegantly
Glue the “Winter Forest with House” decorative metal ring to the top of the block box. Place the remaining “ chain of light ” lights inside the hollow space so they’re barely visible from the outside, yet the light still shines softly from within. Finally, glue the battery compartment to the back of the block box. This keeps it easily accessible, and your “ christmas decoration ” can be conveniently turned on and off.
Step 6: Finishing Touches for a Harmonious Winter Decoration
Wait a few minutes until the hot glue and “ handicraft glue ” are completely set. Then place your craft block creation where the lights look best—for example, in an Advent display or as a glowing accent on a dresser.
Now it’s your turn
If you’d like to recreate this DIY christmas decoration , you’ll find the right materials—such as decorative metal rings, chains of lights, marker , and gluing supplies—in our online shop, so you can get started on your next winter project right away.