Get the Easter Bunny in the house! Discover how ingeniously simple and fast you can make a rabbit from an Acrylic-egg! The fun is so great that it will certainly not be just one rabbit.
And it is as simple as that:
Which materials do I need to make the Acrylic-Egg Easter bunny?
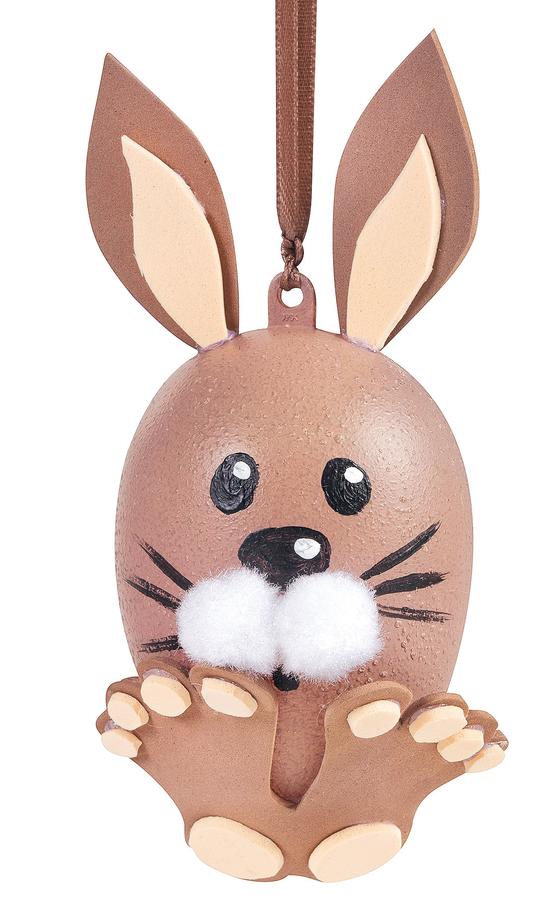
In addition to a Acrylic-egg, Handicraft paint is needed in Brown . The spoons and paws consist of Foam sheets. White Pompoms are needed for the rabbit face and the stub tail. For tinkering and painting you will also need a sponge swab brush, a fine brush, hot glue, scissors and a hanging tape.
Handicraft instructions for the Acrylic-Egg Easter bunny
The Acrylic egg is primed with brown Handicraft paint and a stippling brush. For our handicraft idea we have created the Brown from VBS Hobby Color mixed with Ivory-color.
While the paint dries, ears and feet can be transferred from the craft template to Foam sheets and then cut out. With hot-melt glue the ears and foot parts from Foam sheets are glued together first and then fixed to Acrylic egg . For the face, eyes, nose, mouth and beard hair are painted with a fine brush and black Handicraft paint . As soon as the paint is dry, a small dot of Ivory-paint should be dabbed into eyes and onto the nose. This gives the acrylic bunny liveliness. Now only stick on the white Pompoms as chubby cheeks and stubby tails. A Satin ribbon serves as a hanging tape and is knotted to the egg - ready is a cute Acrylic-Easter bunny egg.
How do I make the Acrylic egg with rabbitNapkin?
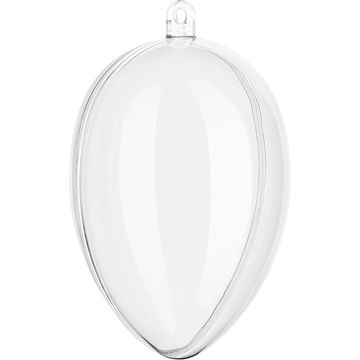
Take a Acrylic egg with cutting disc and prime the cutting disc first with white Acrylic paint. After drying, stick the rabbit motif of Napkin with Napkin varnish on the cutting disc. Then you can carefully cut off the protruding edges of the Napkin with a scalpel.
Insert the cutting disc into the Acrylic egg and stick some tape around the groove of the egg. Fix white Satin ribbon on it. Attach the hanging tape. Take the tapes to the loop and attach them to the hanger.