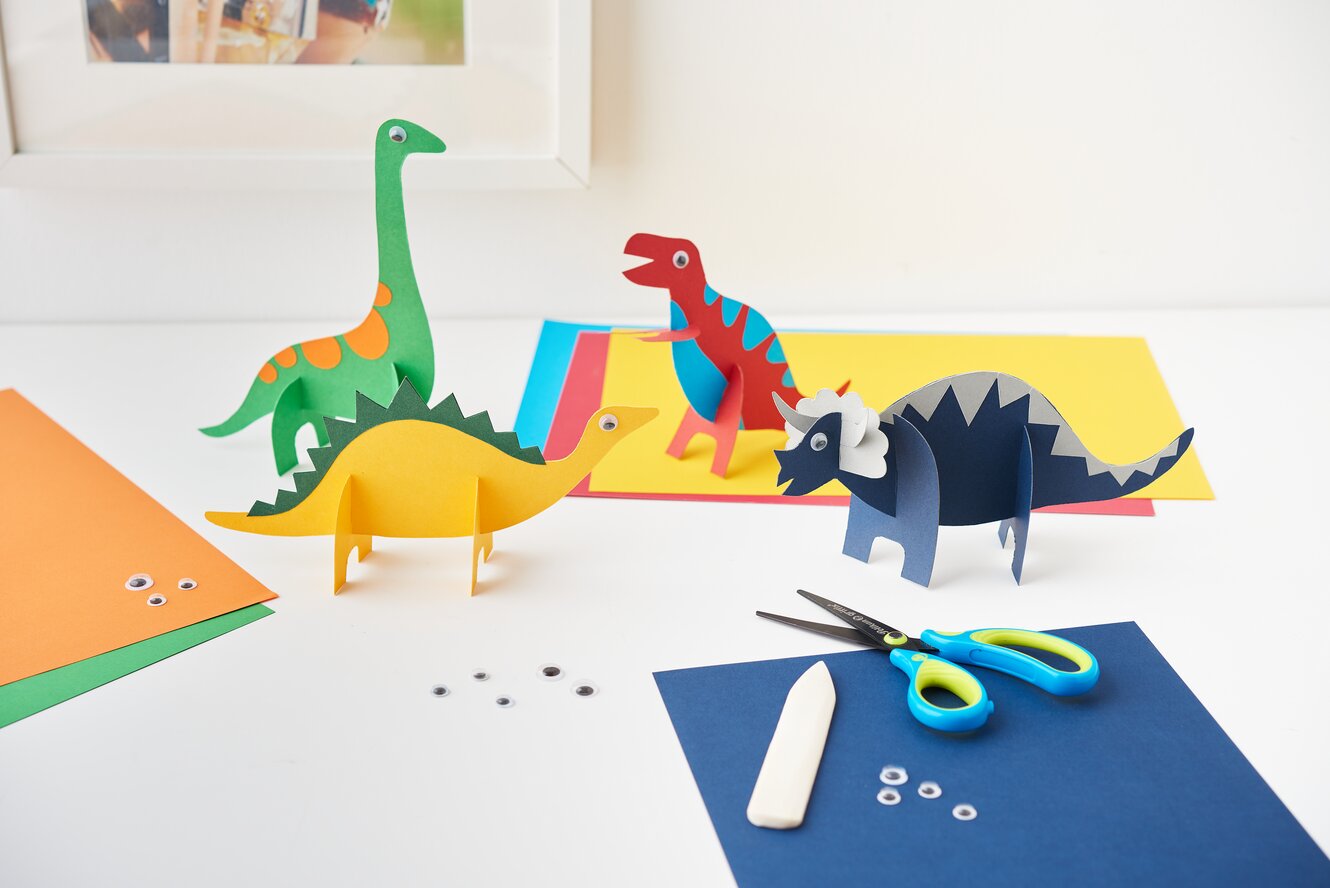
Let your creativity run wild and create your very own dinosaur out of cardboard! These simple handicraft instructions show you step by step how to create a fascinating work of art with little material and time. Whether for the children's room, as a gift or simply as a creative leisure activity - a self-designed dinosaur brings joy and develops your craft skills.
Step 1: Transfer the templates to cardboard
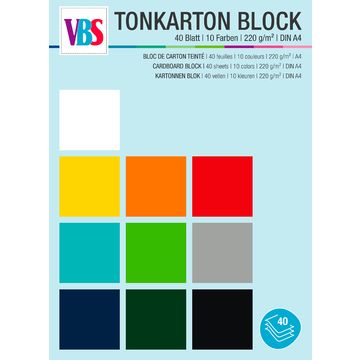
Start your project by transferring the templates for your dinosaur to a sturdy cardboard of your choice. You can let your imagination run wild here. Choose the color and pattern of the cardboard according to your taste. To draw the contours of the template precisely, you can use a pencil that can be easily corrected.
Step 2: Cut out the cardboard pieces
Take a pair of sturdy scissors and carefully cut out the transferred templates from the cardboard. Make sure you cut along the lines as accurately as possible to achieve a clean and professional result. Small inaccuracies can be concealed later with paint or decorations.
Step 3: Glue the dinosaur motif parts together
Now your dinosaur comes to life! Glue the individual motif parts of the body, such as the head, tail and legs, to the main body of your dino. Use a handicraft glue, that dries quickly and sticks well. Make sure that the parts are aligned correctly so that your dino looks harmonious.
Step 4: Attach the wiggle eye
Another highlight is attaching the wiggle eye. Place it in the intended position on the dino's head and attach it with glue. The wiggle eye gives your dinosaur a charming liveliness and makes it a real eye-catcher.
Step 5: Cut along the dotted line
To give your dinosaur the perfect shape, cut along the dotted line. This is usually marked with scissors as a simple symbol so that you can easily find it. Be particularly careful here too so that the dino retains its stable proportions.
Step 6: Assemble the dino
The final step is to simply slot the legs and body of the dino together. The construction is so simple that you don't need any other tools. Make sure that all parts are firmly attached so that your dinosaur stands securely and can be admired without any problems.
Your very own personal dinosaur is now ready!
Whether as a toy, decoration or gift - you can experience many creative moments with these crafting instructions. Visit our online store and start your new craft project today!