- Secure order
- Easy return shipment
- Service-Hotline +41 71 511 23 70
Instructions No. 3529
Difficulty: Beginner
Working time: 6 Hours 40 Minutes

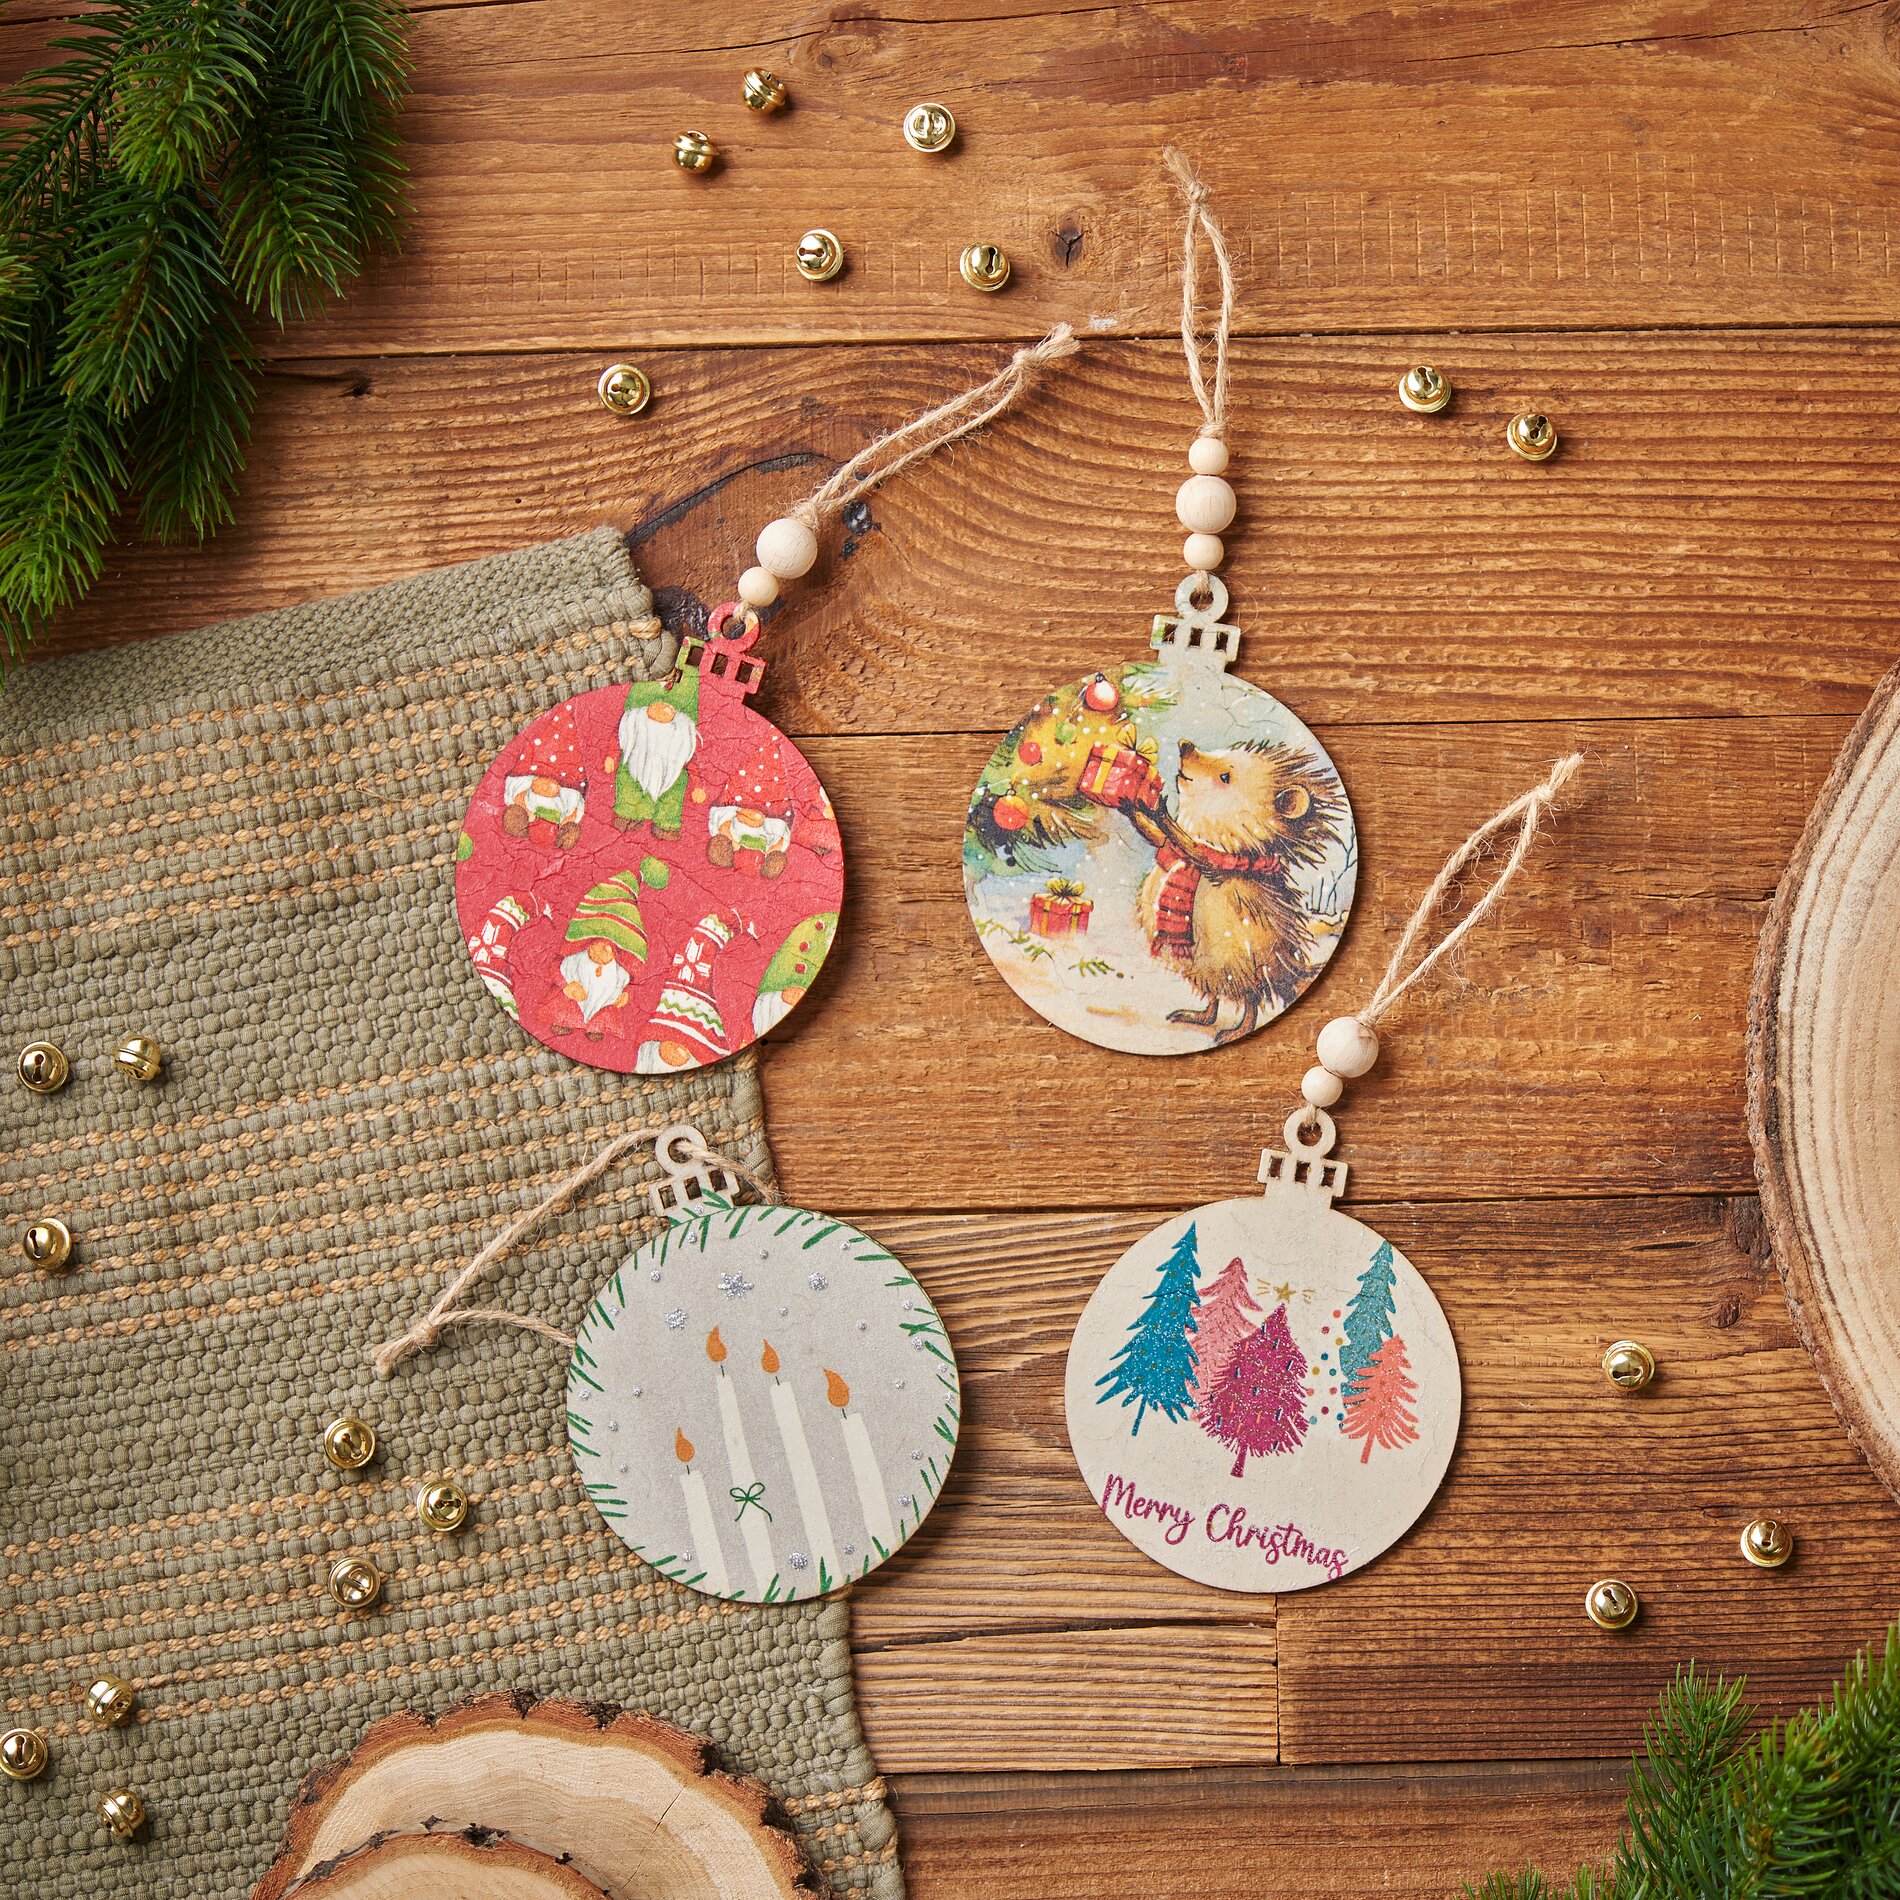
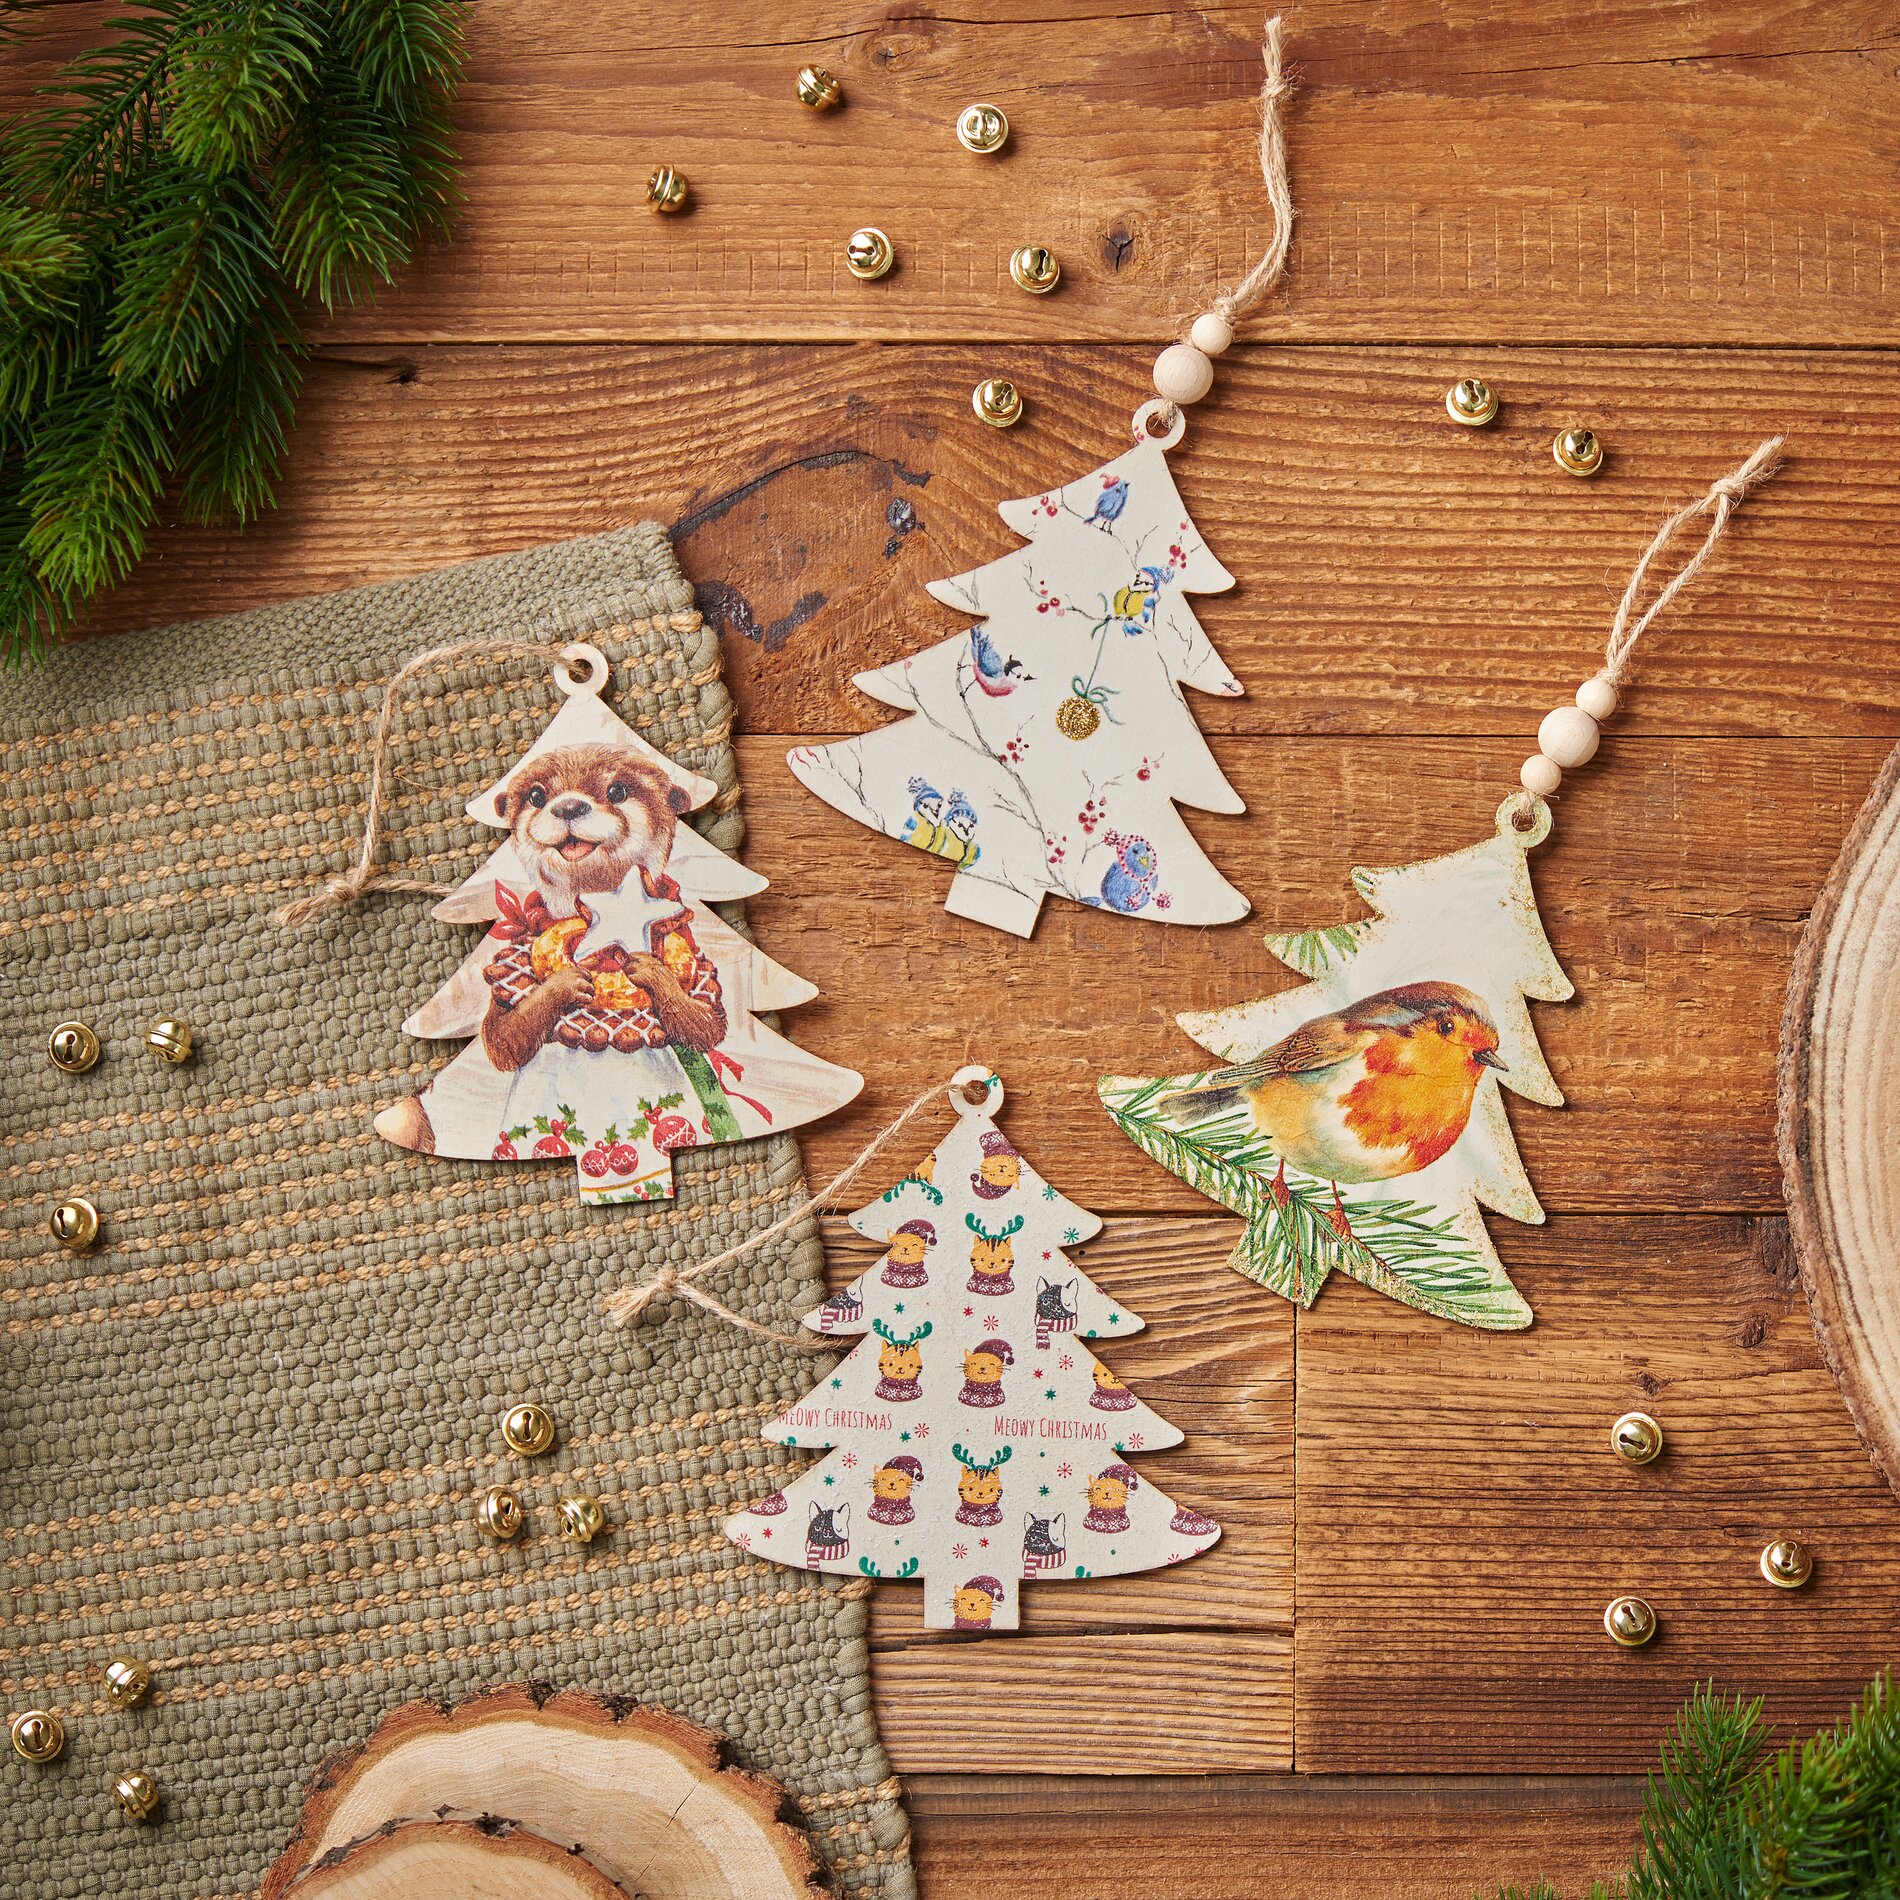
Prepare the wooden pendant
Start by preparing your wooden tags. Coat them thinly with napkin varnish, which acts like an adhesive and ensures that the napkin motif adheres well later. Make sure to apply the varnish evenly. This way, the motif can be applied without creases and the result looks particularly professional.
Prepare the napkin motif
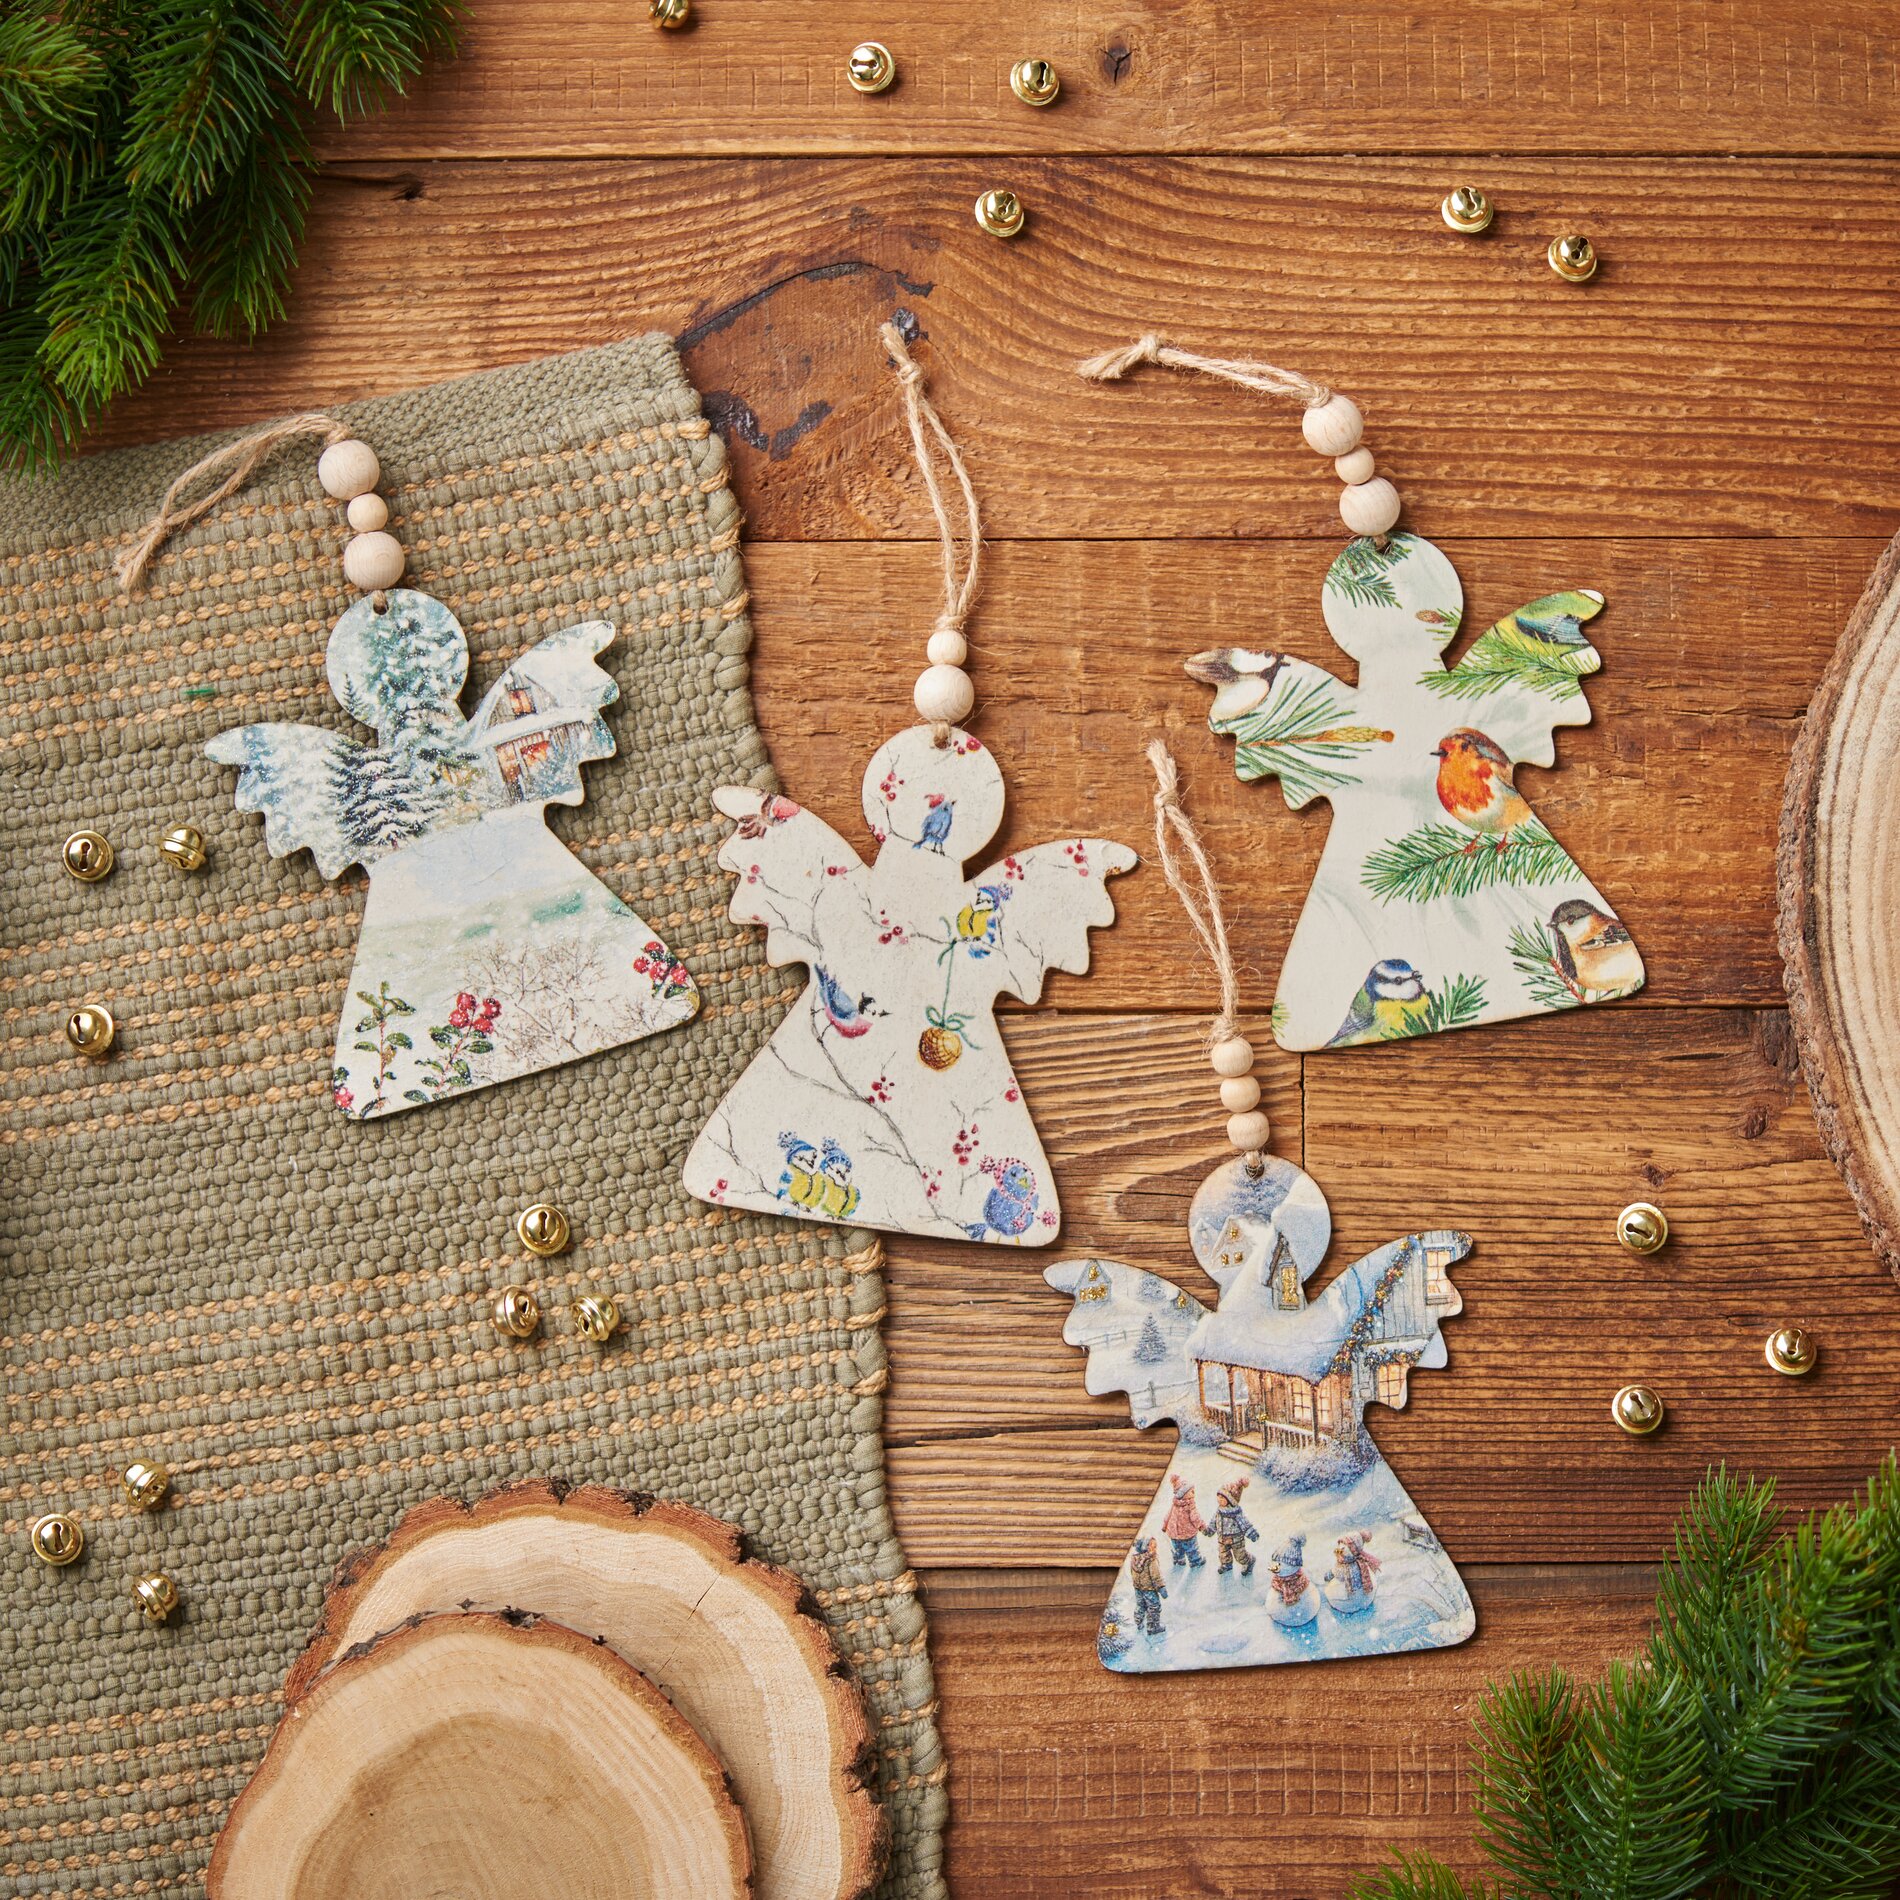
Now choose a quarter motif from your napkin, that you particularly like. Carefully cut out this motif. Only the top, printed layer of the napkin is used for the napkin technique . This is very thin and delicate, so treat the layer with care so as not to damage it.
Placing the motif
Carefully place the printed paper layer of the cut-out napkin on the prepared wooden tag. To fix the motif in place, apply another thin coat of napkin varnish. Be careful not to let the motif slip or tear. Then leave the varnish to dry completely.
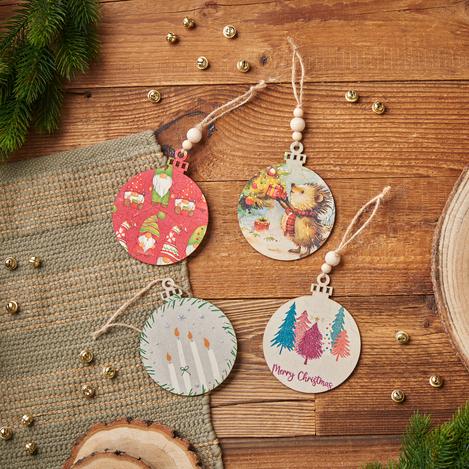
Tip: If you want your pendant to glitter, you can mix some glitter into the napkin varnish or apply it in spots to create accents.
remove excess napkin paper
Once the napkin varnish has dried thoroughly, carefully cut off the excess edges of the napkin . This will give you a neat finish and give your pendants a professional look.
Attach the ribbons
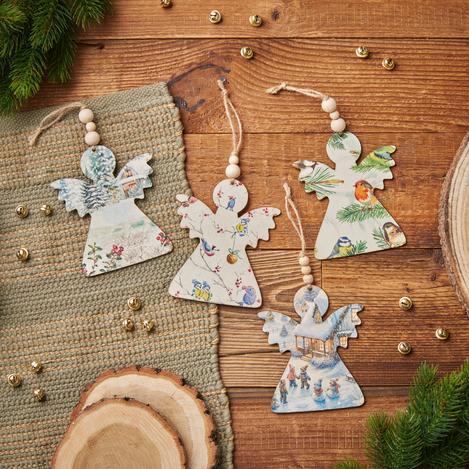
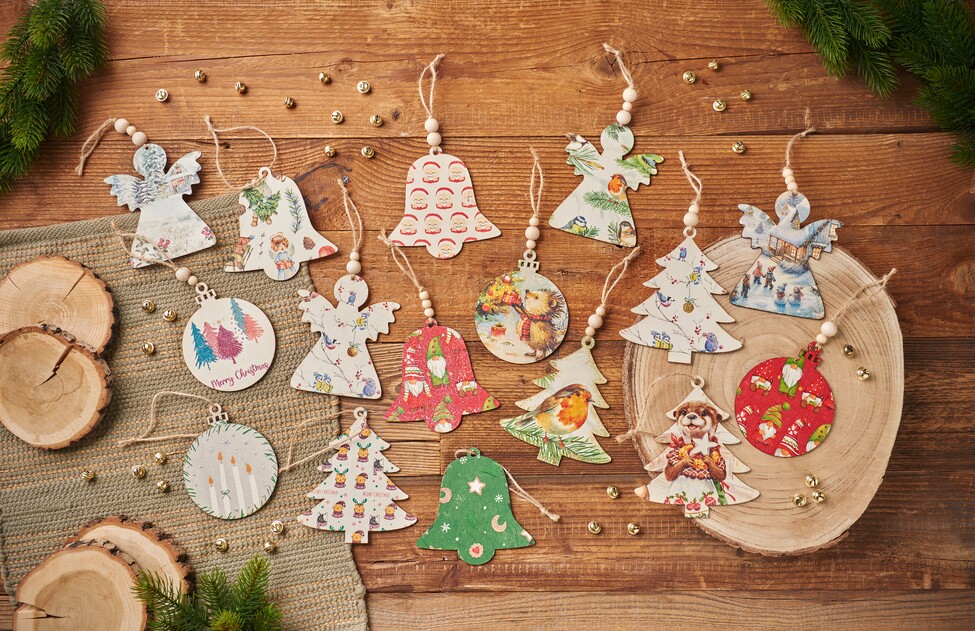
In the final step, pull ribbons through the holes provided in your pendants and knot them together. To add a special touch to your design, you can thread beads onto the ribbons before attaching them.
Now you are ready to hang up your self-designed pendants and admire them or give them as gifts. Have fun designing and experimenting with different motifs and colors!
Ready to unleash your creativity? Order the materials you need from our online store today and start your next project with the DIY-Project with the napkin technique!