- Secure order
- Easy return shipment
- Service-Hotline +41 71 511 23 70
Instructions No. 3236
Difficulty: Beginner
Working time: 1 hour 30 Minutes

Start with a linen cardboard as the basis for your card. Fold the card properly in the middle to form the card. To give the edges a clean and professional look, use the VBS "3 in 1" corner rounder. This practical tool allows you to round off the corners and give your card an elegant touch.
Stamping the white cardboard
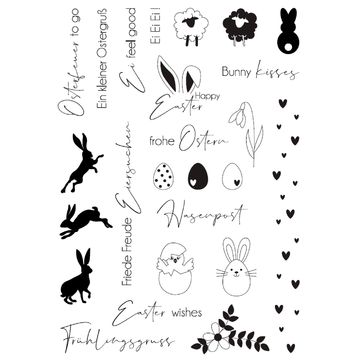
Take a piece of white cardboard and stamp it however you like. Place the silicone stamps on a clear stamp holder. The Clear Stamp Holder is a transparent stamp block that makes it easier for you to see the precise placement of your stamp designs. Choose an Easter design from the VBS Stamp series and press it firmly onto the cardboard. Remember to clean your stamps with water afterwards to prolong their life and keep a clear stamp image.
Cut the cardboard to size and decorate
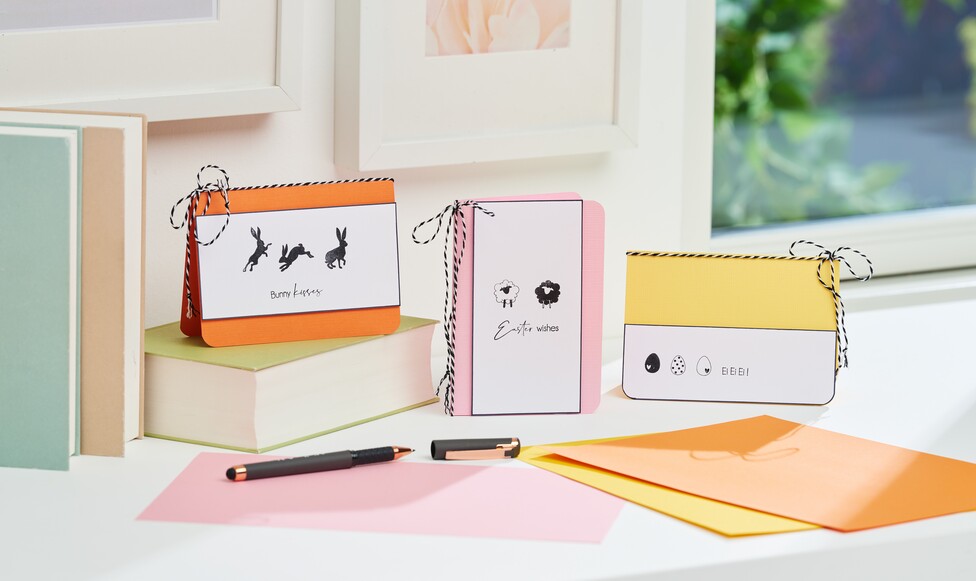
Cut the stamped cardboard to the desired size that fits well on the front of your card. Use a black marker, to draw a fine border around the stamped motif. This border provides an attractive contrast that highlights your design and gives it a clear structure.
Designing the front of the card
Glue the decorated piece of cardboard to the front of the card using 3D glue pads . Using 3D glue pads adds another dimension to your design by slightly lifting the stamp pattern, creating a three-dimensional effect. Finally, tie a pretty cord around the card to give it a festive finish.