Print out the individual parts of the template and glue the sheets together. Place the template under the fabric and draw all the lines with the line-ex pen (the lines of the pen disappear after a few hours)
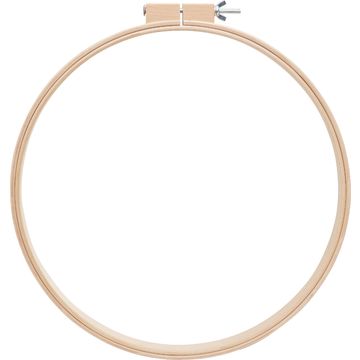
To clamp the fabrics proceed as follows: First, the small embroidery ring is clamped so that the "inner" ring is on the fabric and the "outer" ring (the one with the screw) is under the fabric. The fabric is then stretched together with the small frame into the large quilt frame. This time the other way round - inner ring under the fabric, outer ring on the fabric
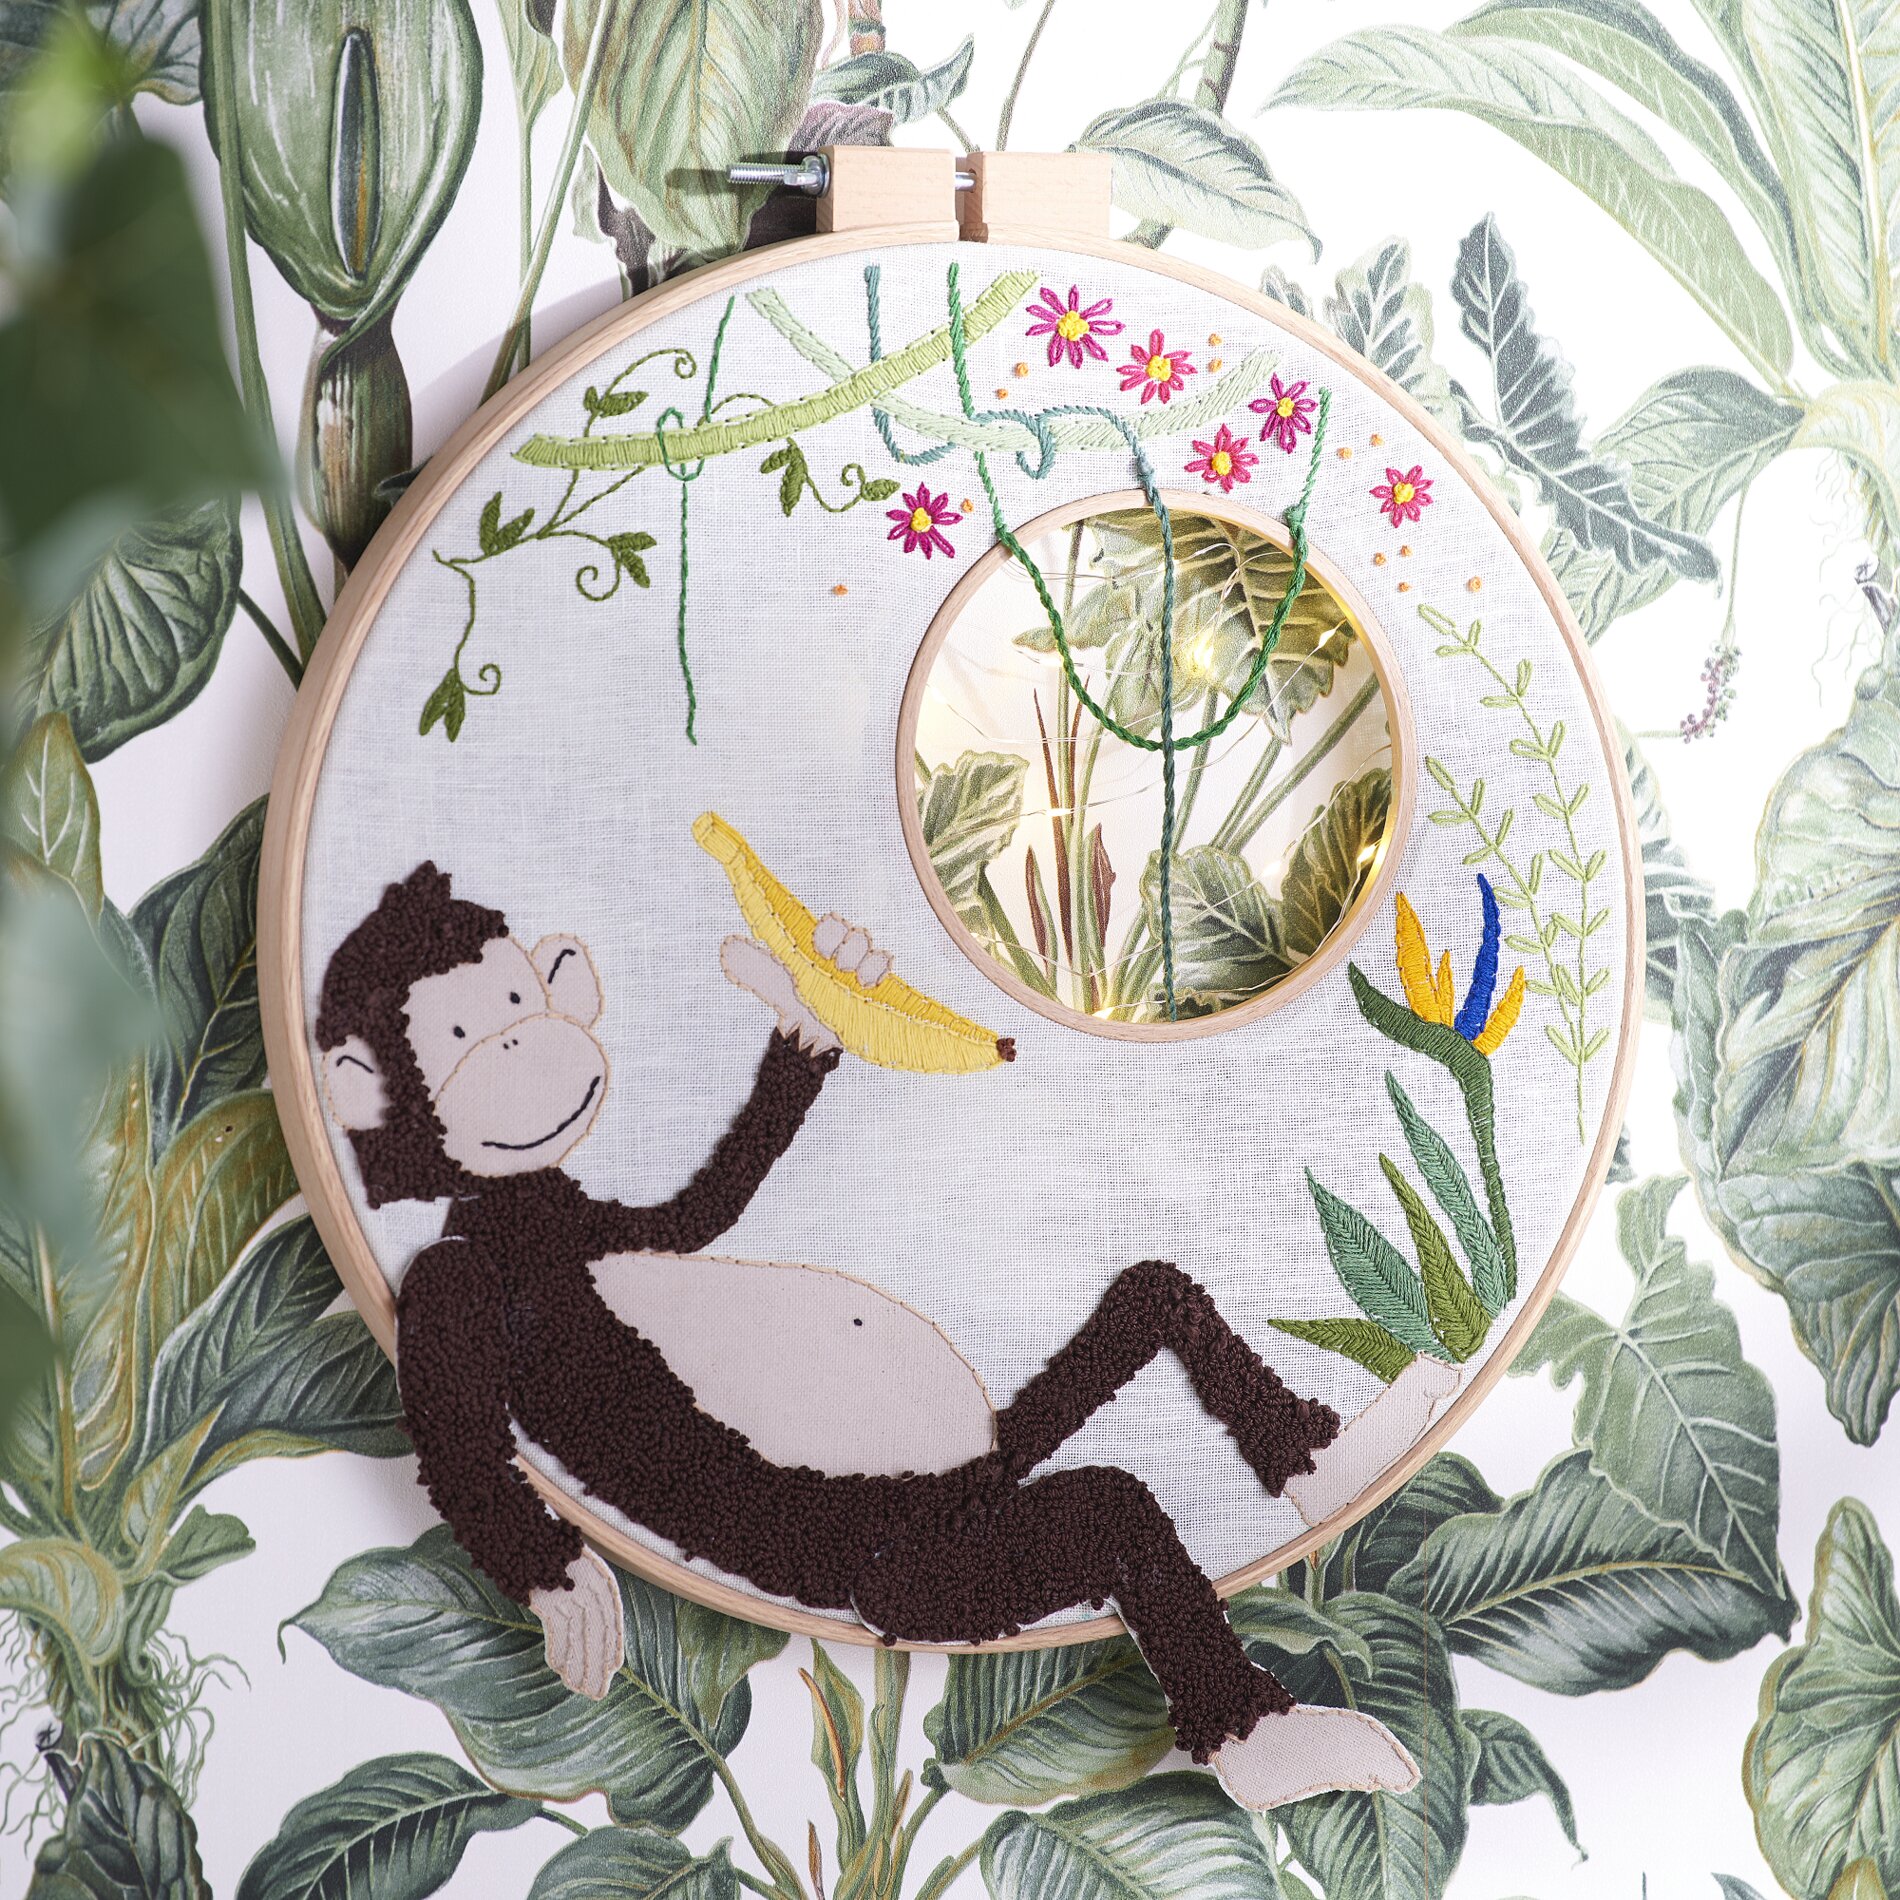
Start with the embroidery: lianas, plants and the banana were embroidered with different embroidery stitches and Embroidery twist designed. For the lianas, which hang out of the embroidery Cords formed with a few sewing stitches and some Handicraft glue can be fixed. The contours of the monkey were embroidered with a simple straight stitch. Tip: The basic stitches can be taken from books in the embroidery section. In our decoration example we used the back stitch, flat stitch, stem stitch, knotting stitch and daisy stitch.