- Secure order
- Easy return shipment
- Service-Hotline +41 71 511 23 70
Instructions No. 3405
Difficulty: Beginner
Working time: 2 Hours
Autumnal creativity: create your own deer thread picture
Every season has its own special symbols and animals that embody them. Autumn not only brings only falling leaves and cozy evenings, but also deer and stags that majestically enchant with their presence. Instead of going hunting, you can bring a little of this fall magic into your home by creating a thread painting with a deer motif. These step-by-step instructions will show you how to do it, and in the end you'll be proud of your own work of art.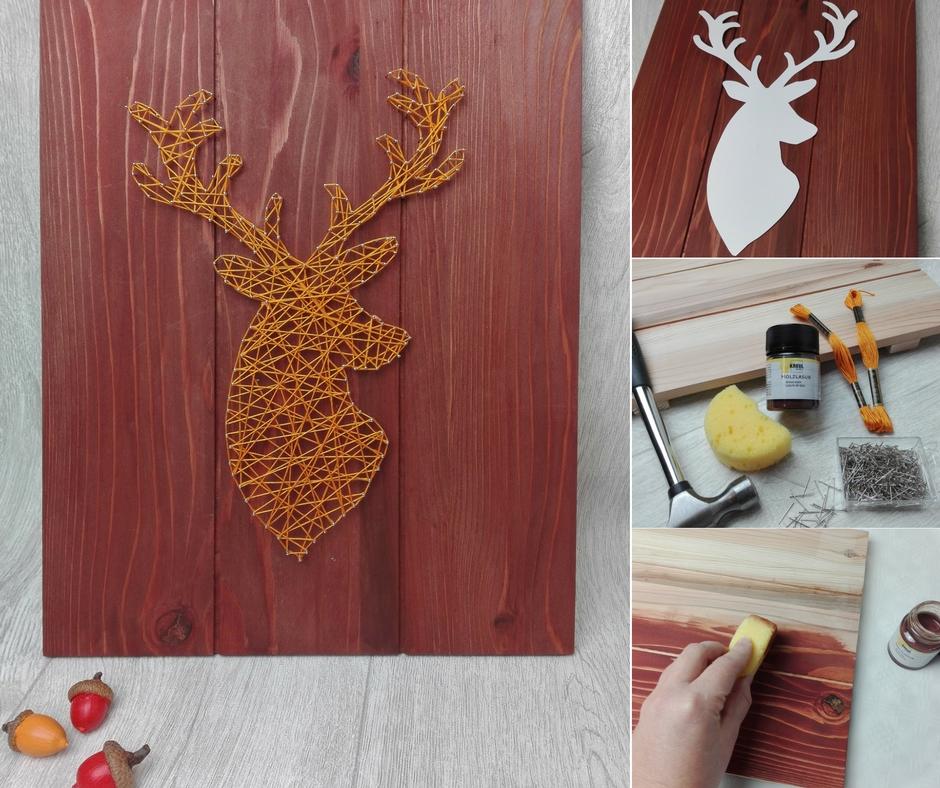
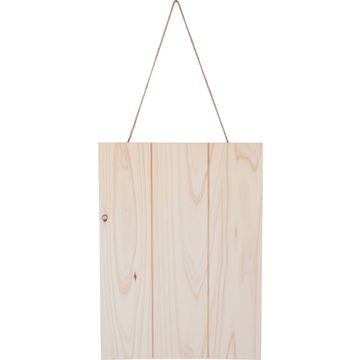
Step 1: Prepare the wood
First, give the wood an appealing color. Use a wood stain. to highlight the natural grain and give the piece a rustic character. The glaze is liquid and can be applied perfectly with a small painting sponge. A tip in advance: cut the sponge in half. This makes it easier to get into the glaze jar and allows you to work on hard-to-reach areas. Apply the glaze thinly in the direction of the grain and allow everything to dry thoroughly. Follow the manufacturer's instructions on the paint jar.

Step 2: The motif
Use our free stencil, template, which you can easily download, or design your own motif. Print out your favorite motif and cut it out. Position it on your prepared wooden board and attach it with some masking tape so that it doesn't slip.
Step 3: Hammer in the nails
Now it's time to swing the hammer. Be careful and have cold packs ready in case of emergency. Hammer in nail by nail along the contour of the stencil . The distance between the nails can vary. For longer, straight stretches, you can leave wider gaps, while the antlers of the deer should be nailed closer together to emphasize the details. When you have completely stitched around the edge, remove the stencil from the center.


Step 4: Tighten the threads
Now it's time to get creative! Knot the end of your thread to a needle and start wrapping the thread around the nails. Start by completely wrapping around the outer line of the motif. Depending on the shape of the outline, run the thread either inside or outside. After a while, you will see that you are working intuitively and correctly. Don't forget to make loops around individual nails from time to time to ensure stability, especially in complicated areas. Knots also help to hold the thread in place.

After the outer line, you can start filling in the motif. Stretch the thread criss-cross between the nails until you like the density of the resulting thread pattern. Loops and knots also help here to secure everything.

Your impressive deer thread pattern is finished! You can use this technique to create a variety of designs, be it an autumnal motif, a soccer club logo or inspiring lettering. Have fun crafting and good hunting!
Give your home a personal touch with homemade art. You'll find all the materials you need for your own creative project in our online store!