1. Preparation: Create a picture base
The basis for this decoration is a wooden picture frame. Position a piece of flower arrangement foam in the middle of the picture frame. Cut the piece so that it fits exactly and then stick it on.
Once the flower arrangement foam is securely in place, attach a child's papier-mâché mask to it.
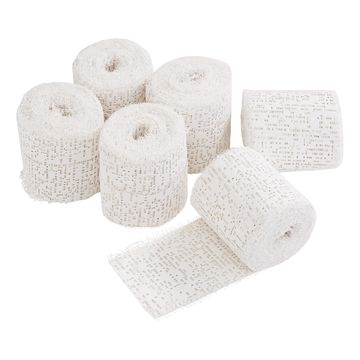
2. Designing with modeling tape
Now it's time to get creative: cut the modeling bandages into pieces of different lengths. If you dip them in water, the modeling bandages will become malleable thanks to the water and can be used immediately.
Cover the entire frame and the mask with the soaked modeling bandages and model the picture relief to your liking. Make sure to apply several layers on top of each other. This will give you an interesting and textured picture surface. You can make the edges of the picture extra crinkly in this way.
Give the mask character by emphasizing important details. Carefully press the eyes, nose and mouth into shape with your fingers. This will highlight these areas more clearly and give the mask an expressive face.
As the modeling bandages dry, it may become more difficult to modelling You can soften them again with a little moisture and finish your design in peace until you are happy with the look.
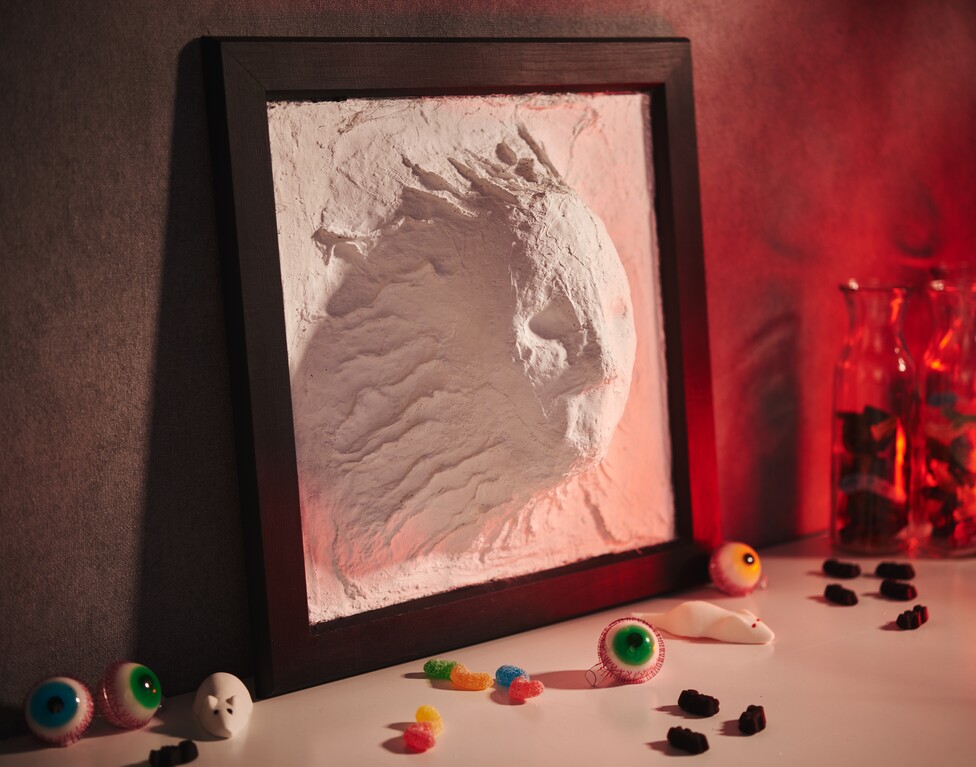
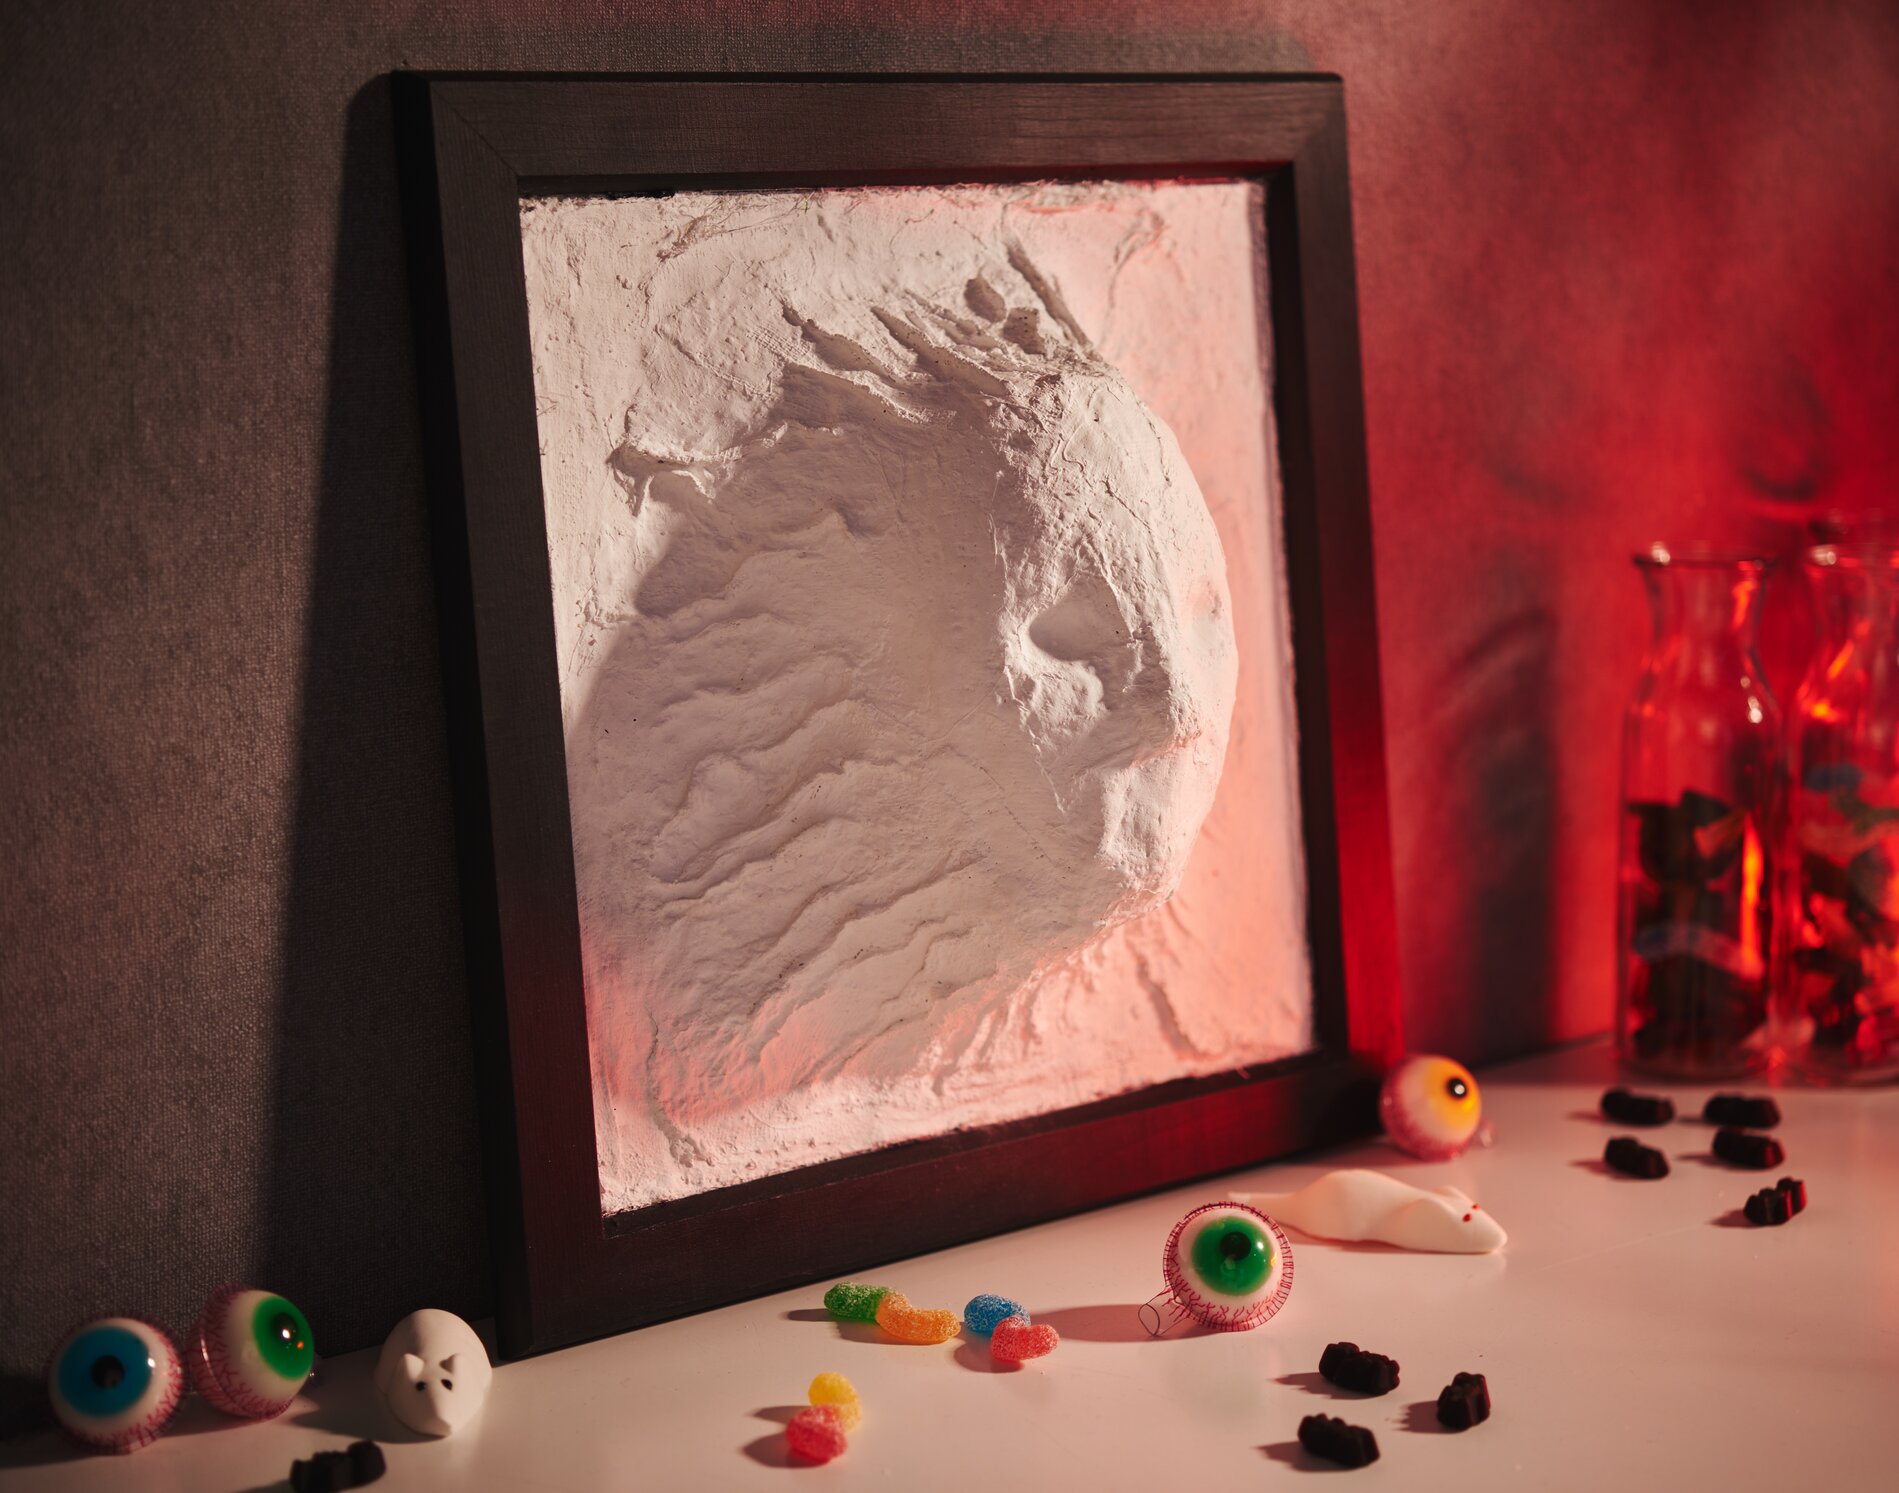
3. Final details on your Halloween decorative picture
Once your spooky picture relief is completely dry (approx. 12 hours), you can dust off the mask and paint everything with white paint for a uniform look. The white also highlights the shape visually and gives the mask the perfect look.
If you then paint the picture frame black, your 3D Halloween decoration is ready for presentation.
Order the materials you need today and choose the matching creative materials for other Halloween decorations in our store! Have fun crafting and scary Halloween moments!