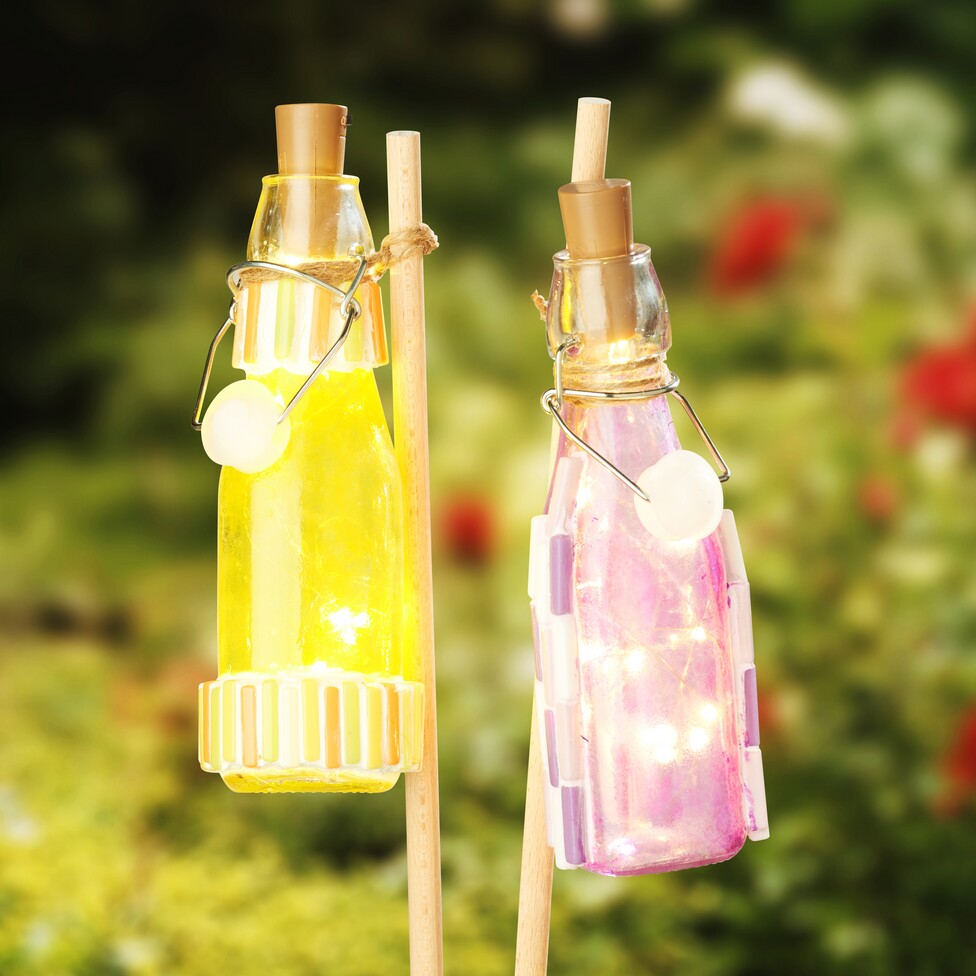
These instructions are specially designed for outdoor mosaic bottles. The finished bottles are ideal as garden, patio or balcony decorations and are weatherproof.
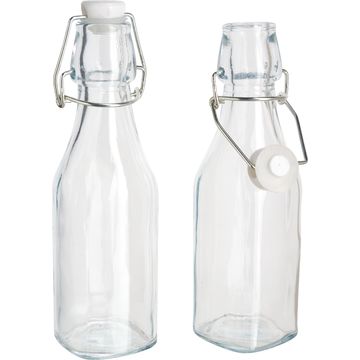
Step 1: Applying paint to the bottles with a painting sponge Start by applying the Glass & Porcelain paint. Use a painting sponge to gently dab the paint onto the bottles. Don't worry if the paint appears milky at first, it will become transparent as it dries. Let the bottles rest for about 4 hours so that the paint can dry completely.
Step 2:Preparation for baking Remove the bottle cap to prevent it from melting during the baking process. Place the bottles in the cold oven. Preheat the oven to 160 °C and only bake the bottles for a further 90 minutes once the temperature has been reached. Leave the bottles to cool in the oven.
Step 3:Mosaic design Next, you can glue the mosaic onto the bottles according to your taste. Allow the glue to dry completely before continuing. The next step is to fill the gaps with VBS joint filler to fill the gaps. Mix the powder with water in a ratio of 2:1 to create a creamy consistency. You can spread this mixture evenly in the gaps using a brush or spatula . You can color the joint filler with VBS colour concentrate to color it as desired.
Step 4:Grout cleaning and curing After applying the joint filler , wipe off any excess with a damp sponge. The setting time is only 10-15 minutes. Leave the surface to cure for 6-10 hours.
Step 5:Finish for a perfect result Apply the mosaic grout finish evenly to the dry mosaic using a brush or sponge. Allow to dry completely.
Step 6:Decoration and lighting Tie the bottles to beech round sticks using jute ribbon and place bottle lights on them. Your unique mosaic bottle is ready!
Visit our online store to easily purchase all the materials you need.