- Secure order
- Easy return shipment
- Service-Hotline +41 71 511 23 70
Instructions No. 3510
Difficulty: Advanced
Working time: 5 Hours
Step 1: Prepare the branches
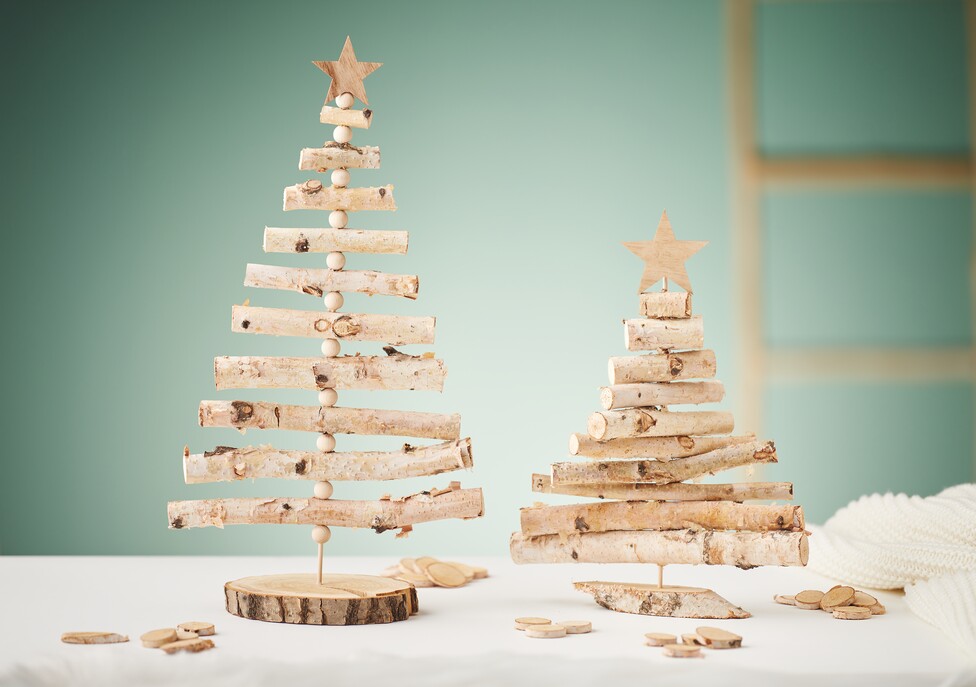
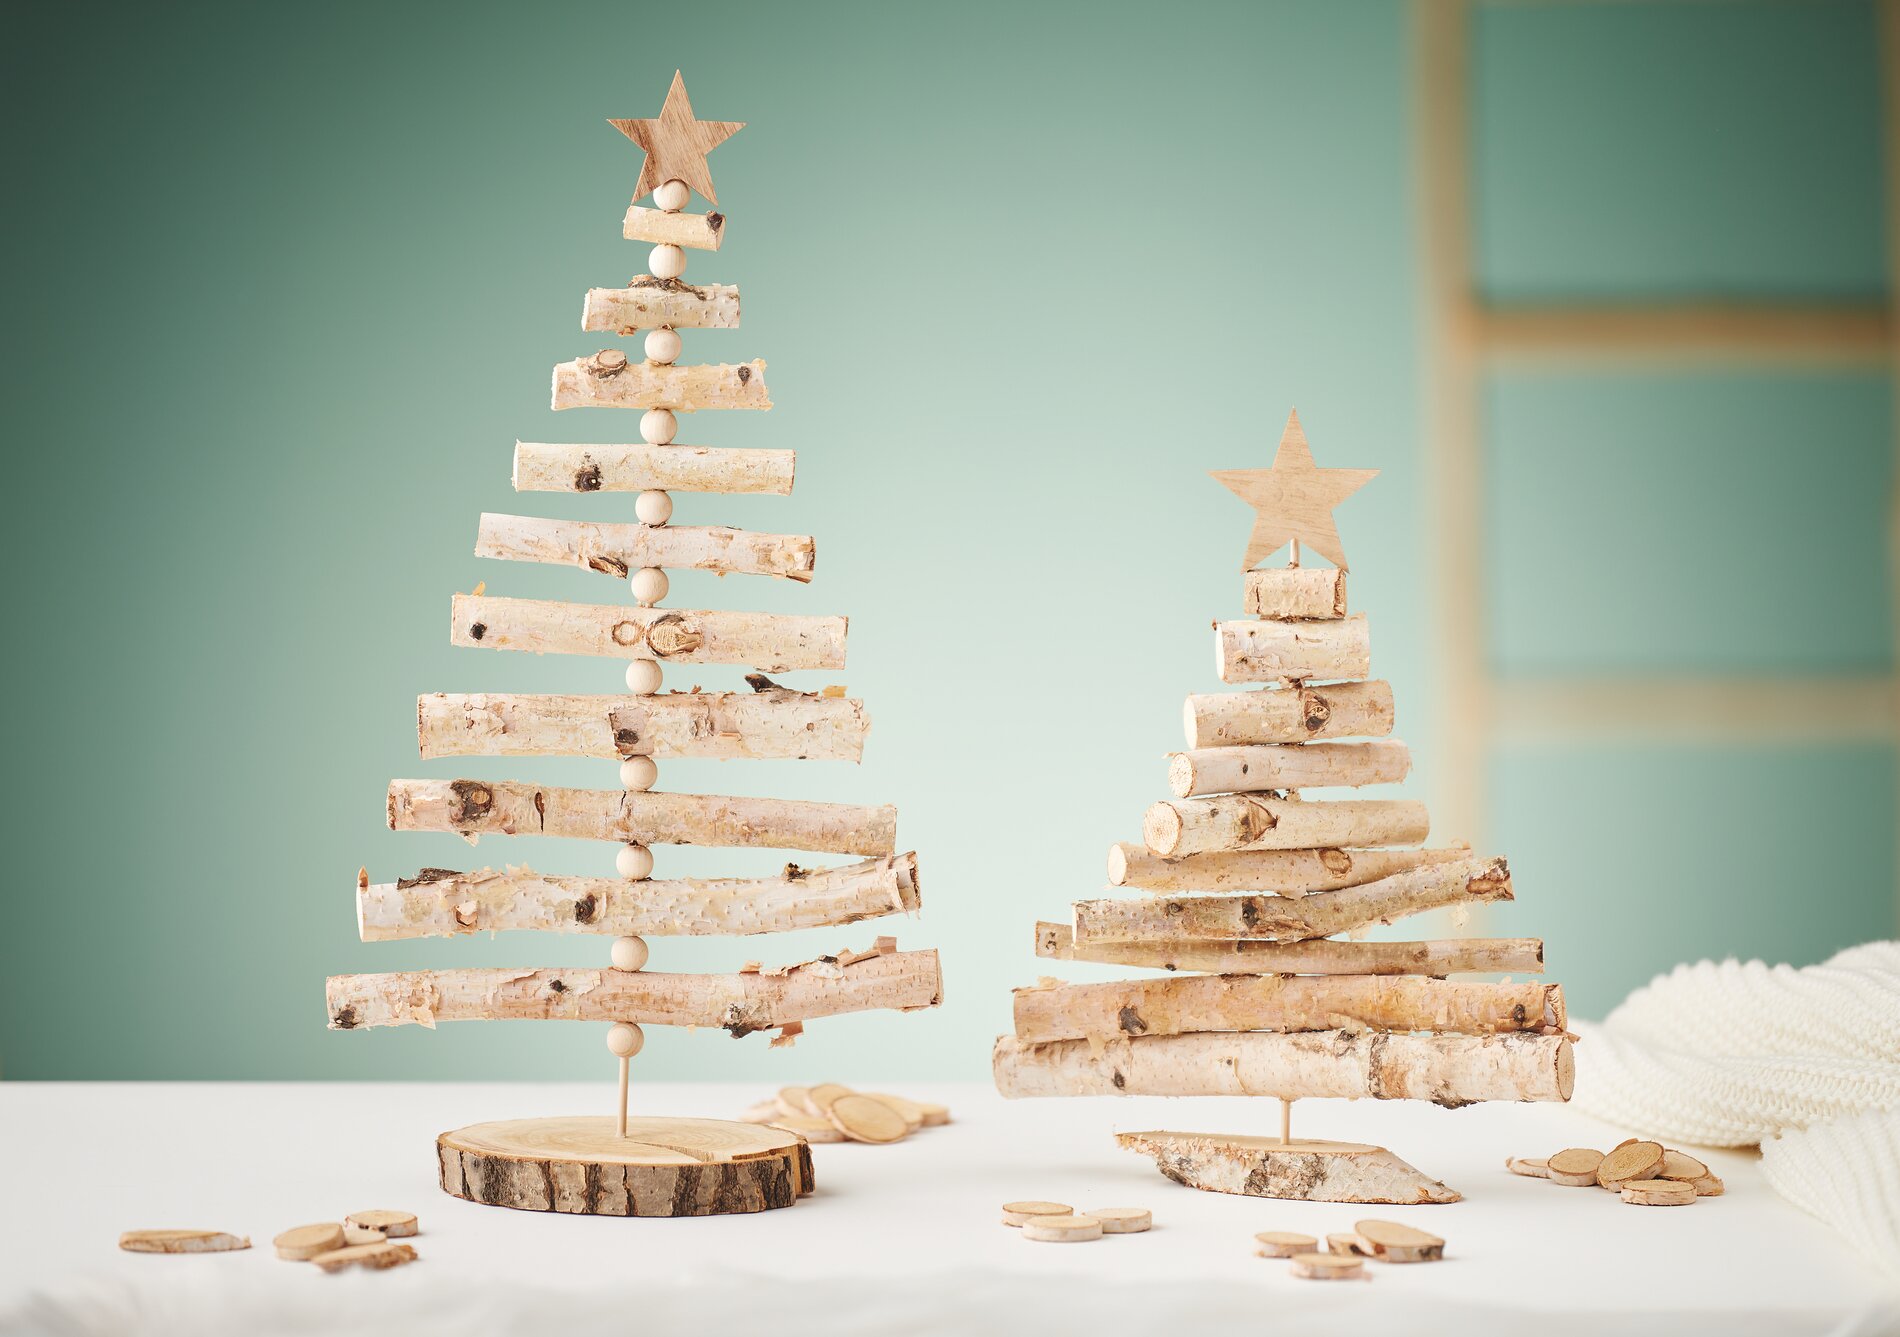
Start by cutting your branches to the right length. To get the characteristic shape of a fir tree, mark the branches in the following lengths: 25 cm, 23 cm, 21 cm, 18 cm, 16 cm, 14 cm, 11.5 cm, 8.5 cm, 6 cm and 4 cm. Please note: Make sure that the length decreases gradually to create the fir tree shape. Once you have marked the lengths, you can cut them to size using a craft saw.
Step 2: Drill the holes
In the next step, mark the center of each cut branch and a birch slice or tree slice. Use a drill to drill a hole with a diameter of 4.5 cm at the marked points.
Step 3: Assemble the fir tree
Once all the branches have been drilled, you can start to attach them to a round timber. Place the longest branches at the bottom and work your way up to the shorter ones. Optionally, you can place wooden beads between the branches to give the tree volume and visually separate the individual branches from each other.
Step 4: Shorten the trunk
Once you have attached all the branches and possibly the wooden beads, adjust the length of the log. Cut it so that it only protrudes a little from the top branch.
Step 5: Crowning and stability
Attach a wooden star to the top of the tree. This will give your Christmas tree made of branches a festive crowning touch. Next, insert the trunk of the log into the drilled birch slice or tree slice, which serves as a stable base.
Conclusion: Your individual decorative element
With these steps, you have created a distinctive decorative element that is sure to attract admiring glances. Sit down, enjoy a cup of tea and admire your work of art. If you don't have all the materials to hand yet, take a look at our materials list or visit our online store. There you will find all the creative and craft items you need to help you with this and future projects DIY-Projects. Let your creativity run wild and transform your home into a Christmas oasis of well-being!