- Secure order
- Easy return shipment
- Service-Hotline +41 71 511 23 70
Instructions No. 3492
Difficulty: Beginner
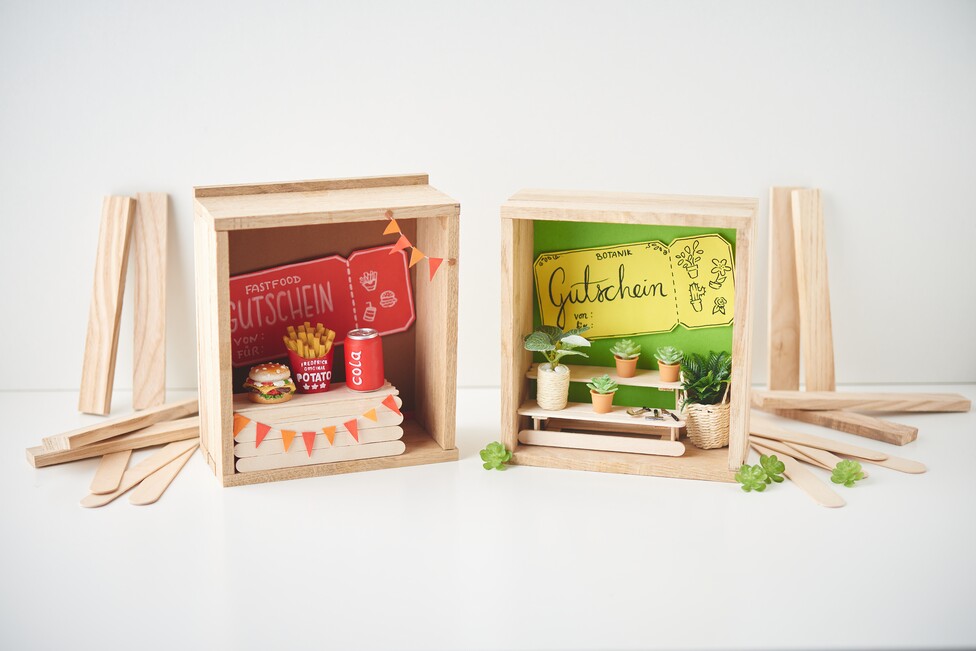

Building the base frame
Start by gluing the small wooden blocks together to form a stable box. This will serve as the base for your miniature scene. Make sure that the construction is firm and secure.
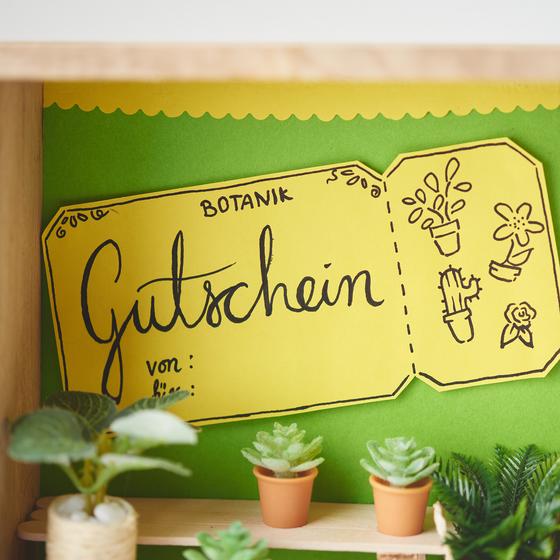
Design the back wall
Cover the back wall of the box with colorful Paper of your choice. Use double-sided adhesive tape, to attach the Paper neatly and without creases. This gives the background a lively look.
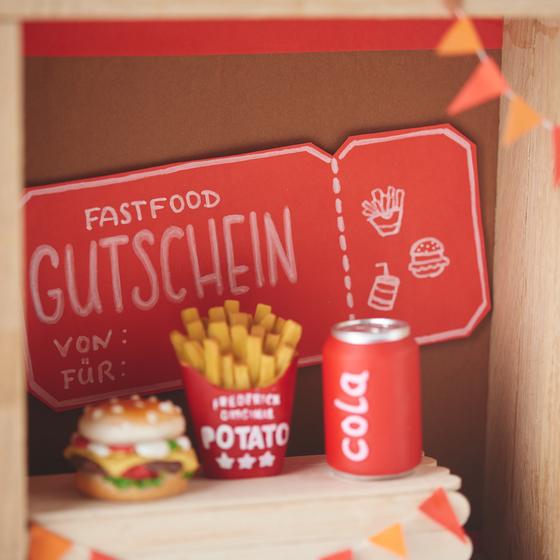
Voucher create
Cut out your individual Voucher from colored Paper using the downloaded template. Attach it to the back wall with glue pads to create a 3D effect.
Mini counter or plant pedestal
Use popsicle sticks to make a small counter or pedestal. Glue the sticks together to create the desired shape and place them in the box. This element adds depth to your scene.
Make a chain of pennants
Cut out small triangles from colorful Paper and thread them onto a rubber cord. You can attach this string of pennants to the top of the box to add a playful accent.
Decorate the edges
Decorate the edges of the back wall using scalloped scissors. Cut wavy strips from colorful Paper and glue them along the sides. This gives your miniature scene a creative frame.
Label vouchers
Give your miniature scene a personal touch by writing individual messages on the vouchers. A personal greeting makes your gift unique.
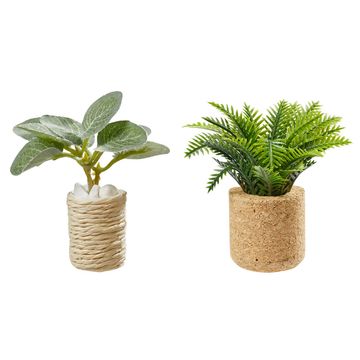
Placing miniatures
Place the miniatures, such as plants or food, wherever you like. You can decorate and customize the scenes further to create a specific look.
Your miniature scene is more than just a decorative piece - it is an expression of your creativity! Perfect as a gift or for your own decoration.
Visit our online store now to purchase all the materials for your personal project. Have fun creating and giving as a gift!