- Secure order
- Easy return shipment
- Service-Hotline +41 71 511 23 70
Instructions No. 3612
Difficulty: Beginner
Working time: 30 Minutes

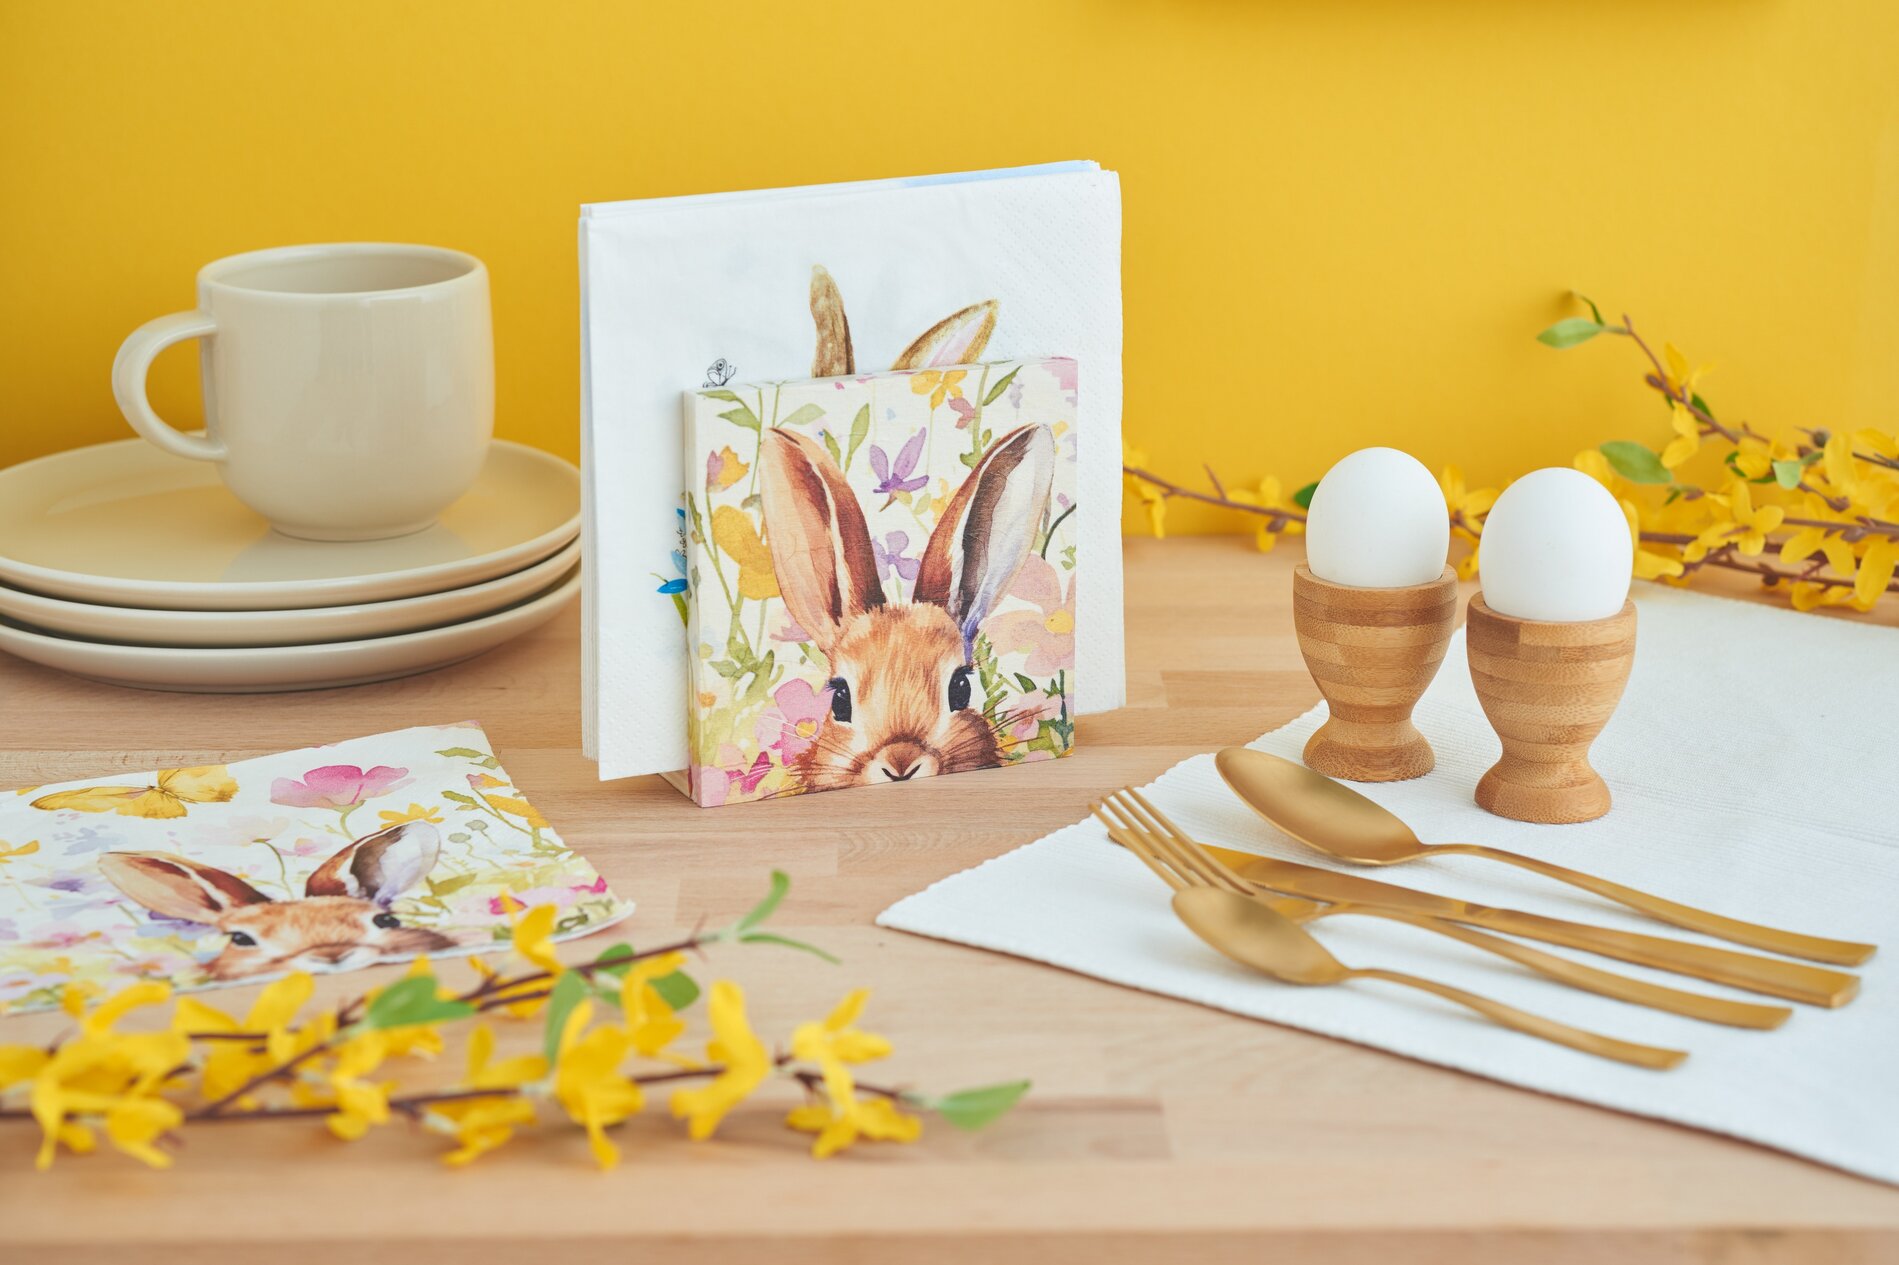
Before we begin, a brief overview: napkin technique is a creative design method in which the printed layer of a napkin is applied to various surfaces. The motif is sealed with a special napkin varnish to give it a special shine.
Step 1: Prepare the motif
First select a napkin with a beautiful motif that you like. Make sure that the pattern or image fits in well with your table theme. Then carefully cut out the desired motif from the napkin . Remove the bottom two layers of napkins. It is important to only use the top, printed layer of the napkin , as this contains the color pigments.
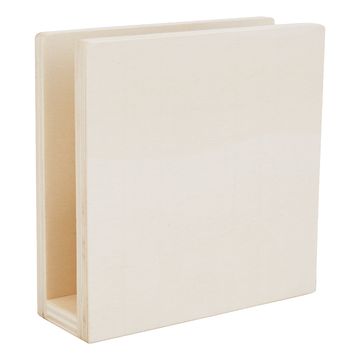
Step 2: Stick the motif onto the napkin holder
Once you have prepared your design, you can stick it onto the napkin holder . Now the special napkin varnish comes into play: apply a thin layer of the paint evenly to the napkin holder, where the motif is to be later. The napkin varnish acts like an adhesive that fixes the image in place.
Step 3: Fixing the motif
Carefully position the top layer of napkin on the desired spot on the napkin holder. Now coat the area again with another layer of varnish. This second coat completely seals the motif, gives it a beautiful shine and protects it from external influences. Allow the napkin holder to dry thoroughly before using it to get the best out of your craft work.
With just a few steps and materials, you can transform simple napkin technique napkin holder into true works of art. They are perfect as table decorations for special occasions or as personalized gifts. Now that you know how to do it, visit our online store and discover our wide range of creative craft materials. After all, the next festive occasion will be here sooner than you think and your table should be a real eye-catcher!
Have fun crafting and decorating!