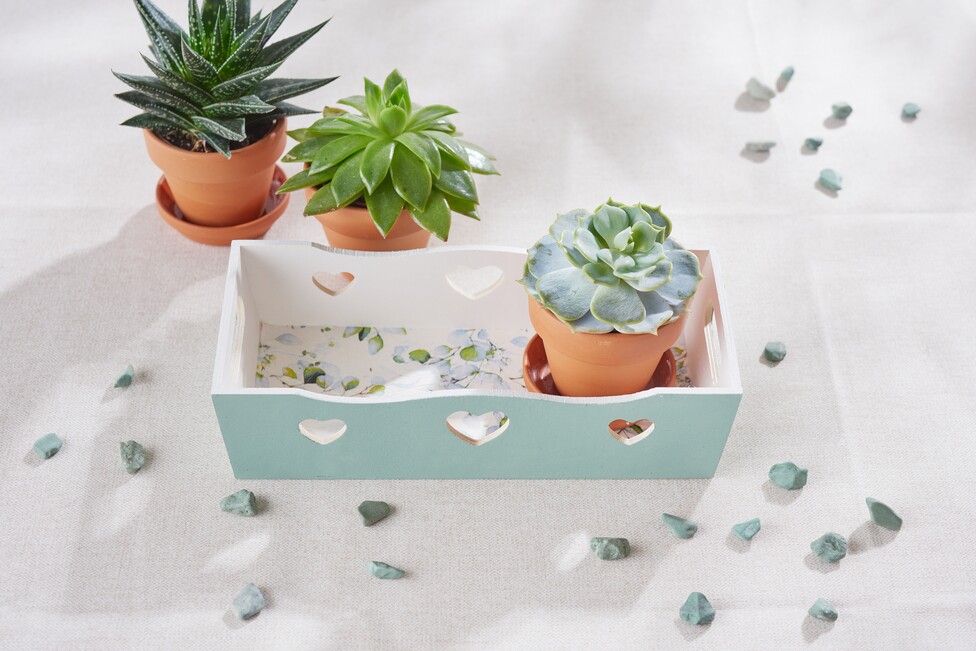
Step 1: Preparing the tray
Start by carefully cleaning your tray to remove dust and dirt. This will prevent these particles from affecting the paint or varnish.
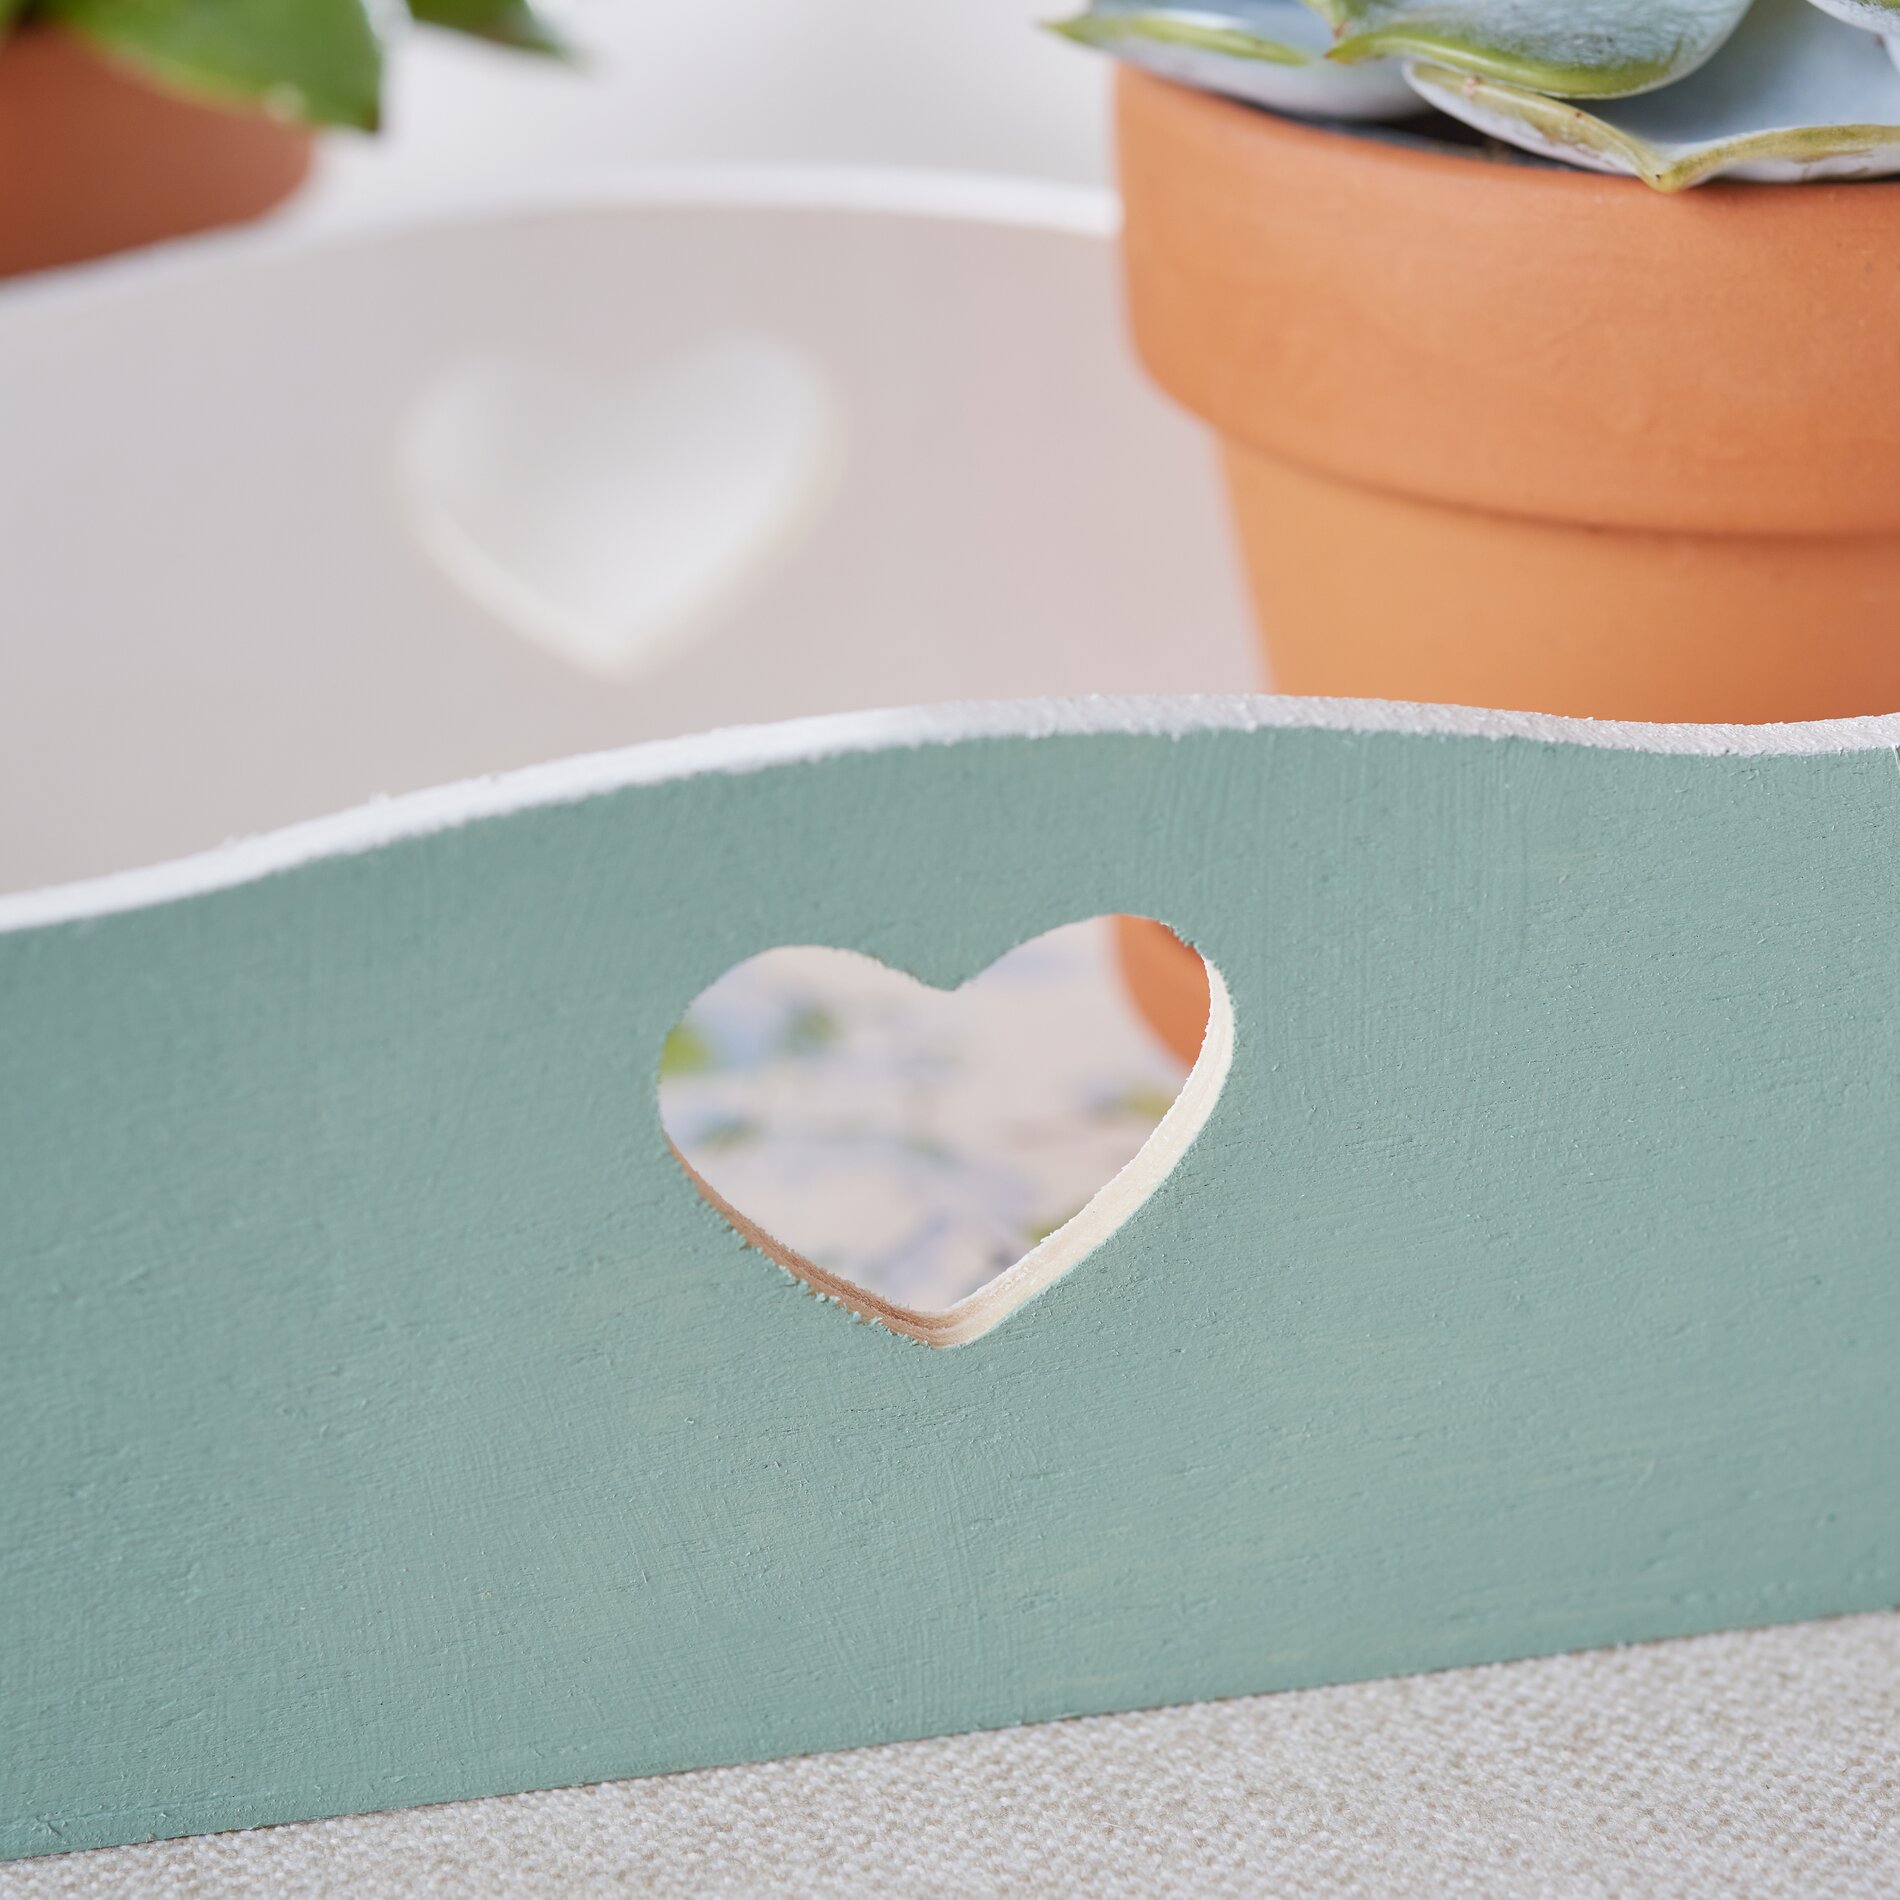
Once the tray is dry, paint the inside surface and the narrow edges of the tray with white paint. The colors of your napkin motif will stand out particularly well on this light background. Use an antique green paint for the outer surfaces. This is ideal for the vintage look. It is best to apply 2 to 3 coats of paint. This will give you good coverage and an even finish. Allow each coat to dry well before applying the next.
Step 2: Preparing the napkin
While the tray is drying, you can turn your attention to the napkin technique . Carefully remove the top printed paper layer of the napkin from the bottom layers. You will only need this thin layer of motif for your design. Place it in the tray and mark the required size with a pencil. This will help you to fit the napkin perfectly into the tray. Cut the napkin according to the markings.
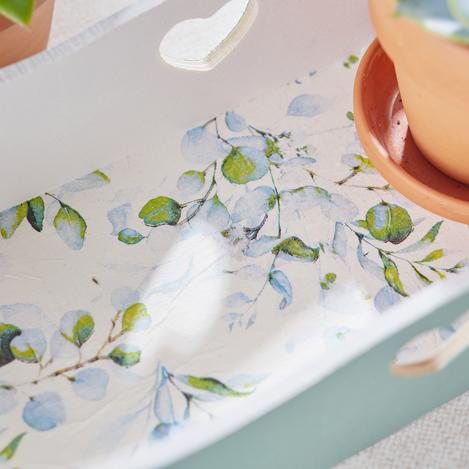
Step 3: Applying the napkin technique
Coat the base plate of the tray with a thin layer of napkin varnish. This acts as an adhesive and ensures that the napkin adheres well. Then carefully place the cut napkin on the base plate. Make sure that the napkin does not wrinkle: work from the center to the edges to avoid air bubbles. Then coat the designed napkin motif with the varnish again for the final fixation.