- Secure order
- Easy return shipment
- Service-Hotline +41 71 511 23 70
Instructions No. 4085
Difficulty: Beginner
Working time: 30 Minutes
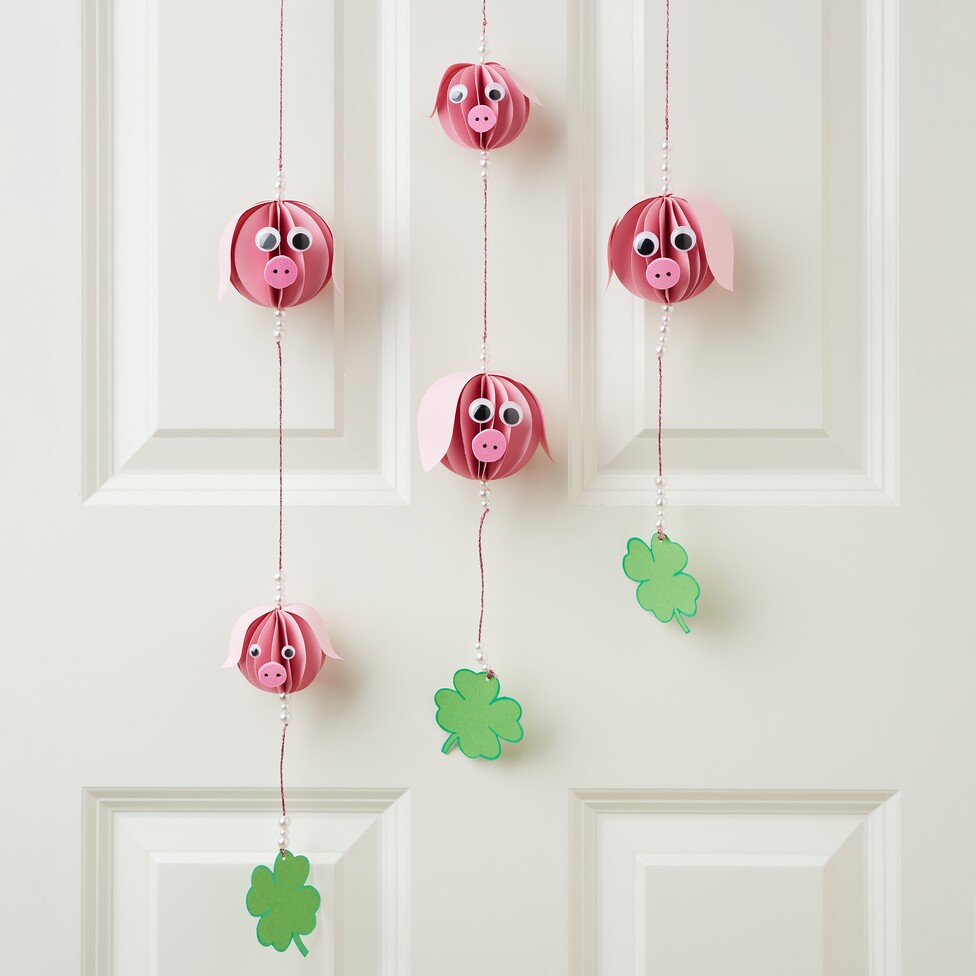
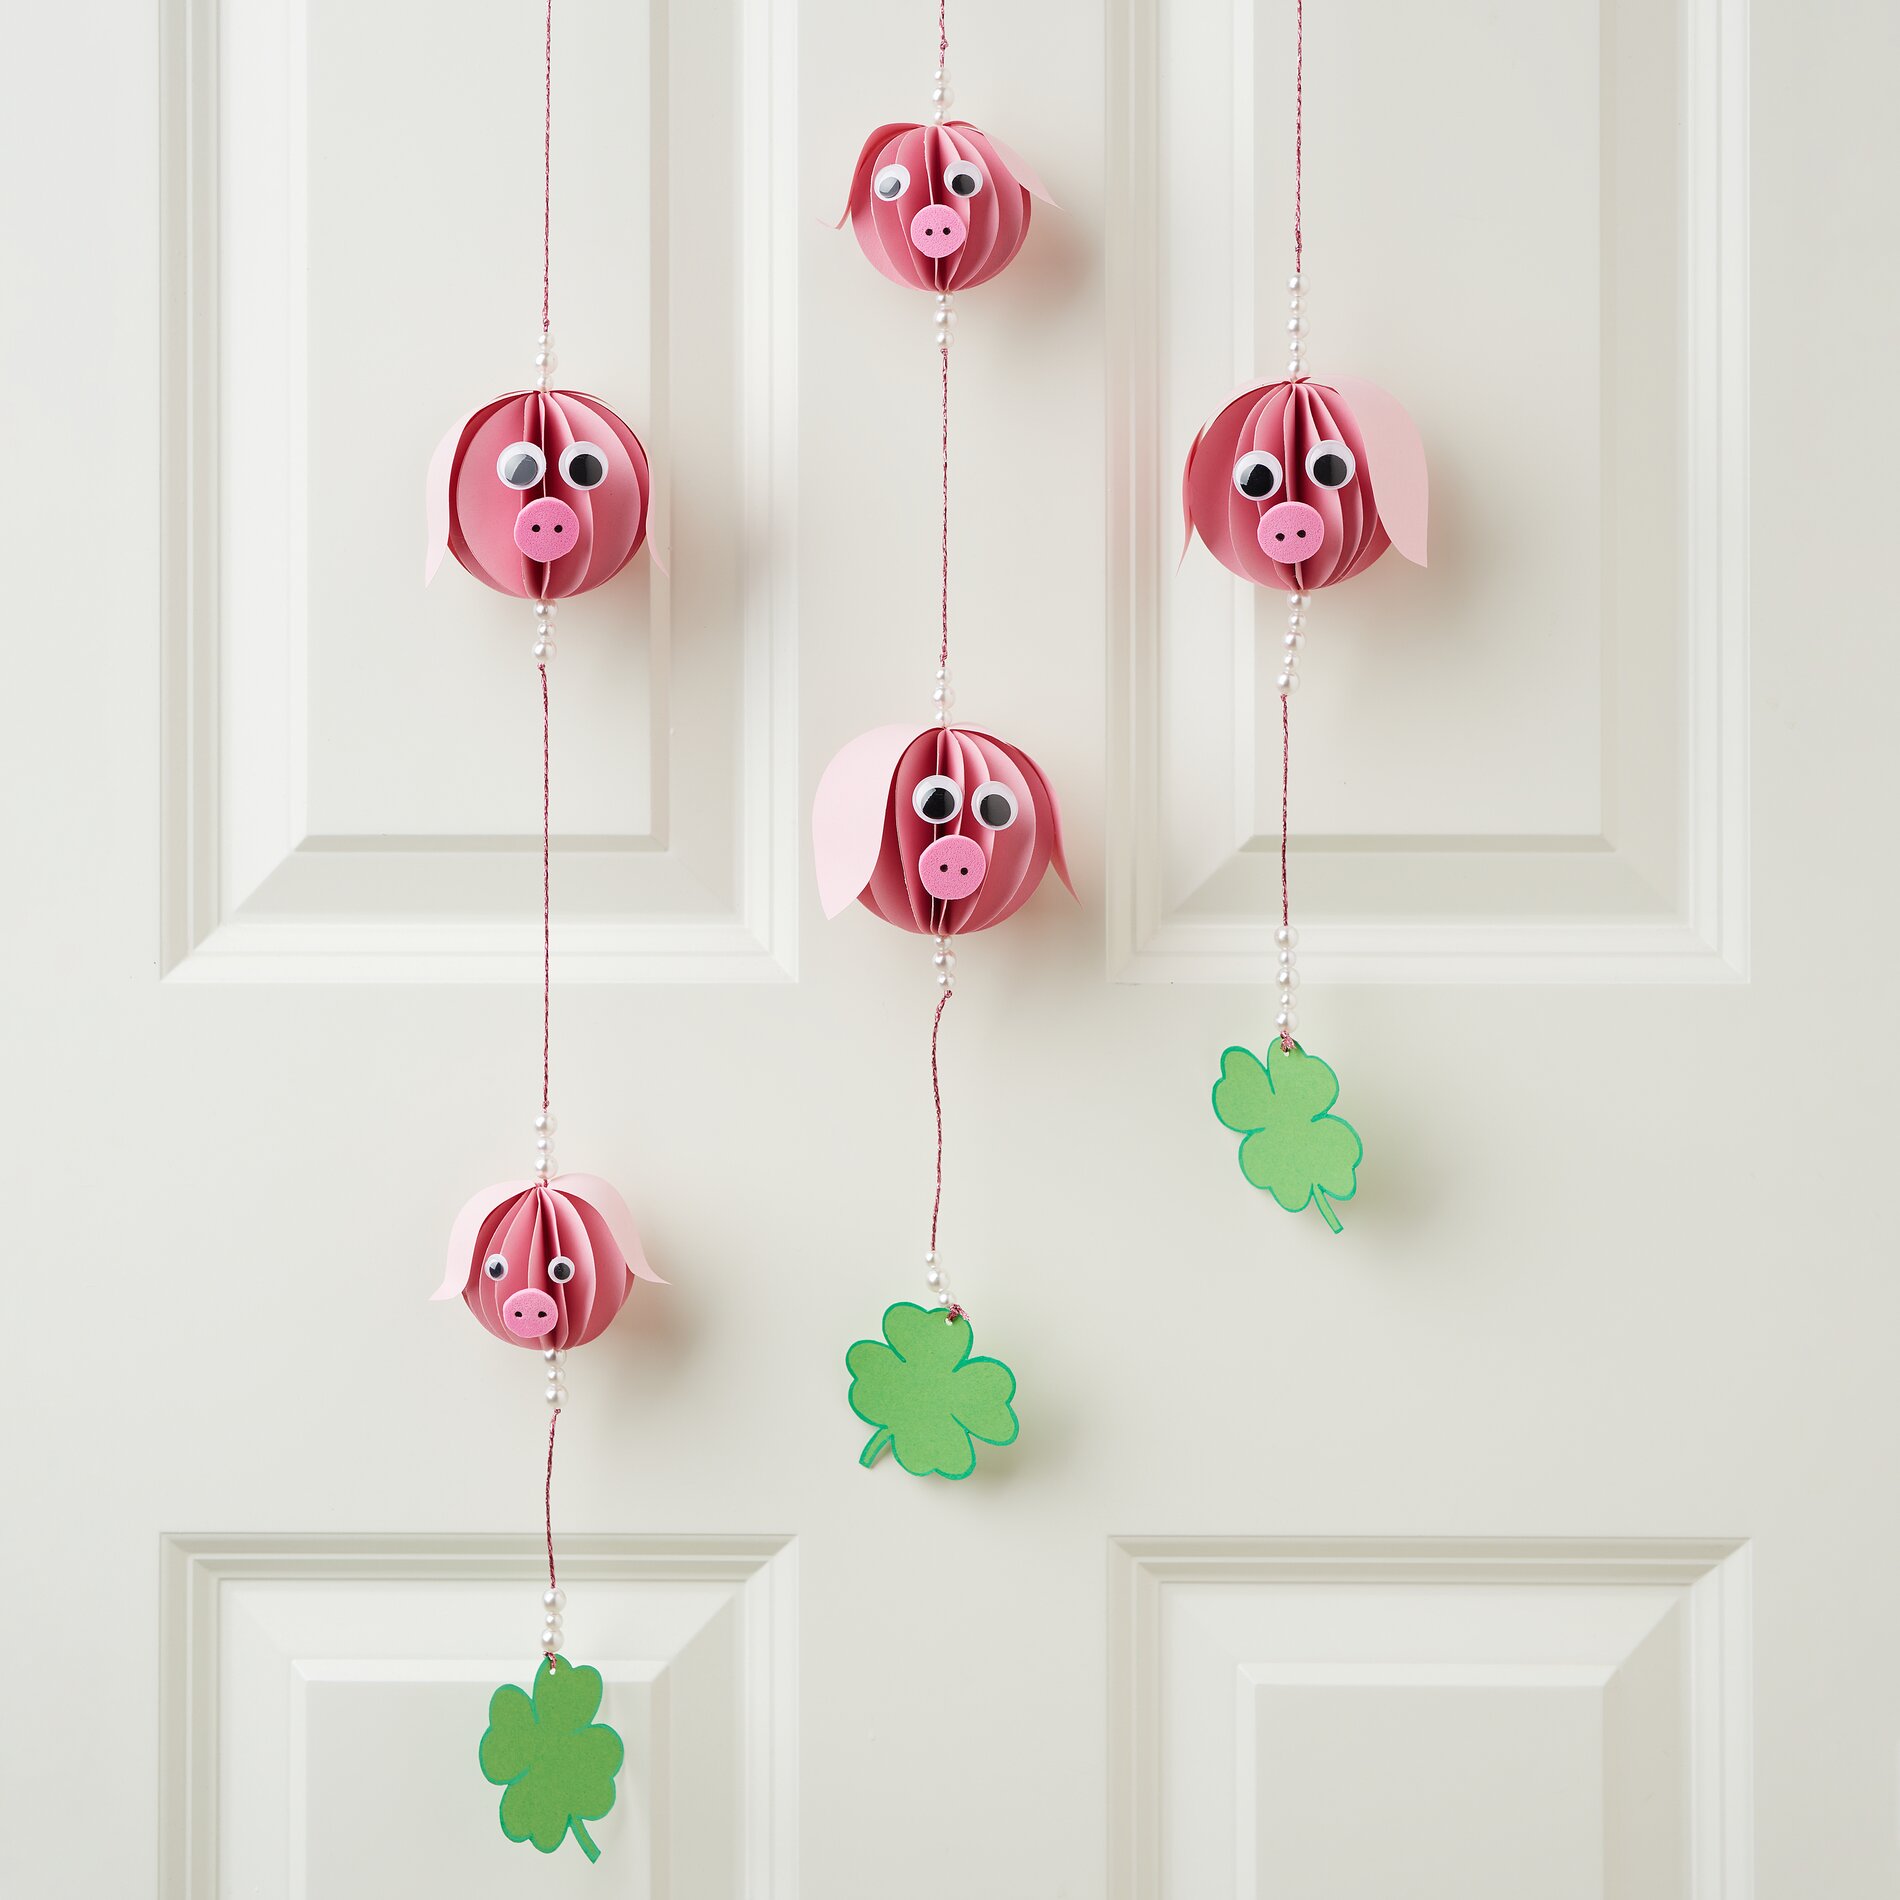
Make a Piggy Good Luck Ornament from coloured paper
To make an ornament, first punch out 15 circles of the same size from pink coloured paper . Fold each circle exactly in half. Folding creates clean edges that will later form the typical honeycomb look of the paper ball.
Shaping the paper ball
Now glue the folded semicircles together one after another: To do this, always place one folded half on top of the next, creating an even “fan-shaped stack.” Make sure the folded edges are flush—this will ensure the ball is nice and round in the end. Once all 15 semicircles are connected, close the ball by gluing the top and bottom semicircles together. Hold the edges in place briefly until the glue sets.
Transfer the templates and cut out the pieces
Print out the template, cut it out carefully, and trace the shapes for the ears, eyes, and nose onto craft cardboard sheet and foam sheets. Then cut out all the pieces neatly. This step ensures that your piggy will have a clear, friendly facial expression in the end and that the elements remain sturdy.
Attaching the Ears
Fold one corner of each ear back about 4 mm. This small adhesive tab will help you secure the ears firmly to the round paper ball. Glue the ears to the ball from the top and position them so they sit evenly on the left and right. Press the tabs down briefly to ensure they hold well.
Design the Nose and Eyes
Now use a Posca-marker to draw two small dots as nostrils on the foam sheets-nose. This immediately gives the piglet character and looks good even from a distance. Glue the nose in the center of the ball and then secure the eyes above it. Take a moment to align them properly—especially for paper crafting New Year’s Eve, a well-balanced face makes all the difference.
Make a four-leaf clover as a lucky detail
Trace the four-leaf clover template onto green coloured paper and cut it out. Outline the clover with watercolour, to create a delicate, decorative border and make the design look more lively. Then punch a small hole in it with a hole punch. You can later thread the cord through the hole so the clover swings along at the end as a lucky charm.
Threading and Hanging the New Year’s Eve Garland
Cut a piece of cord to your desired length. Now thread on beads and your little pig figurine alternately. At the bottom, you can tie the clover in place to create a nice finish. At the top, tie a sturdy loop so you can hang the paper charm as a New Year’s Eve decoration on a door, window, or branch. If you make several charms, varying lengths look especially decorative.
To finish, make several piggy good-luck tags using pink coloured paper and combine them with other Paper-elements to create a cohesive New Year’s Eve decoration. You’ll find all the matching papers, craft tools, and accessories in the online shop—so you can get started right away and bring your next paper crafting-project to life.