Step 2: Plotting process
1. Prepare the vinyl film: Cut the required pieces of colored vinyl film. Make sure you use the correct color shown in the program and stick it to the cutting mat.
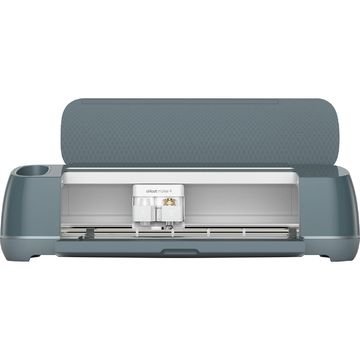
2. Start plotting: When the mat is prepared, click on "Continue". The cutting process will start automatically. Repeat this process for all required colors.
Step 3: Weeding and transferring
1. Weed the motifs: After the plotting process is complete, remove the excess background from the vinyl film so that only the motifs adhere to the carrier film.
2. apply the transfer film: Cut the transfer foil to size and stick it onto the plotted motifs. Use a scraper to press the film firmly into place.
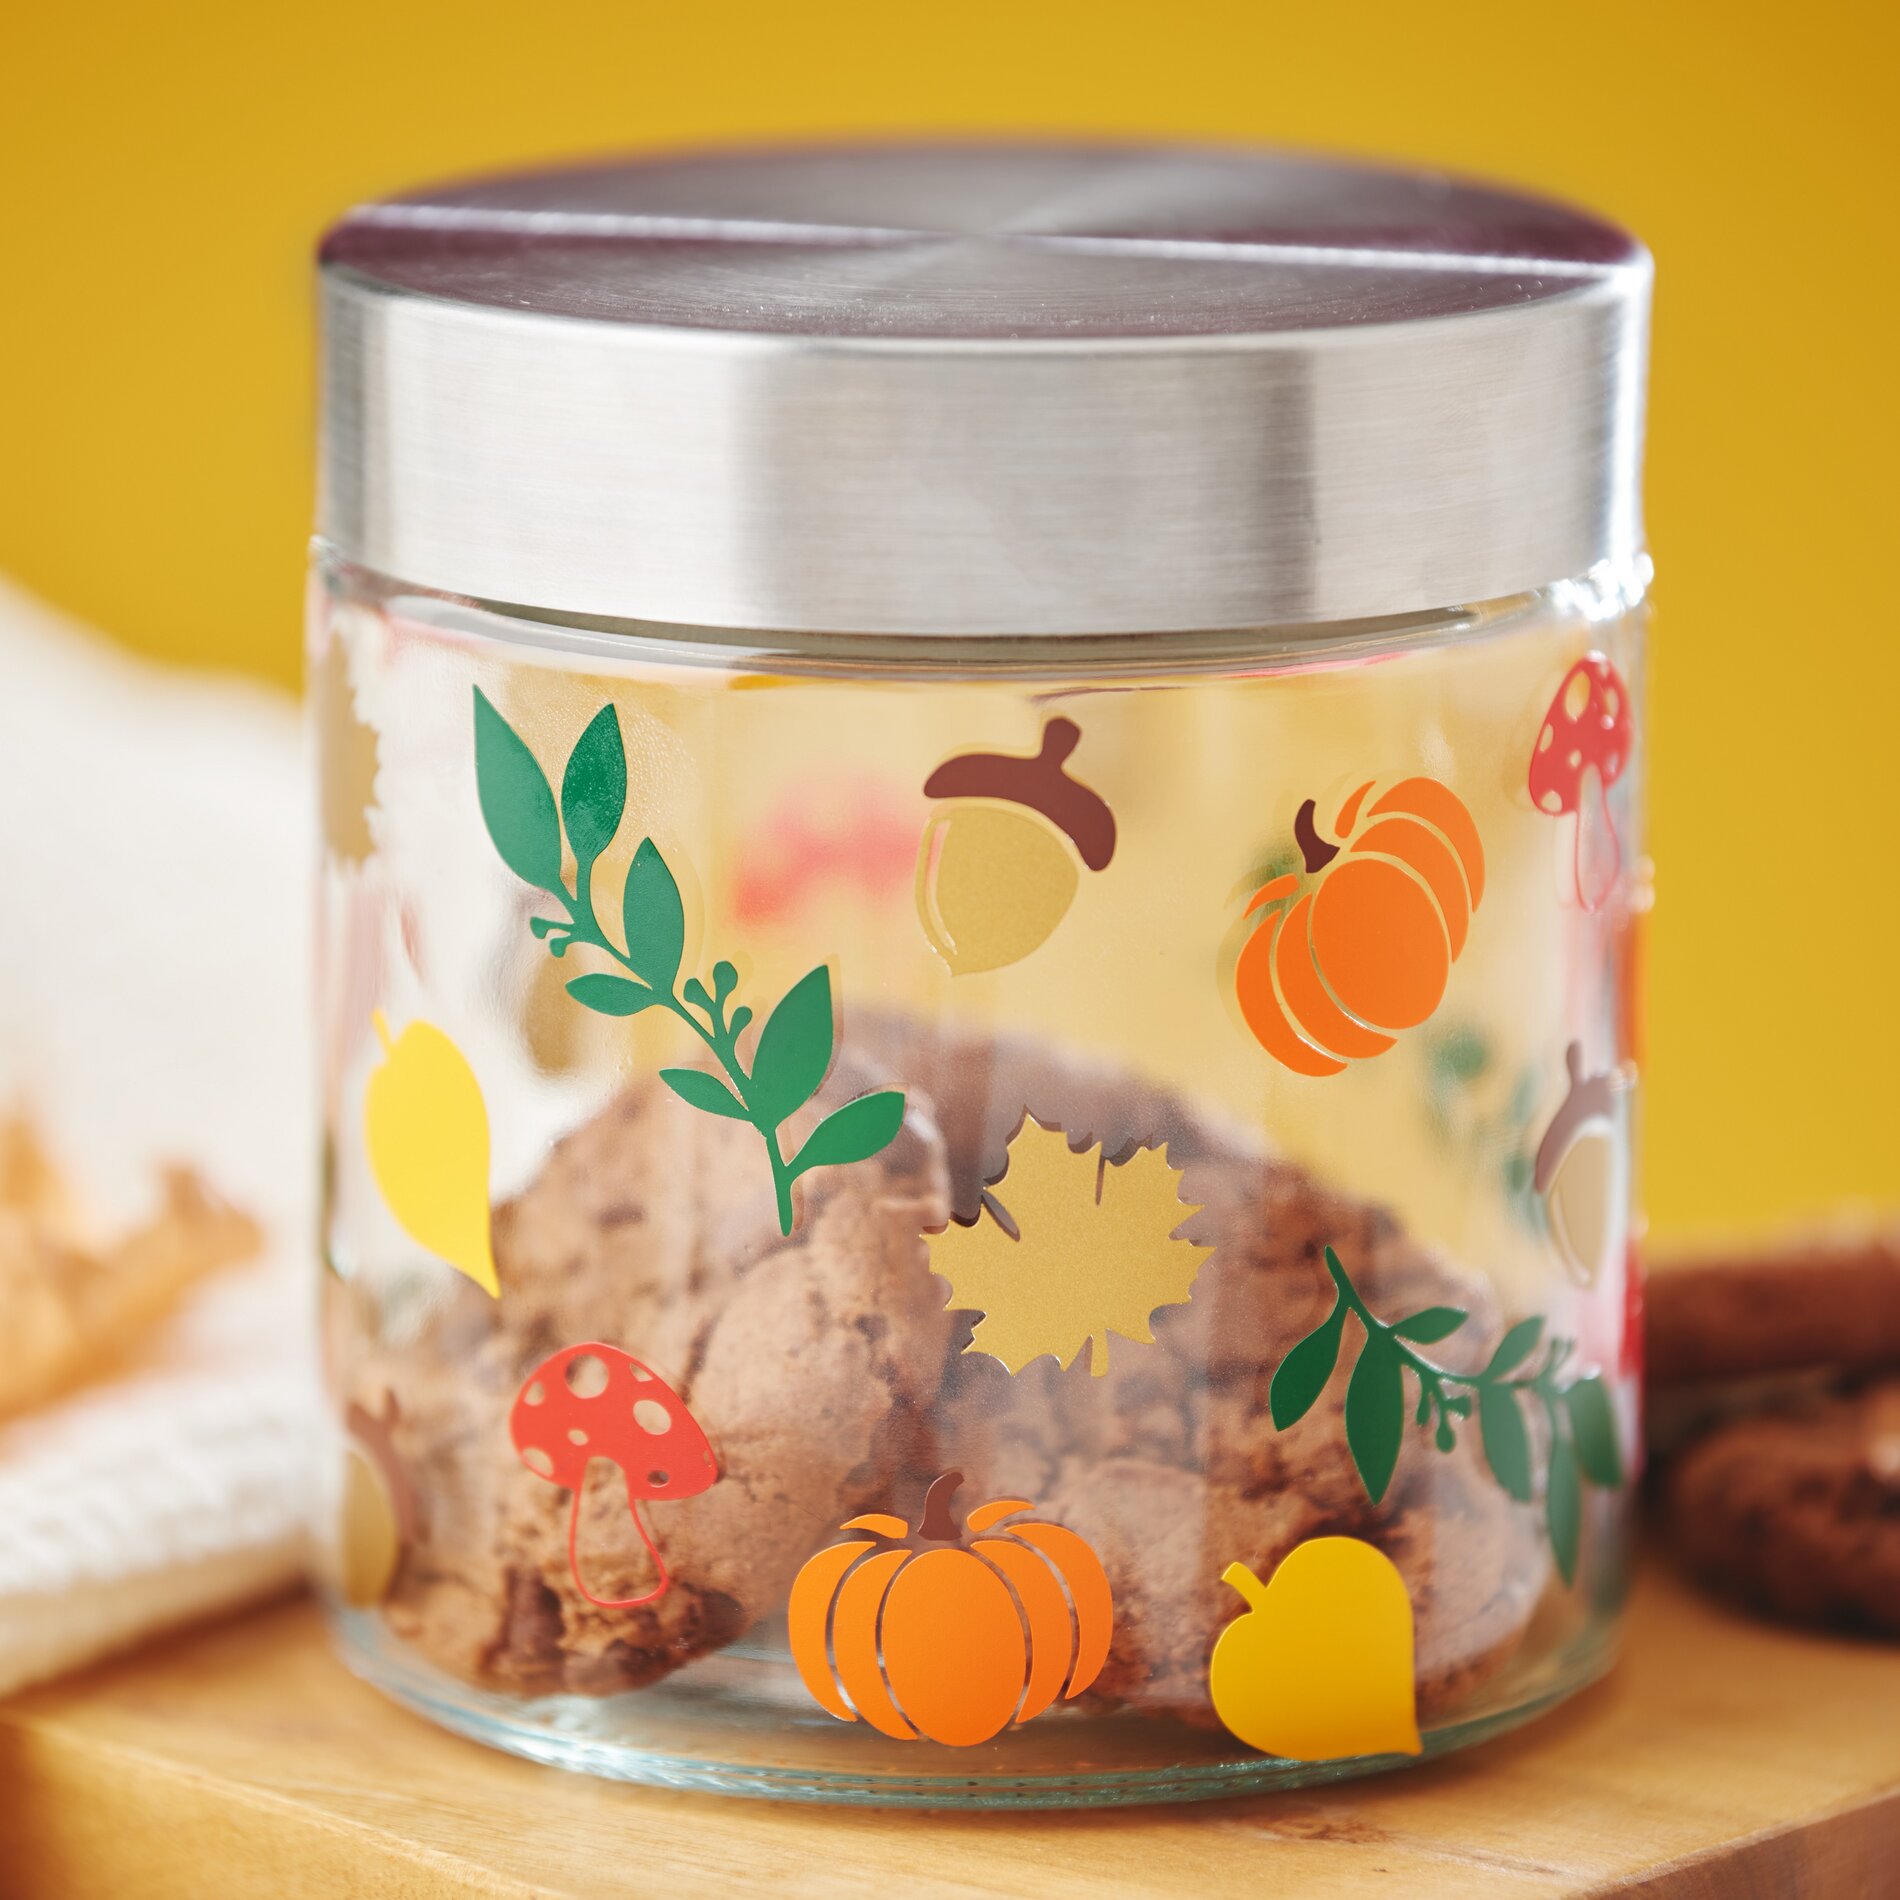
3. Assemble the layers: Start with the parts that need to be assembled, such as the upper part of the acorn with the lower part and the stem of the pumpkin with the pumpkin. Carefully peel off the motifs so that they remain on the transfer foil.
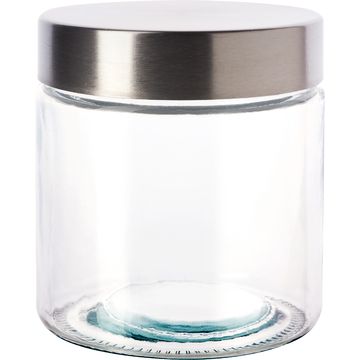
4. Transfer to the glass: Transfer the finished motifs completely to the glass of your choice using the transfer foil.