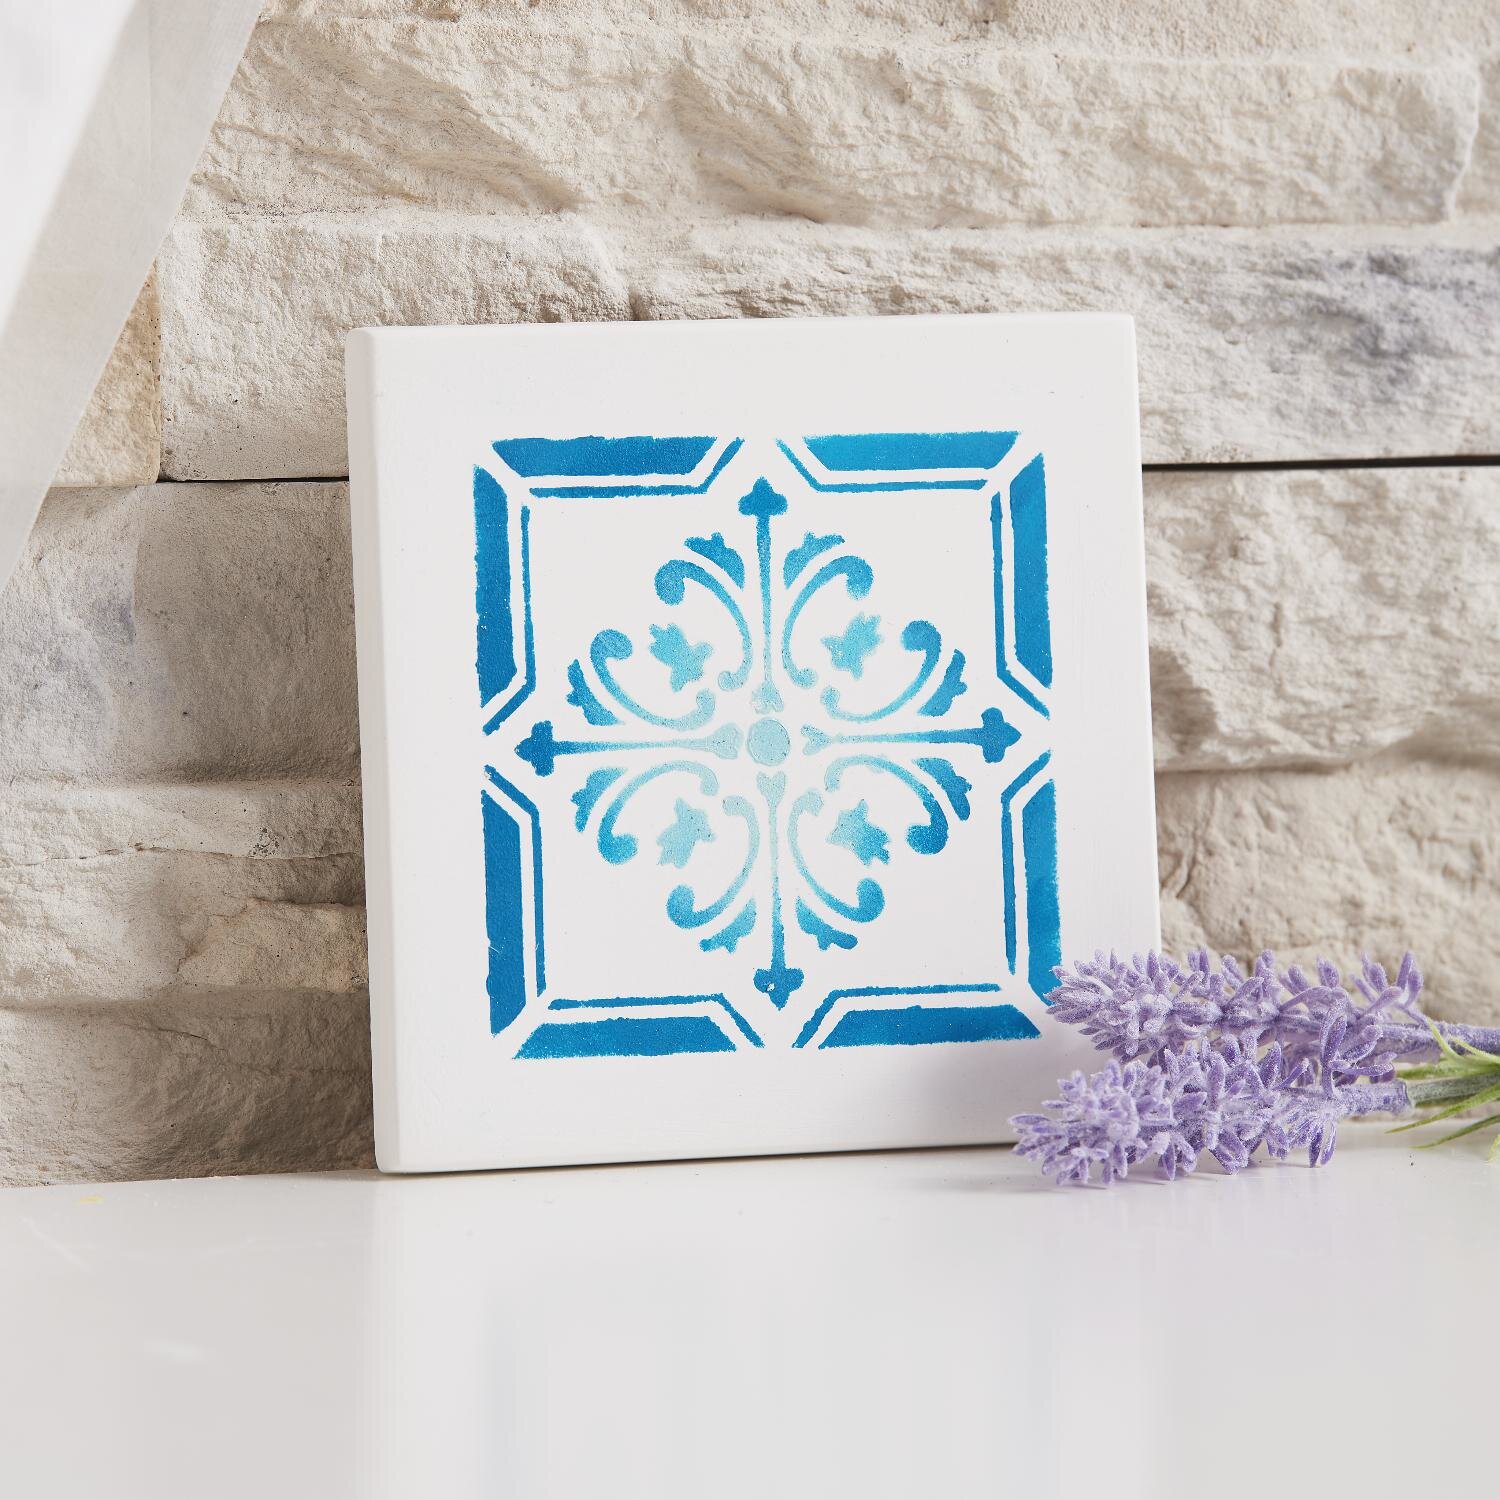
You can fill the tile with both concrete and Keraflott.
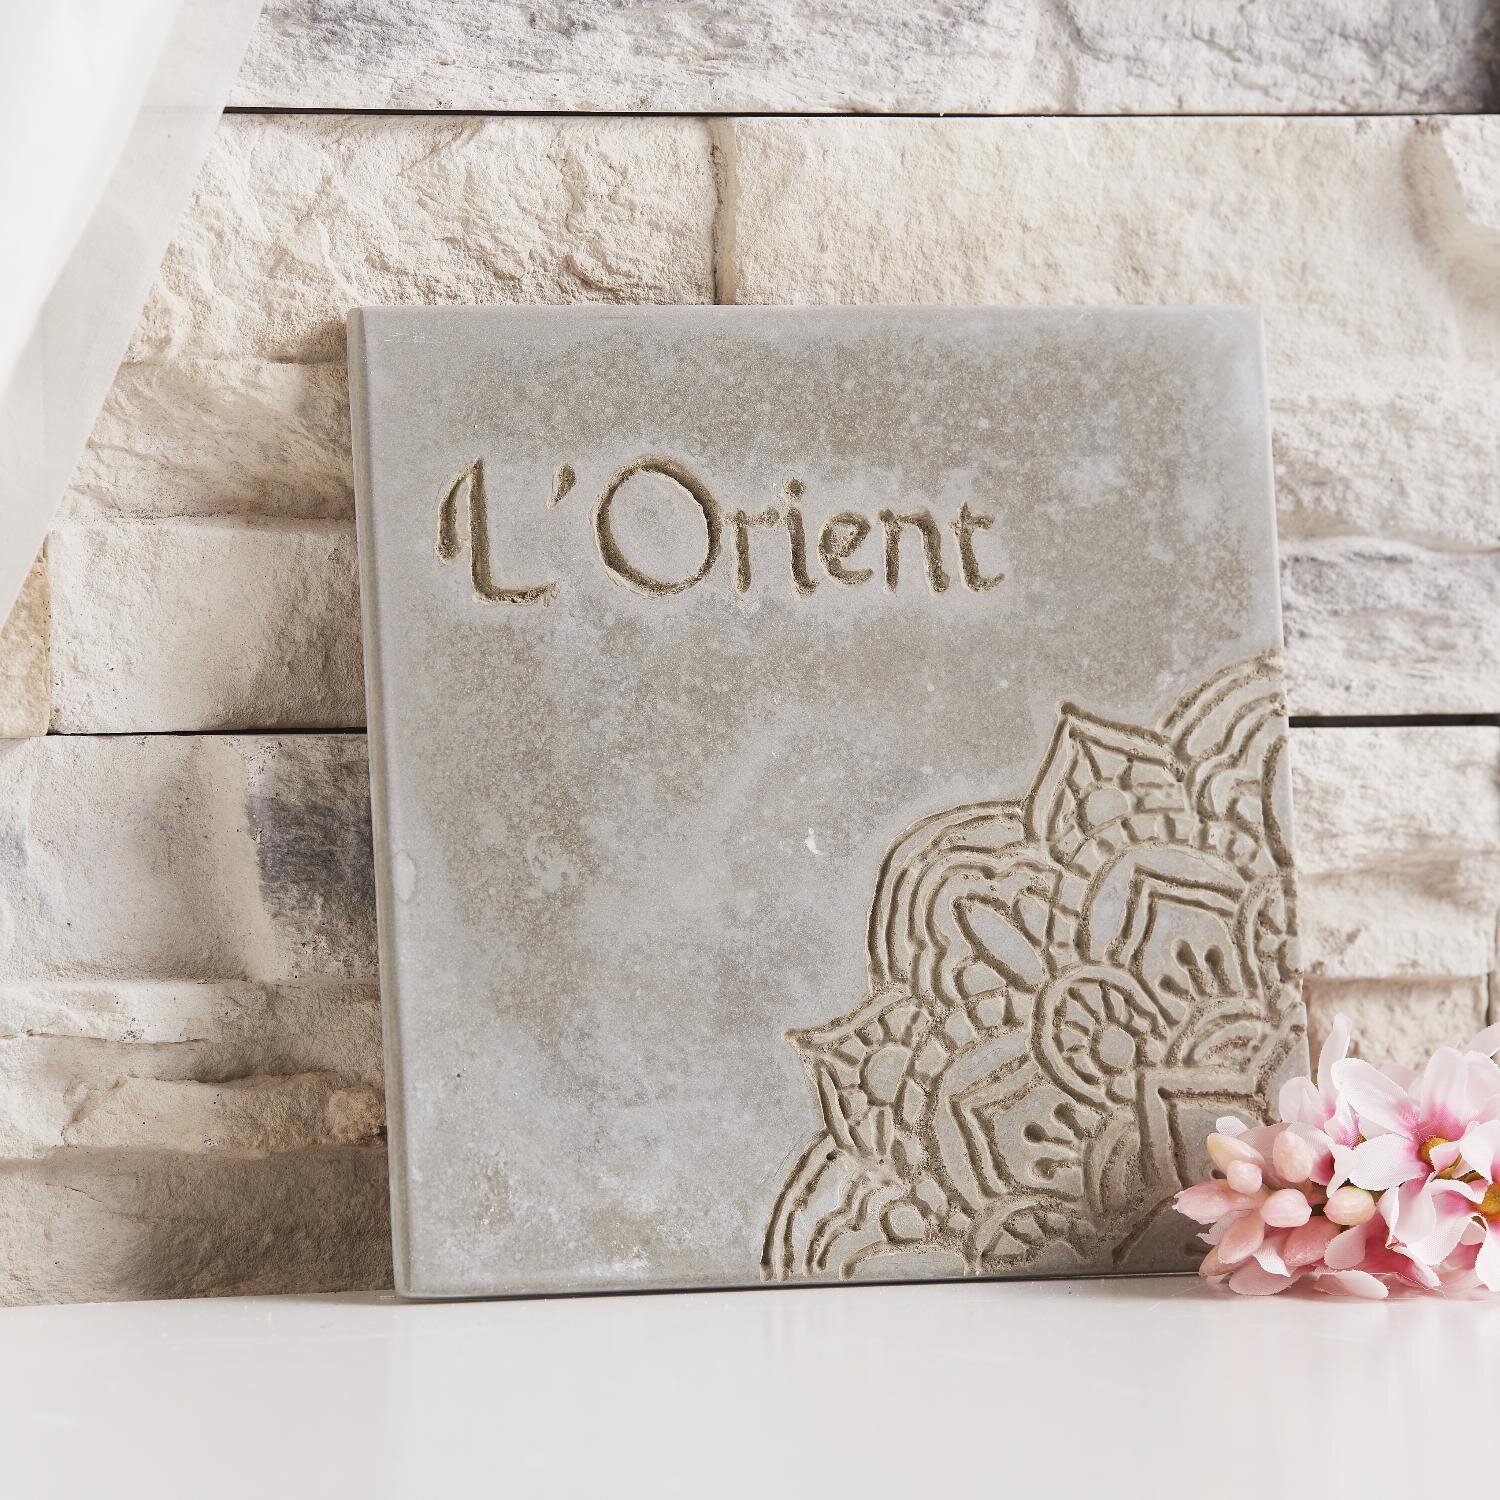
Concrete is a fine-grained, quick-drying and low-dust casting compound and gives the tile the trendy grey concrete character.
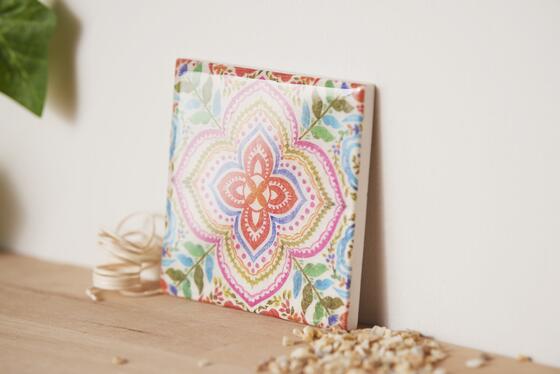
Keraflott is just as fine and is easy to colour. The compound dries quickly and forms a white smooth surface. It is also ideal for tiles that you can later work on with the further and Décoptach Napkin technique technique
Which casting compound you choose is entirely up to your personal taste. Both casting compounds can be processed very easily.
In general you can say that for the large casting mould (16 x 16 cm) you need approx. 5 tablespoons of concrete or Keraflott, for the smaller casting mould (11 x 11 cm) approx. 3 tablespoons of concrete or Keraflott
Stir Keraflott or concrete with water according to the instructions on the package and pour it into the moulds. After approx. 24 hours your tile is completely dry.
Depending on how you want to design the tiles, the procedure varies slightly. What you have to consider, you can read under the respective explanations: