- Secure order
- Easy return shipment
- Service-Hotline +41 71 511 23 70
Instructions No. 3385
Difficulty: Advanced
Working time: 2 Hours
Step 1: Design and transfer stencil
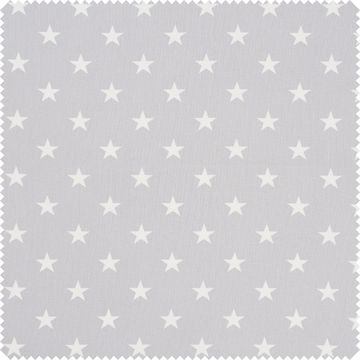
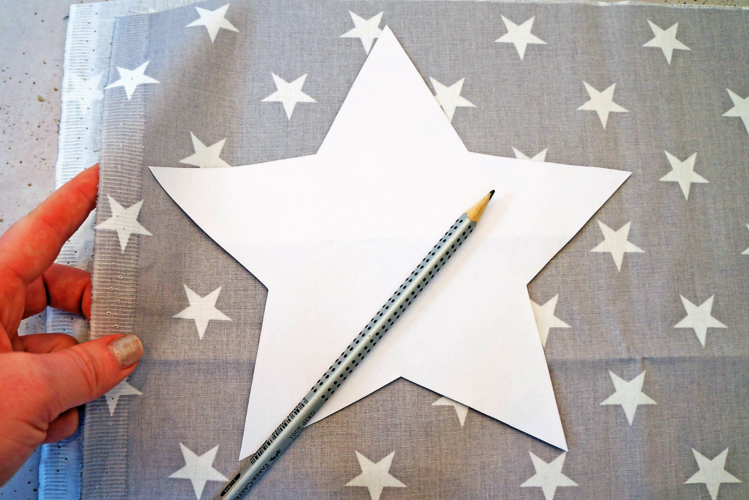
Start by drawing a stencil on a sheet of Paper or print out a suitable template. Adjust the size and shape to your taste - for these instructions we are using a simple five-pointed star, which is particularly suitable for beginners. Lay two layers of fabric on top of each other, draw the star shape on the wrong side of the fabric with a pencil and cut it out. Make sure that you leave 1 cm extra fabric next to the drawn line so that you have enough seam allowance later.
Step 2: Sewing with the sewing machine
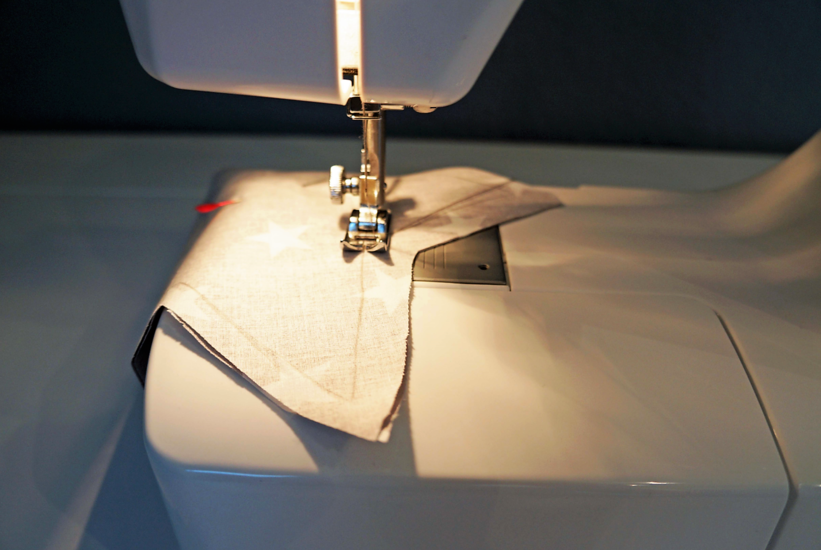
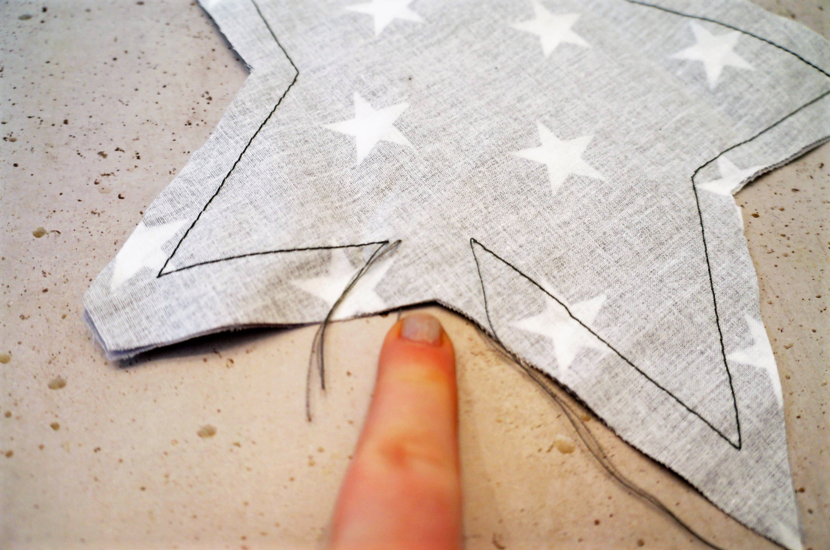
Place the two cut-out fabric stars on top of each other with the wrong sides together and secure them with pins. Sew the edges with a straight stitch, making sure to leave a small opening through which the cushion can be turned and filled.
Step 3: Stuffing, sewing and decorating
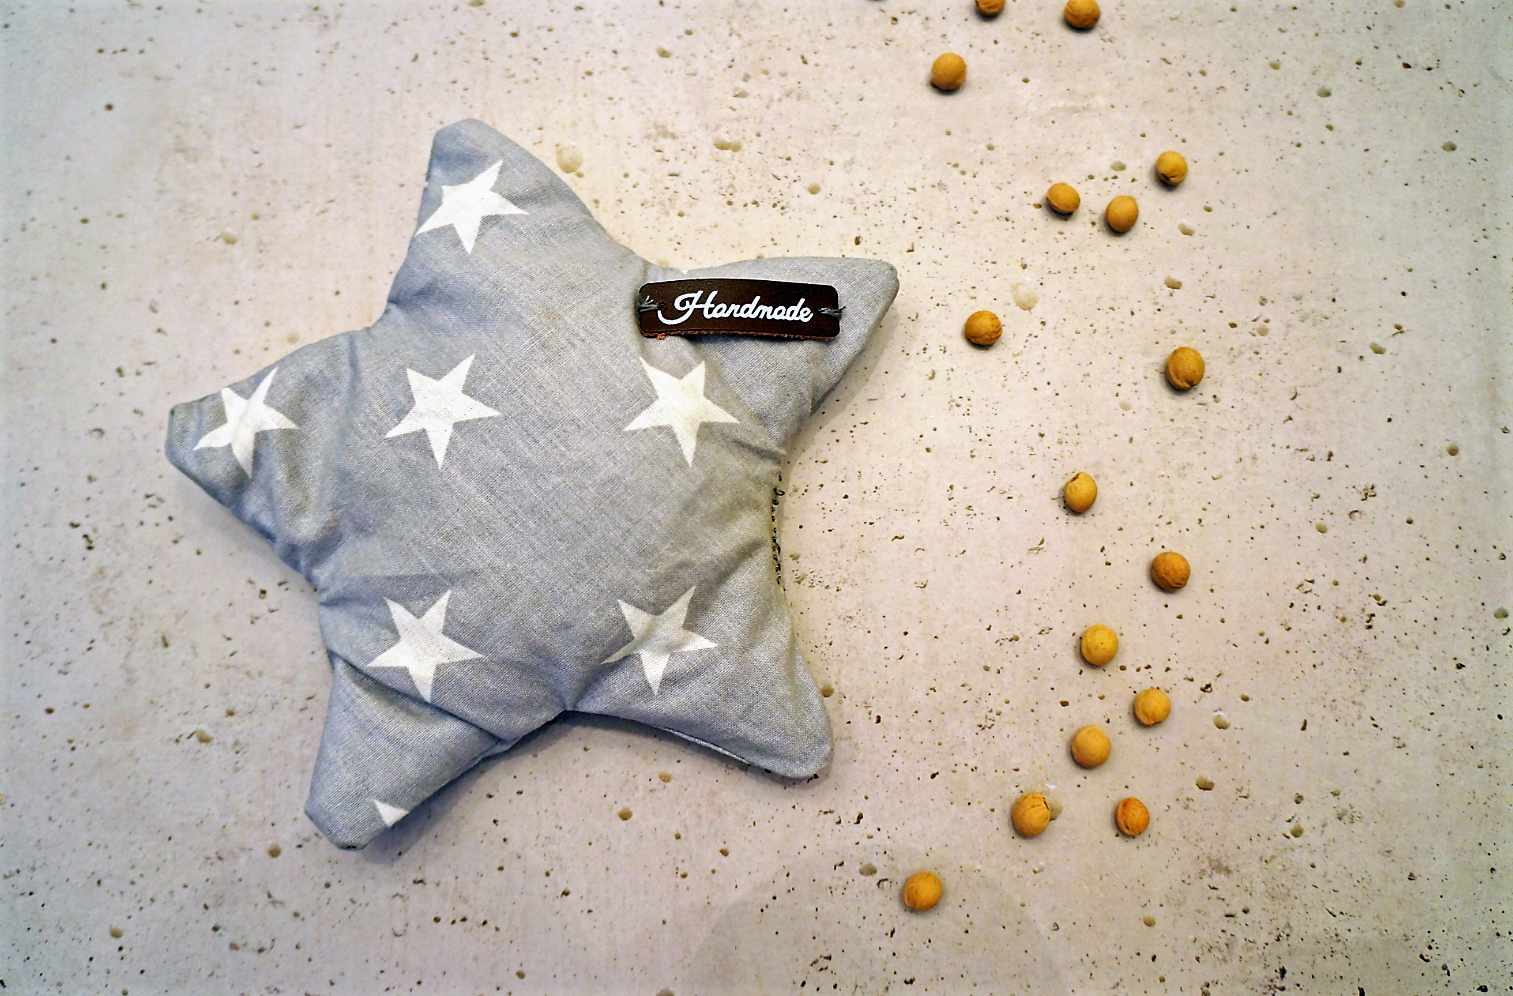
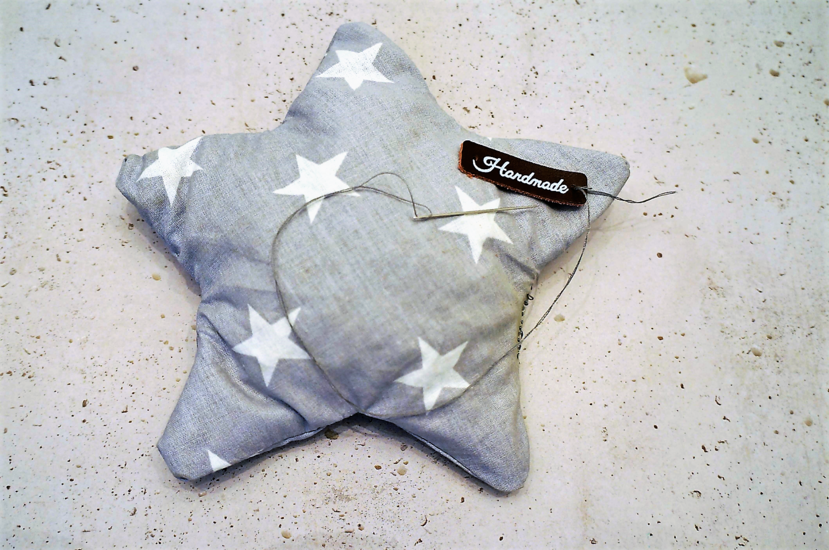
Turn the cushion right side out and fill it with cherry stones. A funnel can help you to fill the stones more easily. As soon as the cushion has reached the desired fullness, sew the opening by hand using a needle. To add a personal touch, you can attach small patches or appliqués with a few stitches.
Step 4: Enjoy the warmth and snuggle up
Place your finished cherry stone cushion in the microwave for a few minutes and enjoy the cozy warmth it provides. Whether as a personal comforter on cold days or as a lovingly homemade gift for family and friends - your cherry stone cushion is sure to bring joy.

Ready to get started? In our online store you will find all the materials you need to create your very own cherry stone cushion. Have fun sewing and have a cozy winter!