- Secure order
- Easy return shipment
- Service-Hotline +41 71 511 23 70
Instructions No. 3387
Difficulty: Beginner
Working time: 45 Minutes
After the contemplative Christmas and New Year period, rooms often seem empty. Fortunately, there is a solution: decorate your home with rustic spring decorations! These instructions will help you fill the void with creative and stylish accents that will not only only brighten up your rooms, but also awaken spring fever.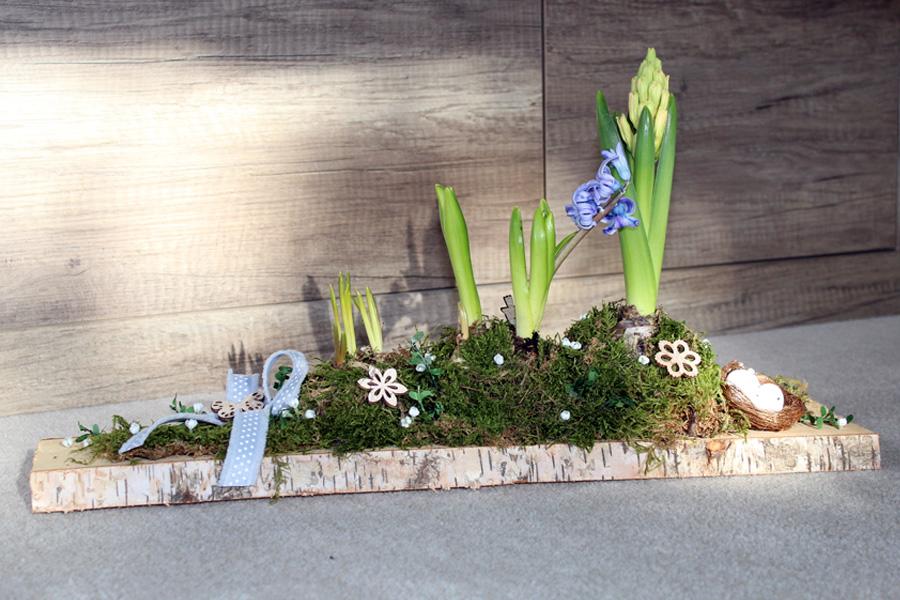
Step-by-step instructions for your spring arrangement
1. Plant the board
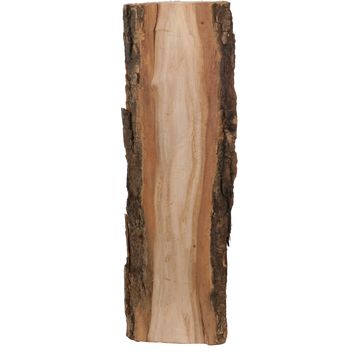
Start by attaching the desired quantity and size of acrylic bowls to the rind board with a drop of hot glue. Make sure to cut off the suspension with a side cutter, but without leaving any sharp edges. Then carefully place the spring bloomers in the trays and stabilize them with some sheet moss so that they stand securely.
Then glue more moss around the acrylic balls and directly onto the board. If there are any small gaps, you can cover them later with decorative elements.

Tip: Your spring bloomers don't need water to bloom. If you want to water them anyway, make sure that the water does not get onto the moss to prevent mold growth.
2. Decorating the arrangement
Now it's time to use the decorative elements. Arrange your desired flowers in an atmospheric way at moss. Fix the flowers in place with a little hot glue. Complete the decoration with, for example, scattered pieces, a small bird's nest and leaves; you can also use hot glue if necessary.

3. Add a bow
For the final touch, cut off a piece of the decorative ribbon and make a bow out of it. Hold the ribbon in place in the middle and shape the ends to create the loops. Secure the bow with a thin wire and stick it discreetly to your arrangement.

Have fun decorating for spring!
Bring your rooms to life with personalized spring decorations. You can easily find all the materials you need in our online store!