- Secure order
- Easy return shipment
- Service-Hotline +41 71 511 23 70
Instructions No. 3421
Difficulty: Advanced
Working time: 2 Hours
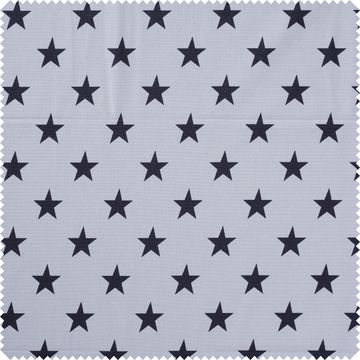
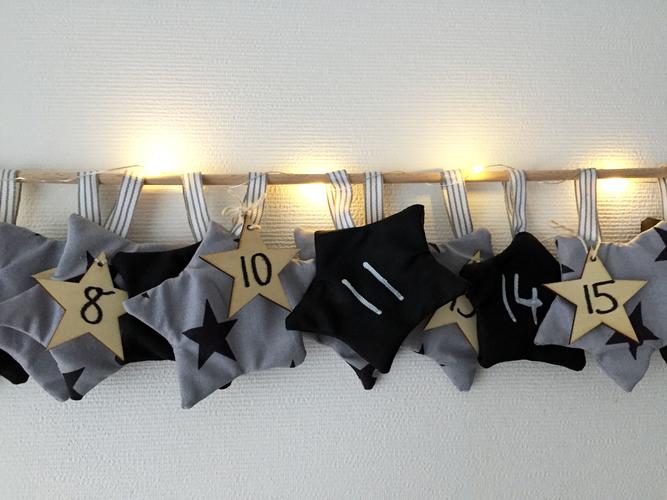
Advent is a special time of anticipation and surprises. What could be better than a homemade advent calendar made of fabric that will bring a smile to your face and that of your loved ones every day? In these instructions, I'll show you step by step how to make your very own fabric-advent calendar . Let's get creative!
<img src="/tn.php?id=178382&width=3264&height=1617&templang=en" alt="Star<protected> advent calendar" width="1253" height="621" align="" hspace="" vspace="" class="">
A homemade advent calendar is not only only a wonderful personal gift, but also a great decorative element for your home. You can customize it and fill it with little surprises to increase the anticipation of Christmas. Making it requires little material and is a wonderful opportunity to develop your creative skills - whether you are a beginner or a sewing pro.
Step 1: Make pattern
First you need a pattern for the stars that will form the advent calendar . You can choose the size and shape of the stars as you wish. Remember to allow an extra centimeter for the hem.
Step 2: Transfer and cut out pattern
transfer the template for the stars to the wrong side of the fabric and cut them out carefully. Make sure that you need two fabric cuts per star, so cut out 48 stars in total.
<img src="/tn.php?id=178388&width=667&height=500&templang=en" alt="advent calendar Transfer and cut out the pattern">Tip: Draw the hem line to help you when sewing and cut a slit in the back so that you can easily remove the surprises later.
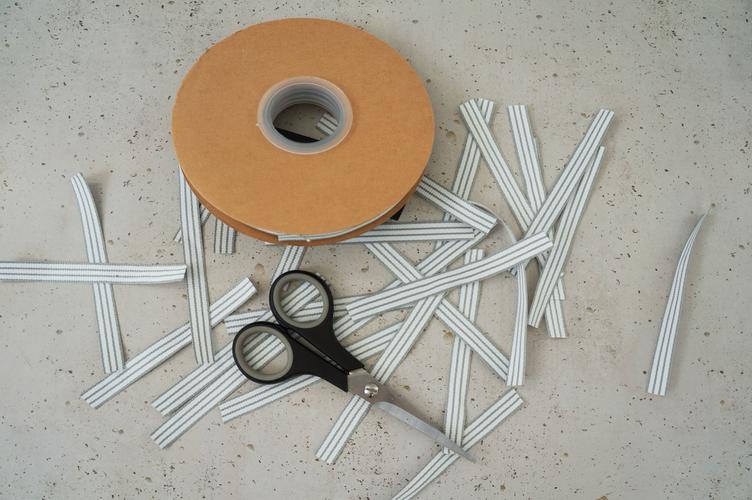
Step 3: Cut out the hangers
Cut 24 ribbons from decorative ribbons that you can use as hangers. The ribbons should be twice as long as you want the loops to be, as they will be doubled.
Step 4: Stick the stars together
Take one front and one back of each star and place them on top of each other, wrong sides facing. Pin the fabric pieces together using pins and remember to insert the hanging ribbon. It should be positioned on the right side of the fabrics.
<img src="/tn.php?id=178392&width=667&height=500&templang=en" alt="advent calendar Pin the stars together with pins">Tip: For more stability with thin fabrics, you can insert lamp foil between the layers of fabric.
Step 5: Sew the stars together
Now sew the stars together on the sewing machine along the marked hem lines, making sure not to sew up the slit on the back. Then turn the stars through the slit.
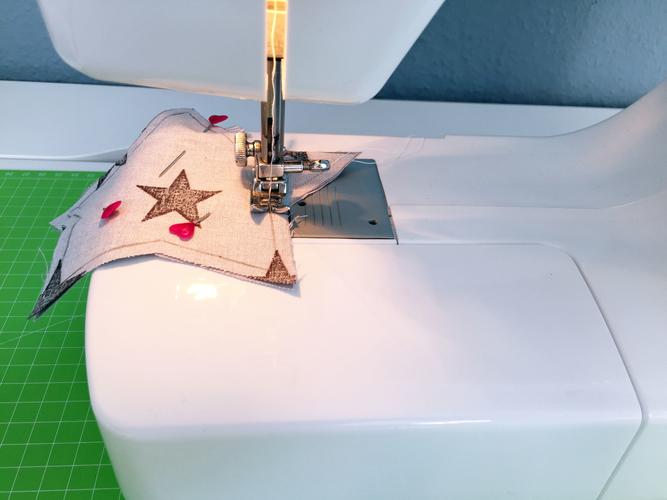
Be careful when turning, especially if you have used lamp foil for stability, so as not to damage the shape of the points.
Step 6: Label the calendar stars
Label the finished stars with numbers. You can write directly on chalkboard fabric using chalk marker . For other fabrics, writing on wooden labels with a sharpie is a good alternative.
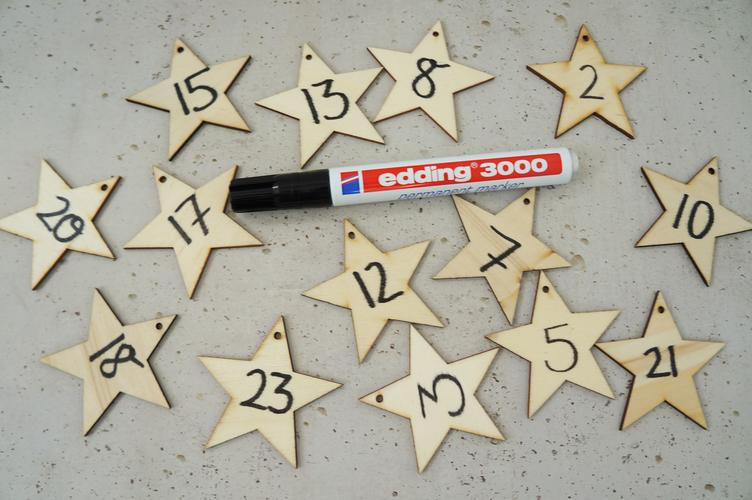
You can also sew the tags on if you don't want to attach them loosely.
Step 7: Fill the calendar and hang it up
Fill the calendar stars with little surprises and decorate them on a wooden stick with a chain of light., for example. This idea is guaranteed to make your eyes light up and make you look forward to Christmas!
Now you're ready to make your own advent calendar from fabric stars. You can find all the necessary materials and tools in our online store.
Start your project now DIY-Project now and make the Advent season even more special for you and your loved ones!