- Secure order
- Easy return shipment
- Service-Hotline +41 71 511 23 70
Instructions No. 4063
Difficulty: Beginner
Working time: 1 hour 30 Minutes
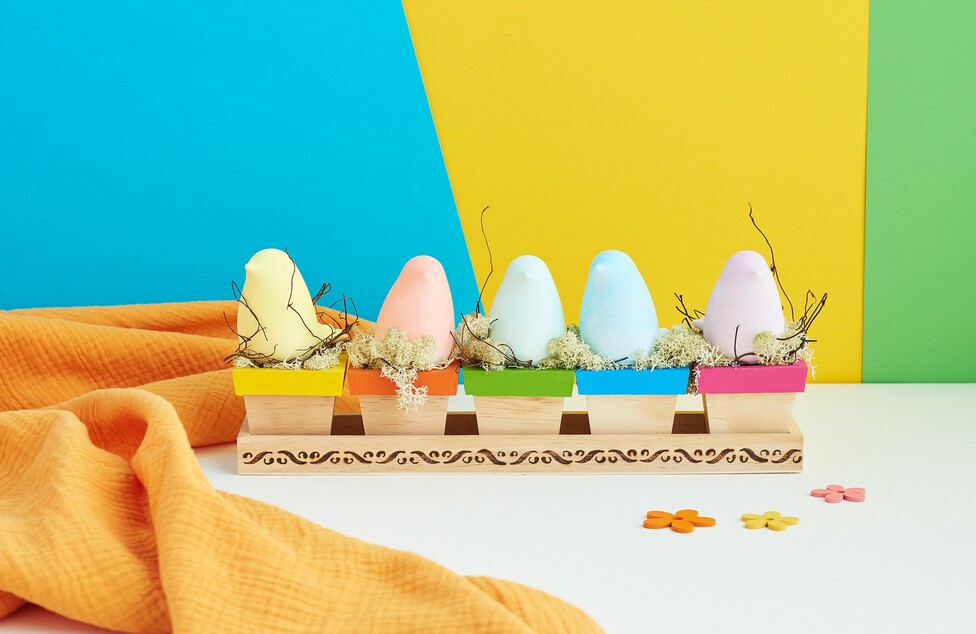
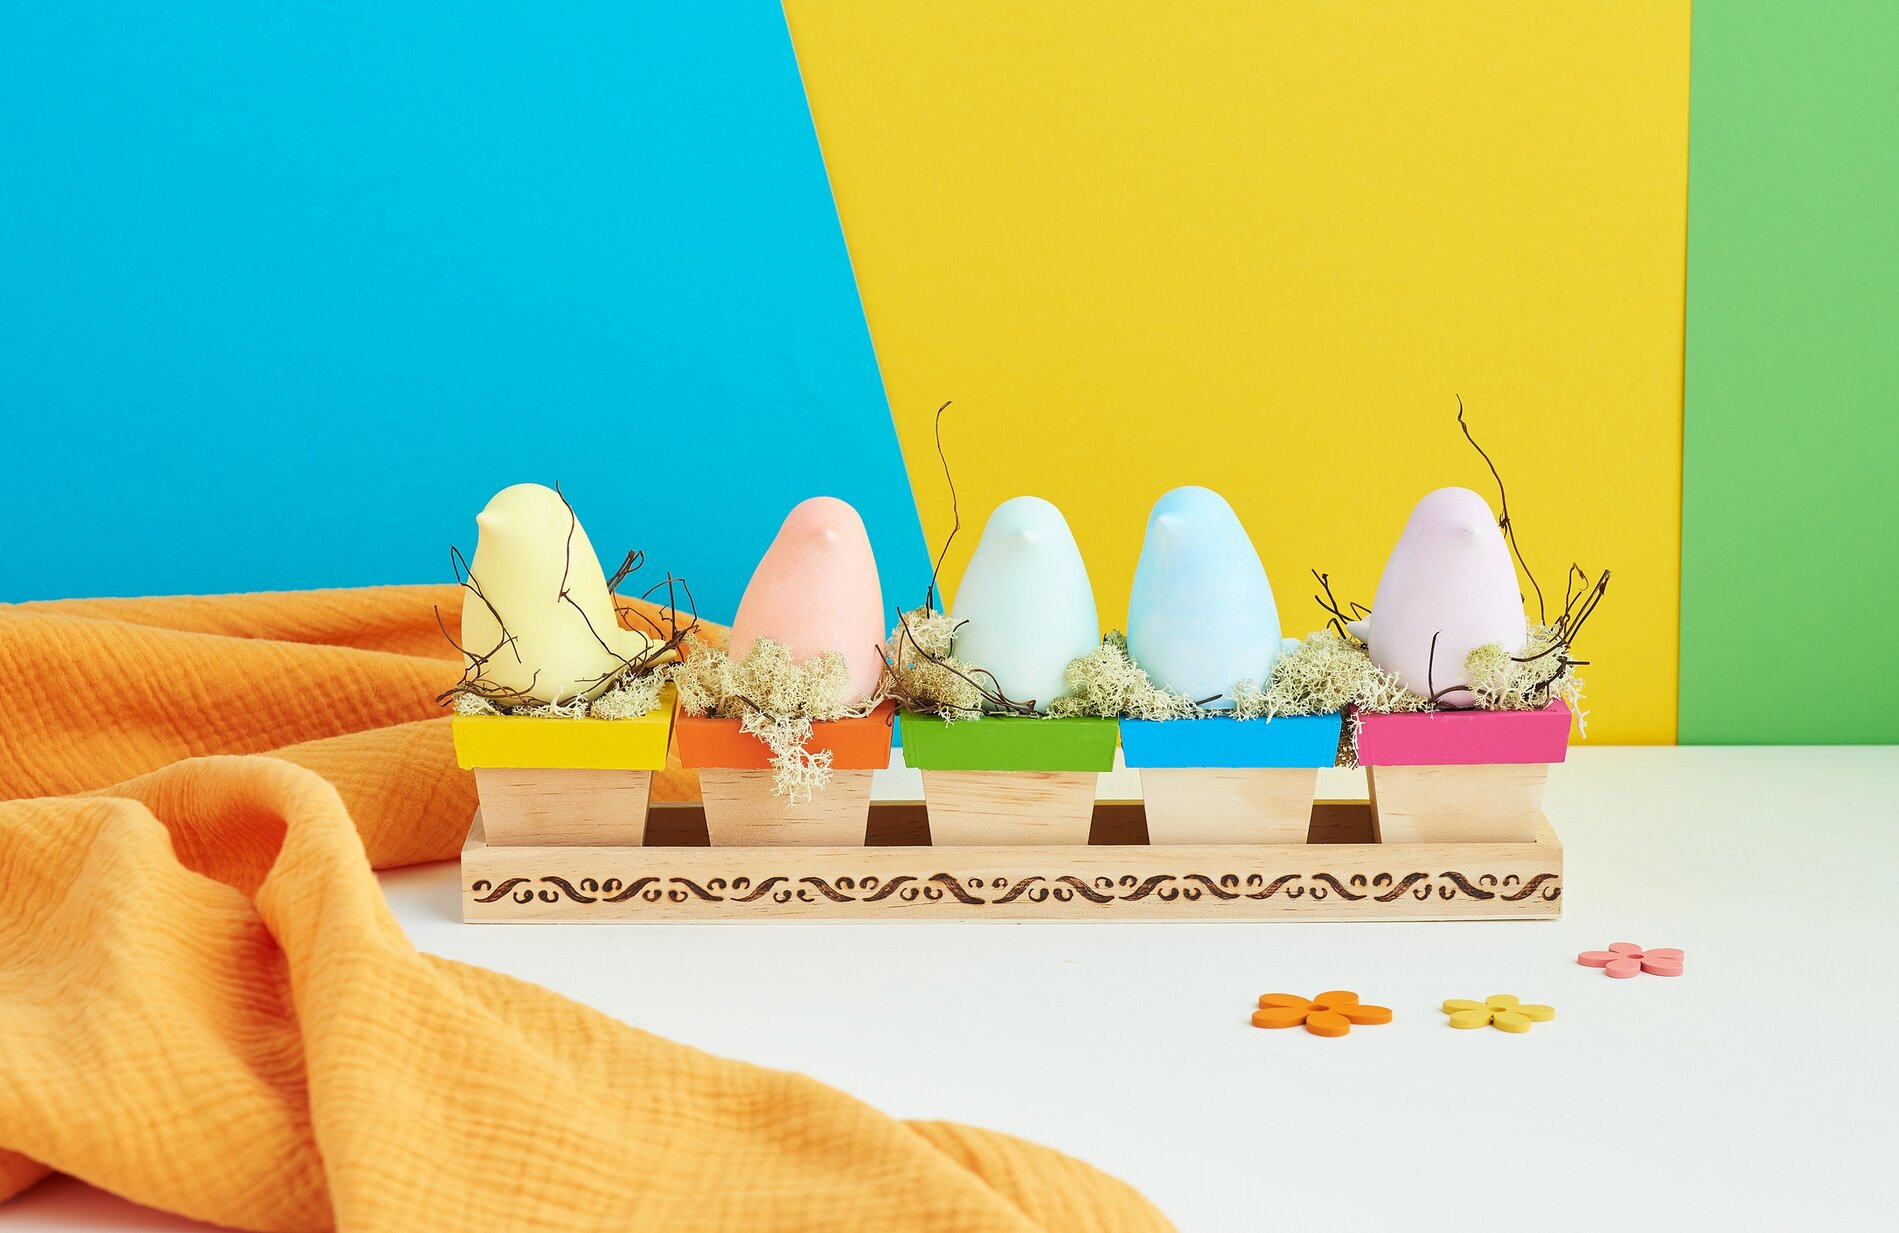
Making Cast Birds from Casting Compound at silicone mould First, lay everything out within easy reach, because you’ll want to work quickly while casting. To make one bird, add two heaping tablespoons of casting powder to a mixing cup and gradually add water. Stir thoroughly until you achieve a smooth, creamy consistency. This ensures the mixture will flow cleanly into all the details of the silicone mould and the bird will be sturdy.
Now it’s time to add color: Mix “ colour concentrate ” into the casting mixture as desired and stir until everything is evenly distributed. Using a little color will give you soft, pastel tones; using more colour concentrate will make the shades significantly more vibrant. If you want to make several castings, vary the color intensity from bird to bird so your arrangement looks lively.
Carefully pour the casting mixture into the silicone mold. Make sure the mold is completely filled. To remove any air bubbles, tap the mold lightly a few times. Try not to lift it while doing so—this will prevent spills and ensure a smoother surface.
After about 3 hours, you can carefully remove the bird from the mold. Then let the cast dry completely so it won’t break later when you’re decorating it and so that paint or glue will adhere well. If small burrs have formed along the edges, smooth them out with a little sandpaper. To make several colorful birds, simply repeat the process with different color concentrates.
Decorating Mini Pots and Arranging the Birds First, paint the rims of the small pots with handicraft paint. This gives the arrangement a clean outline and makes the colors of the cast birds look even more vibrant. Let the paint dry thoroughly so nothing smudges later.
Next, fill the pots with flower arrangement foam. flower arrangement foam is a porous material that’s easy to cut to size and securely holds decorations in place. Now apply a small amount of hot glue to the flower arrangement foam and place Iceland moss and decorative willow on top. This creates a nest-like, natural base where the birds can visually “land.”
Finally, place the cast bird on top of the pot. If you want to attach it permanently, secure it with a small dot of hot glue. This way, your decoration will stay in place even if you rearrange the display later or place it on a tray.
Decorate a wooden tray with “ stencil ” and a pyrography pen Place a “ stencil ” on the edge of the tray and sketch your desired design with a pencil. The pencil helps you position the lines comfortably and control the flow before you make permanent marks.
Then trace the sketched lines with the pyrography pen. The burning process creates a permanent, decorative outline that complements natural wood particularly well and stylishly enhances your casting project. Work slowly and evenly to ensure the lines are clean.
If you’re now in the mood for more colorful casting ideas, silicone molds, and accessories for your decorations, stop by our online shop and put together your next “Casting with KeraHobby” combo right away.