- Secure order
- Easy return shipment
- Service-Hotline +41 71 511 23 70
Instructions No. 3212
Difficulty: Beginner
Working time: 2 Hours

Step 1: Print out the templates
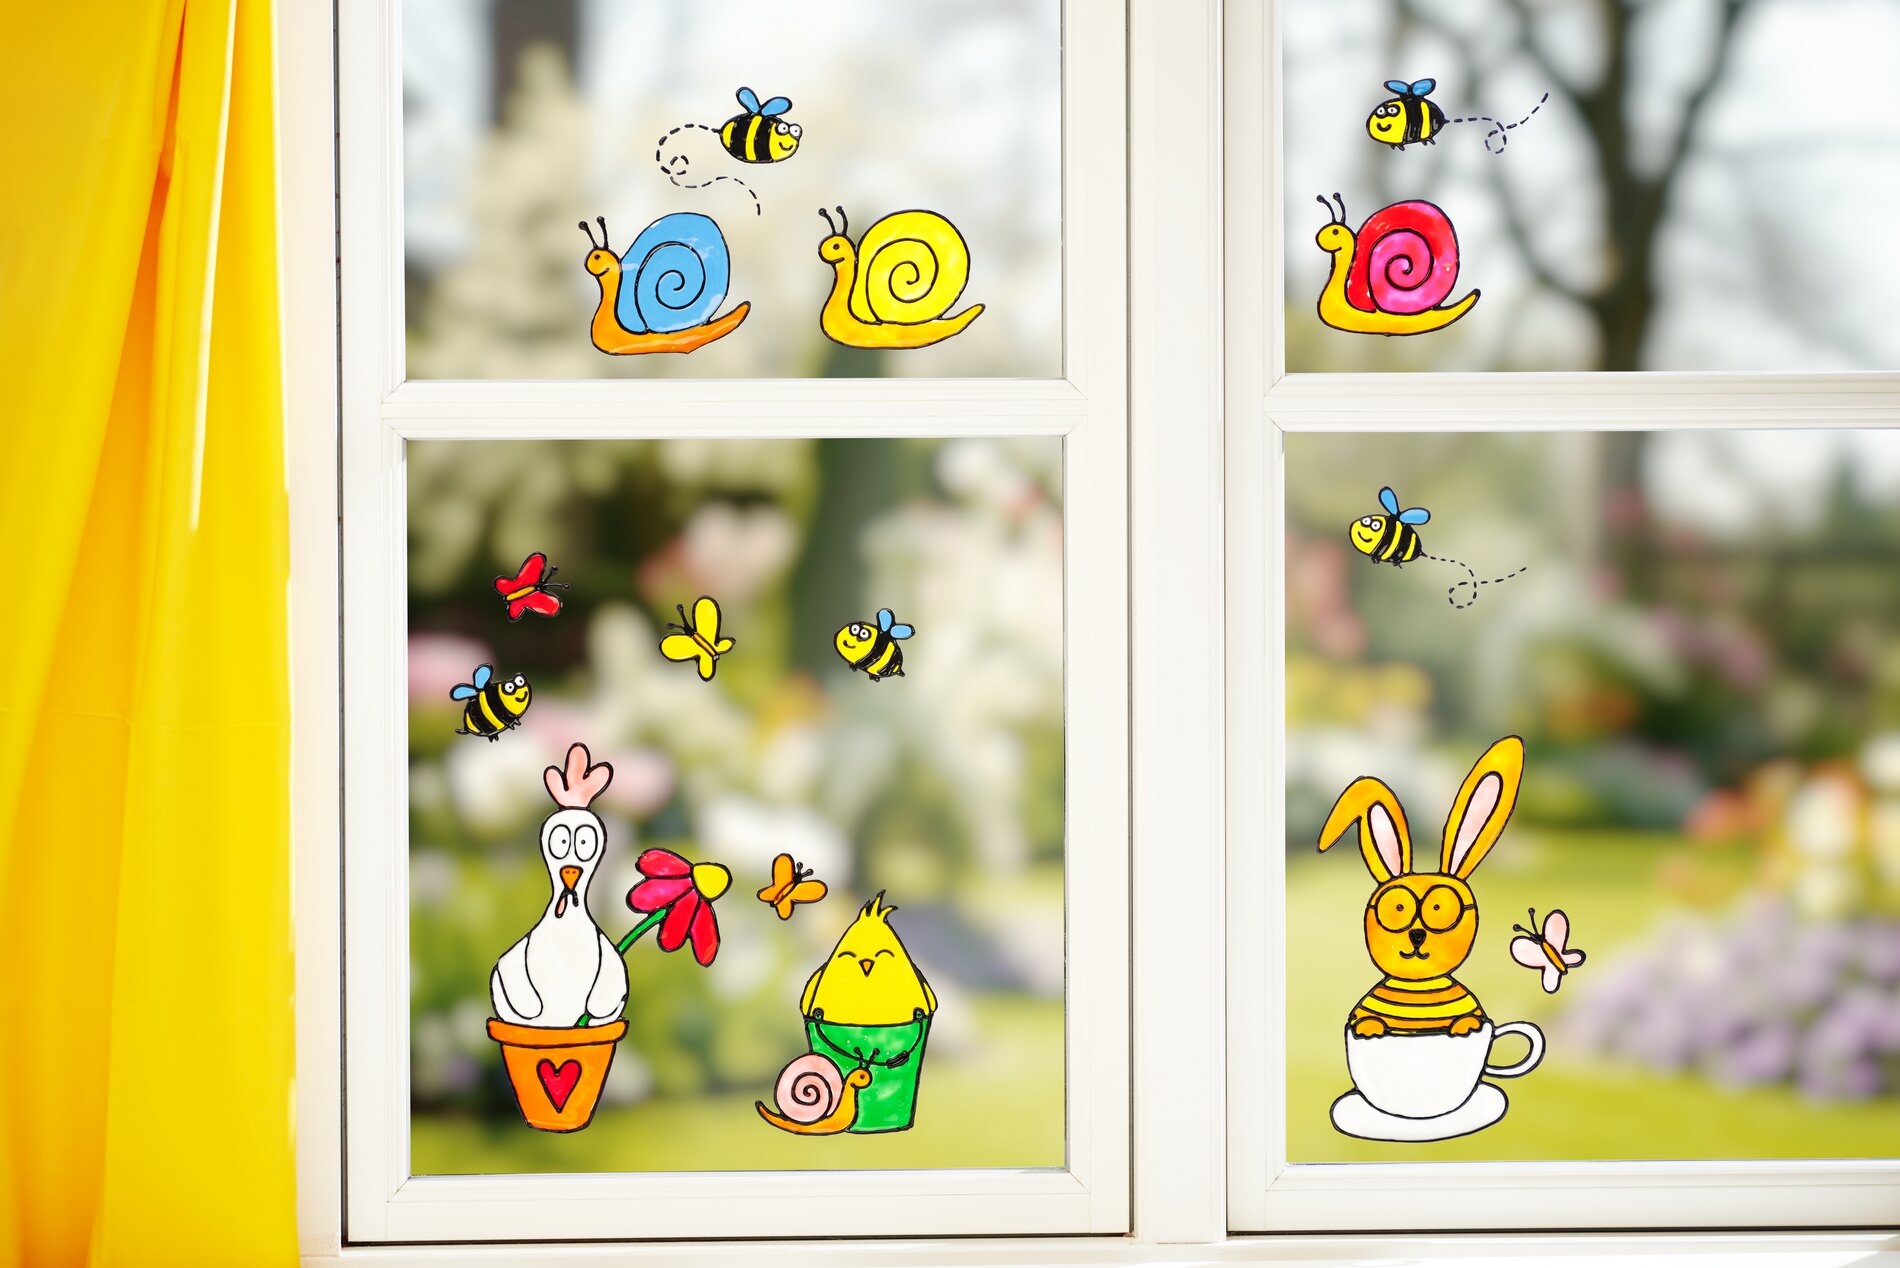
Start your creative journey by printing out the Easter motifs you want. These will serve as the perfect basis for your window pictures.
Step 2: Preparation in the transparent sleeve
Take your templates and place them in a transparent sleeve. The transparent cover serves as a base for painting and allows you to trace the outlines clearly. Make sure that the templates lie flat and without creases.
Step 3: Tracing the outlines
Use the Window Fantasy contour pen in black, to trace the outlines of the motifs on the transparent cover. This gives your window picture structure and ensures that the colors do not run into each other later. Allow the outlines to dry completely before continuing with the next step.
Step 4: Bringing color into play
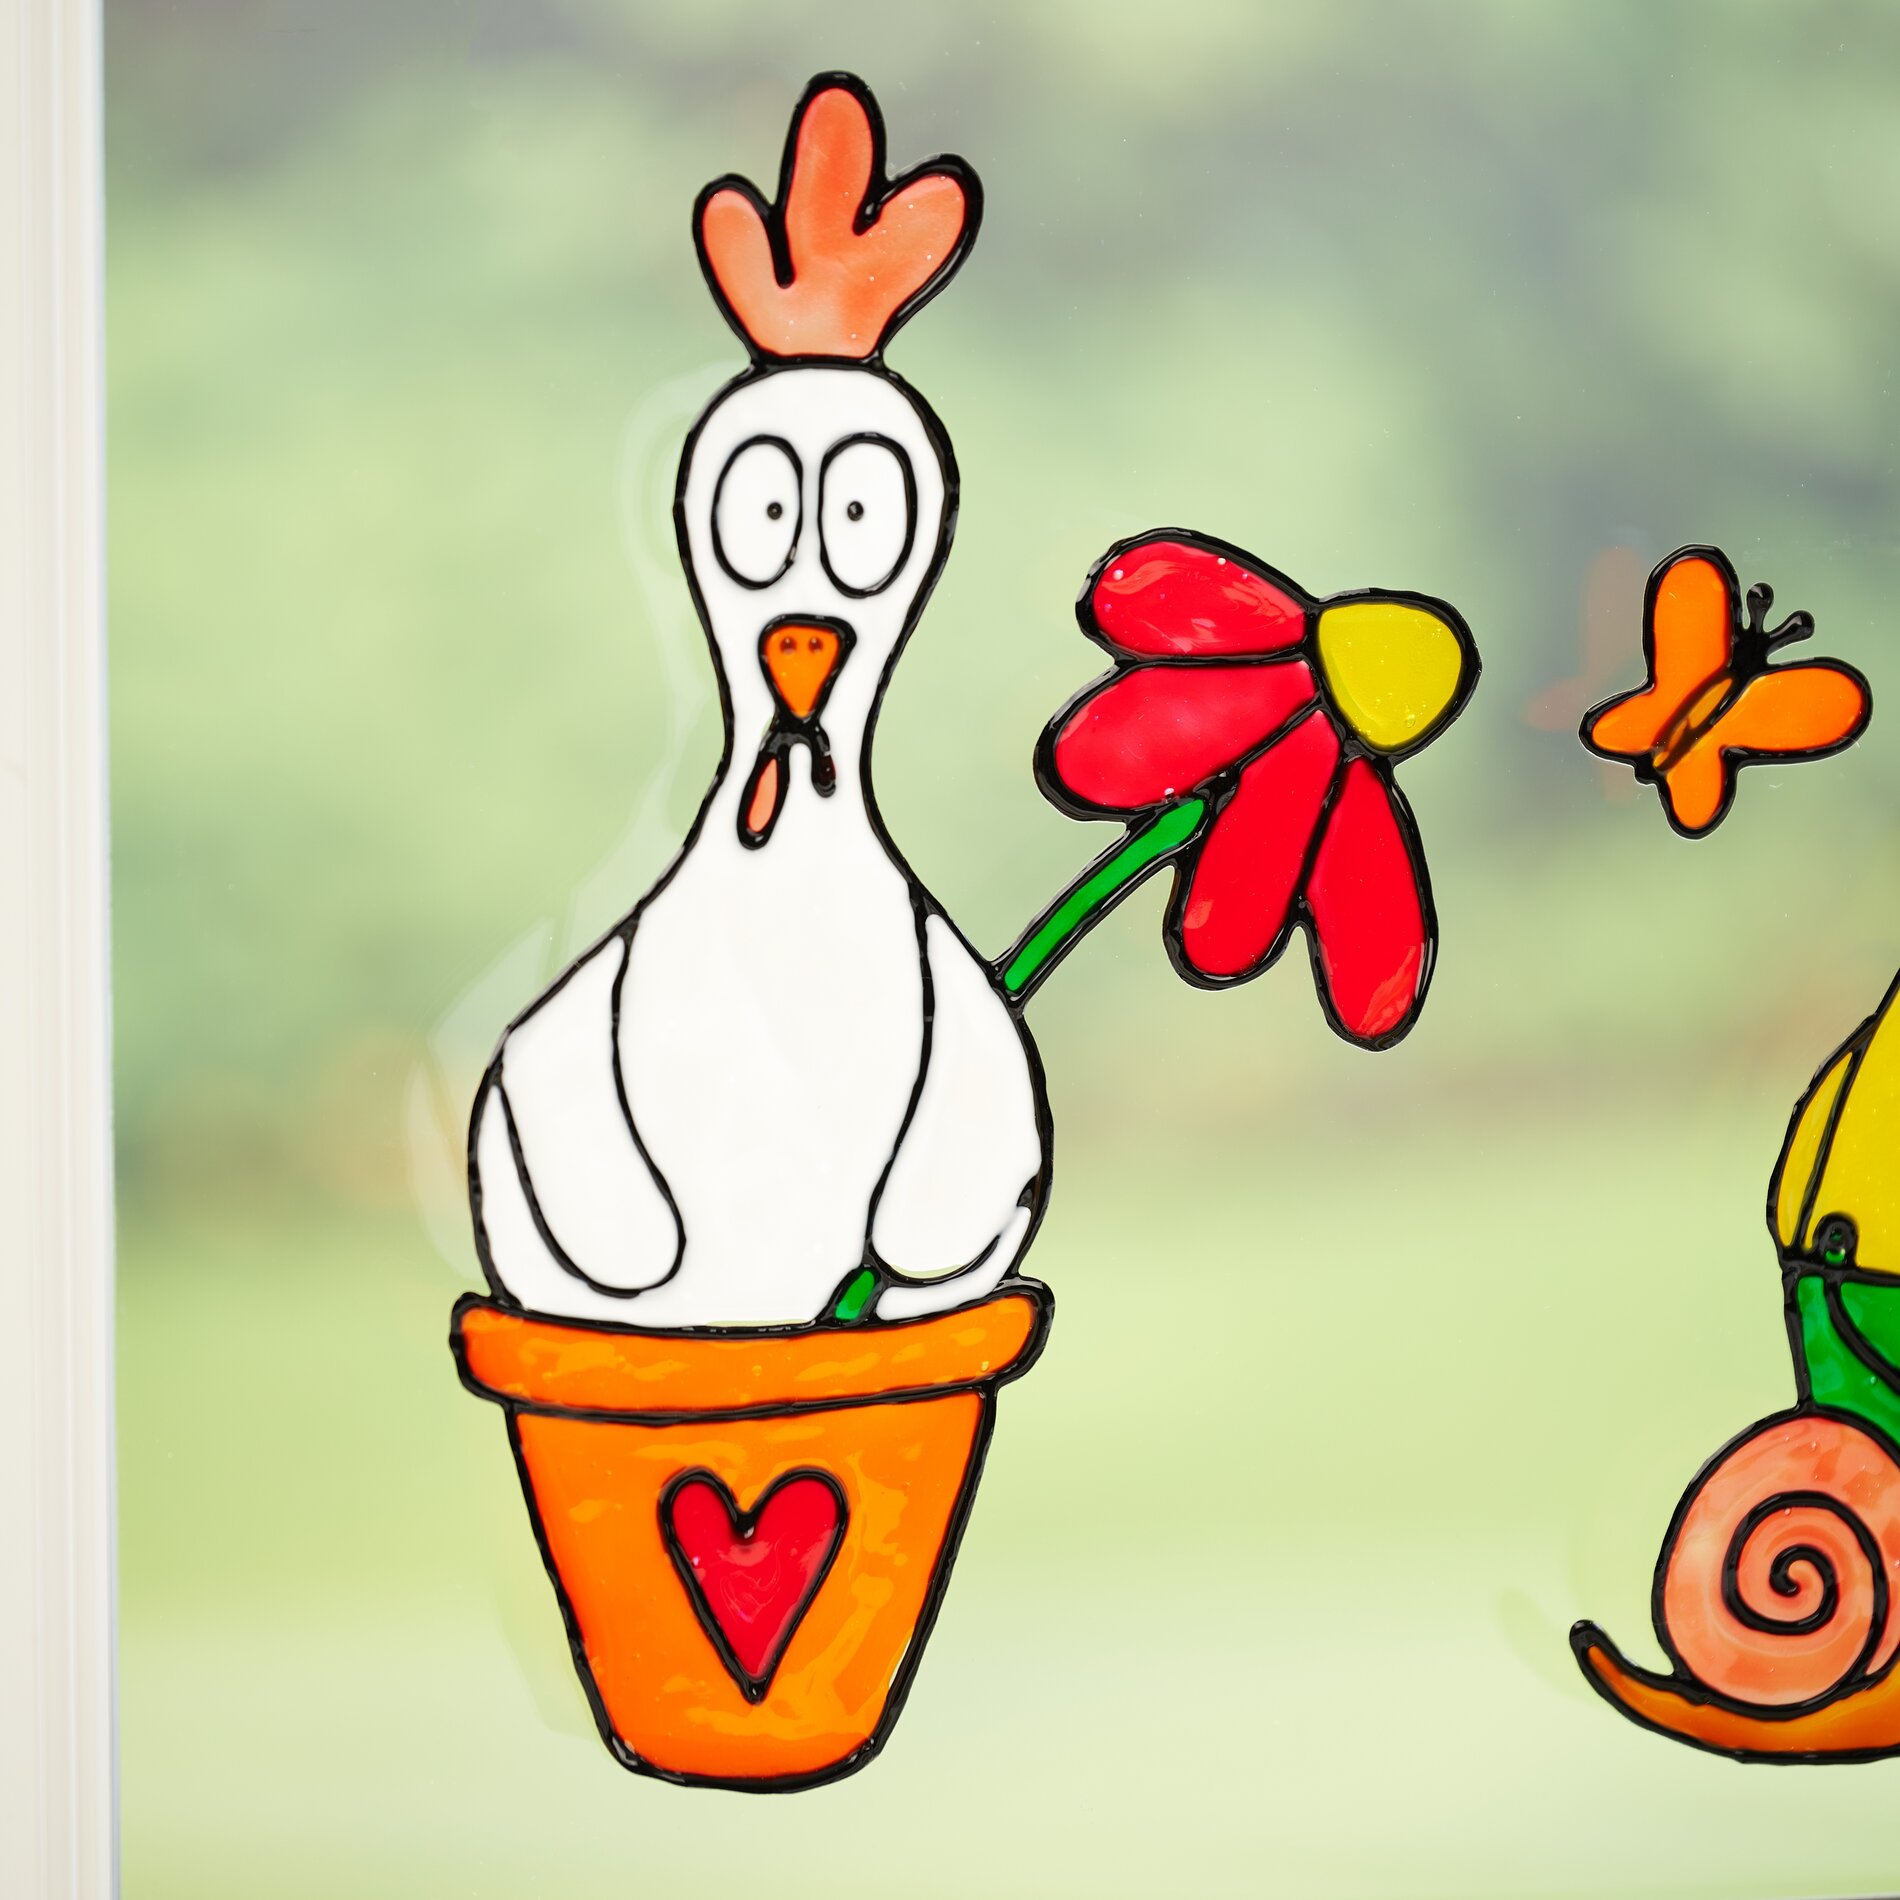
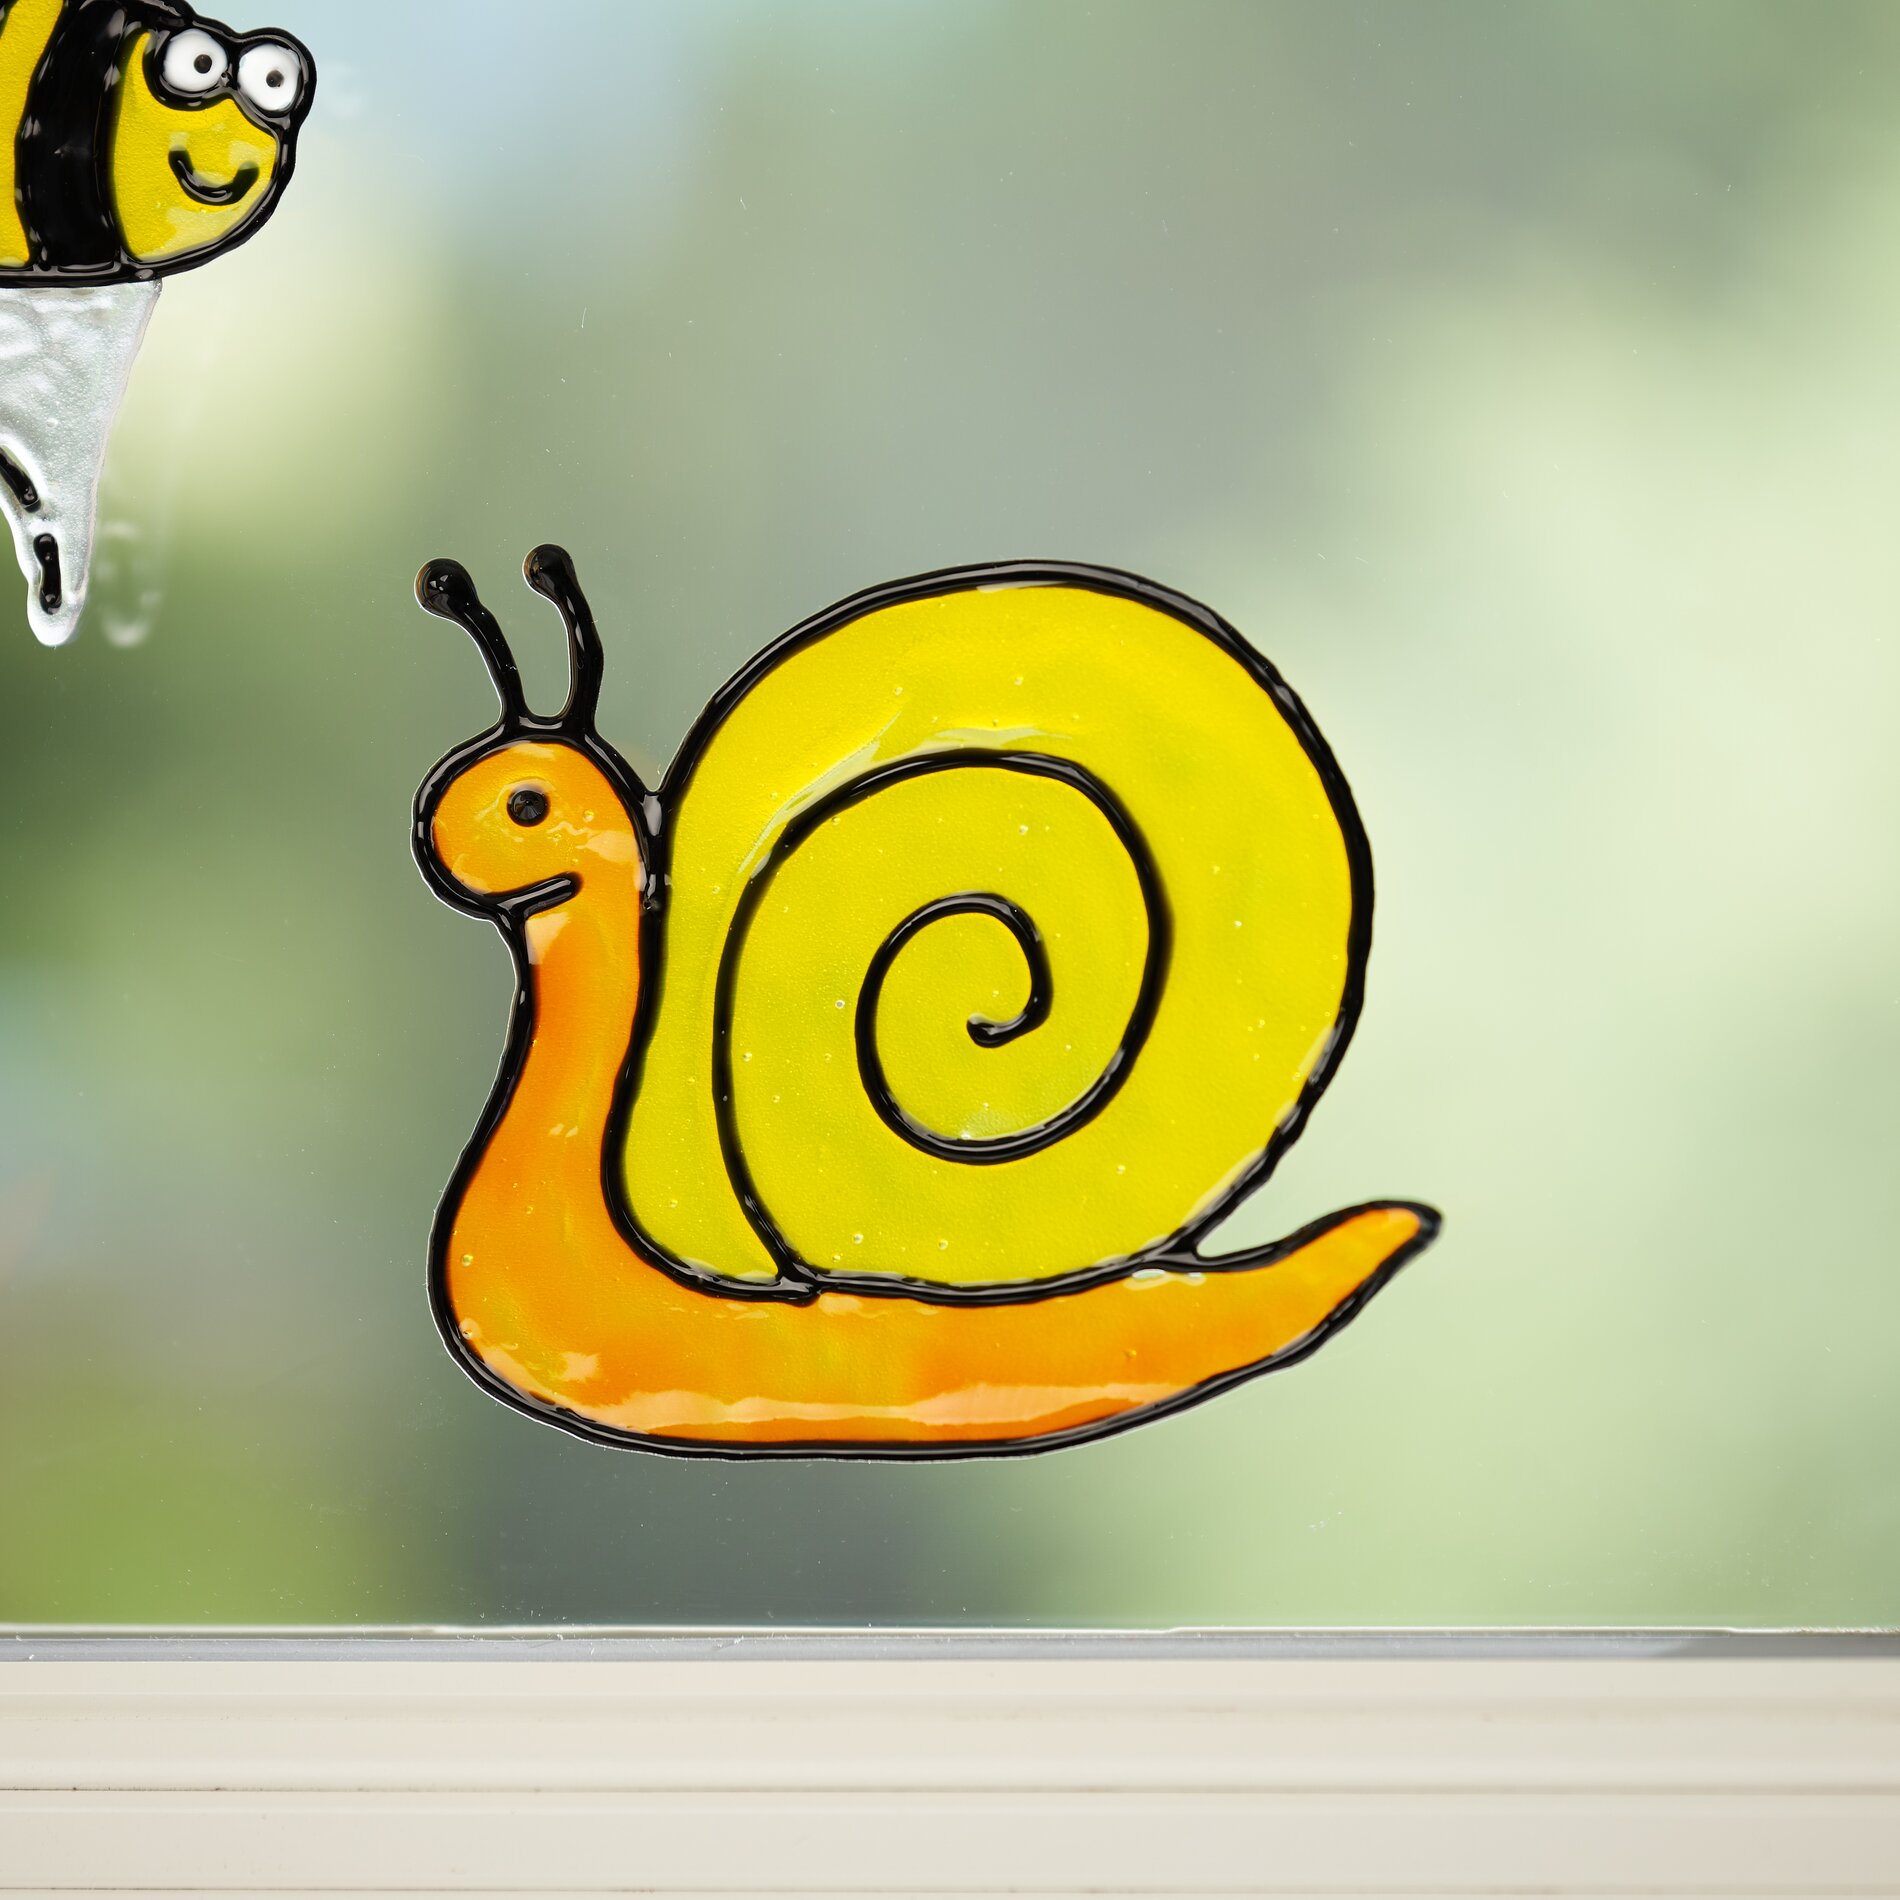
Now it gets colorful! Use the Window Fantasy paints to carefully color in the motifs. Choose bright or pastel shades that match your Easter theme. Again, allow each layer of paint to dry well before applying further shades.
Step 5: Dry and peel off
As soon as the colors are completely dry, you can carefully remove the window picture from the transparent cover. Be careful not to damage the delicate structures of the motifs.
Step 6: Attaching the window pictures
Now comes the exciting moment: place your finished artwork on the window. The pictures adhere by themselves without additional adhesive - simply attach and reposition as desired.
Additional tip: pinwheel film for more flexibility
If you don't want to stick your pictures directly to the window, you can also paint the motifs on pinwheel film. Note that you cannot peel it off once it has dried. Instead, cut out the motifs, attach a ribbon to them and hang them up decoratively. This way, you can create mobile works of art that will brighten up your room.