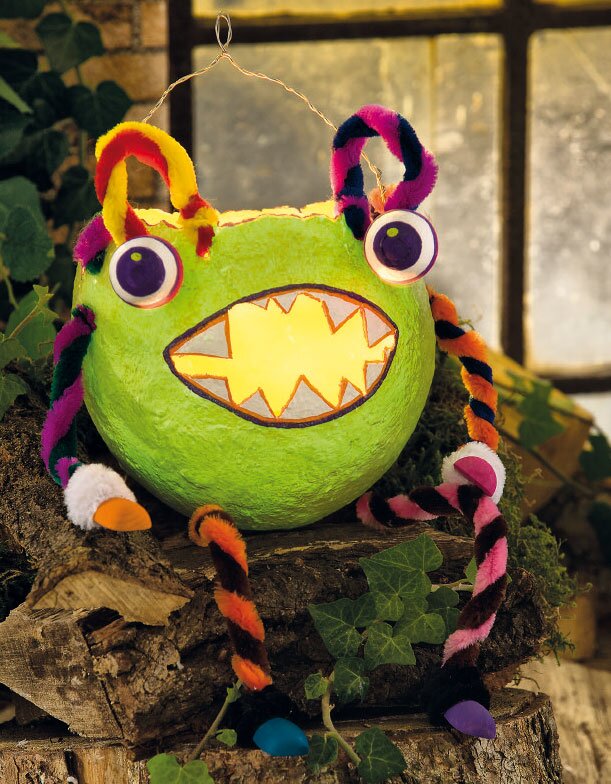
Here's how it's done:
The
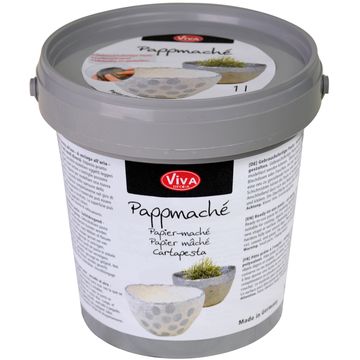
papier-mâché is mixed according to the package instructions and left to rest overnight in a freezer bag, hermetically sealed
An inflated
balloon is fixed on a suitable container (e.g. a Terracotta pot) with crepe-Adhesive tape . Then the papier-mâché mass is applied to the balloon with a wooden spatula in a thickness of about 3 mm.
As soon as the mass is completely dry, the balloon can be removed. The mouth with the teeth is cut out. Then it goes to the painting:
Inside and outside the envelope is
prime Handicraft paintd with may green and after drying it is painted several times with noctilucent paint.
For arms, legs and eyes holes are pierced in the papier-mâché cover. Two different
chenille wires are twisted together and put through the holes, fixed inside with hot glue.
The eyes consist of
cotton balls. These are now also painted with Handicraft paint . Afterwards the eyes and feet are fixed with hot glue to the chenille wires, the glue spots are wrapped around arms and legs with Chenille wire .
Extra tipIn order to provide the lantern with a light, a candle base made of aluminium foil should be placed in the self-made monster lantern.